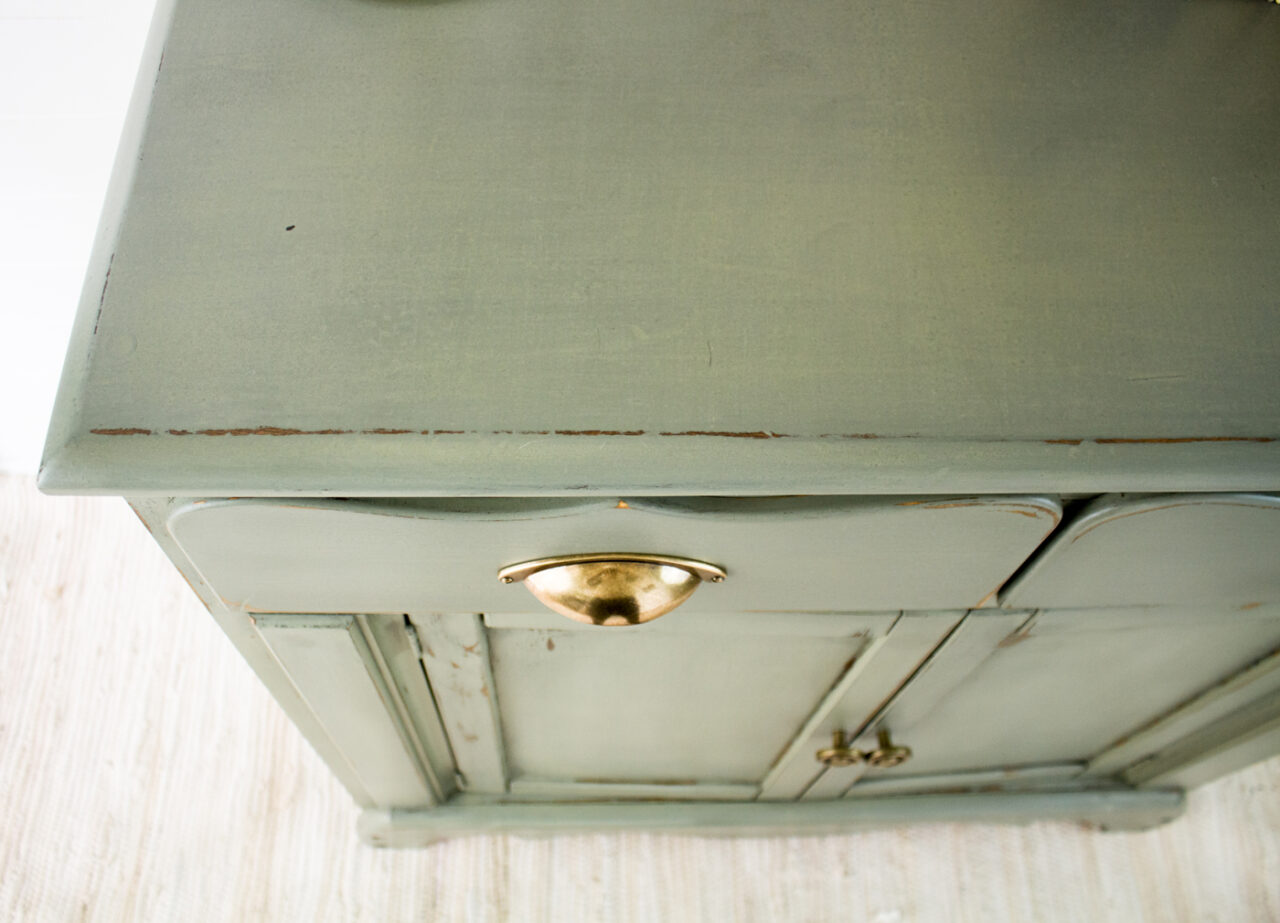
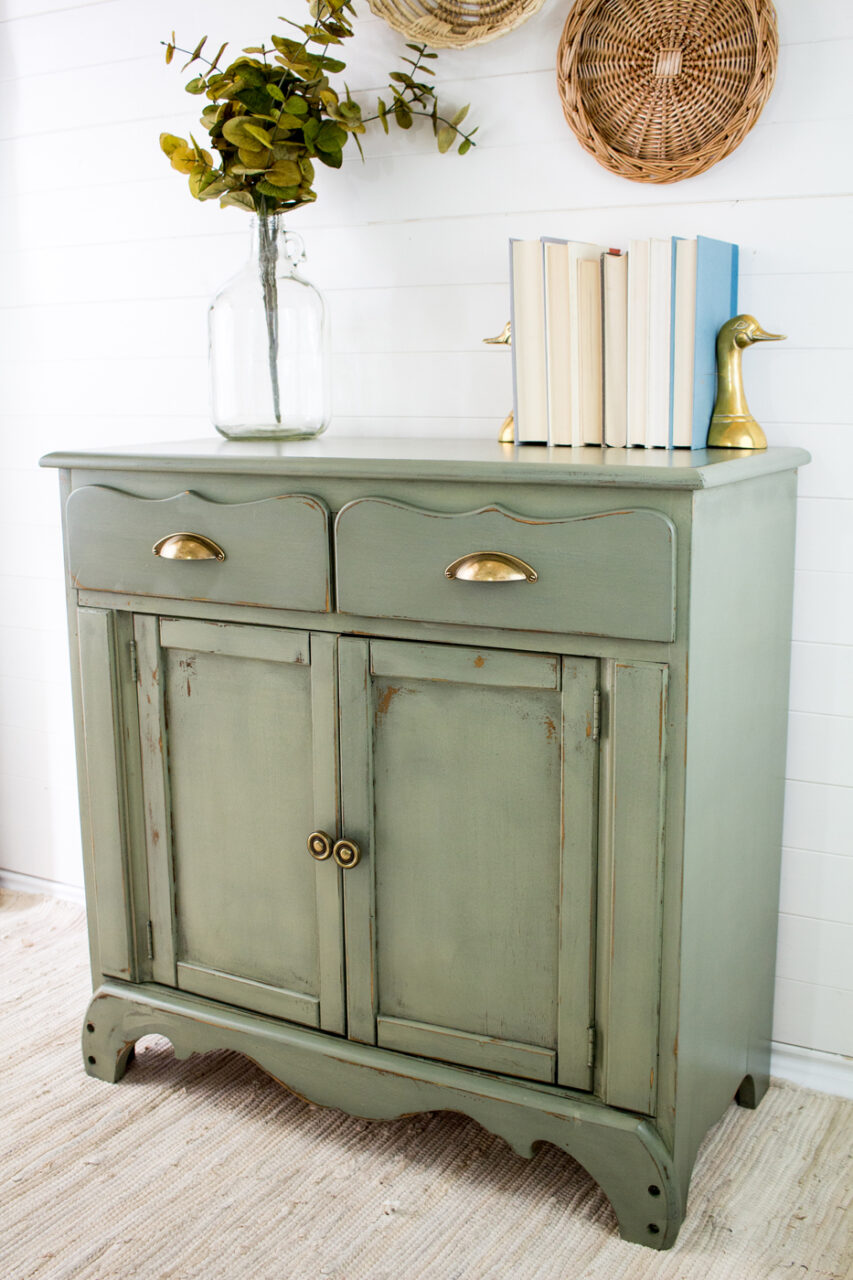
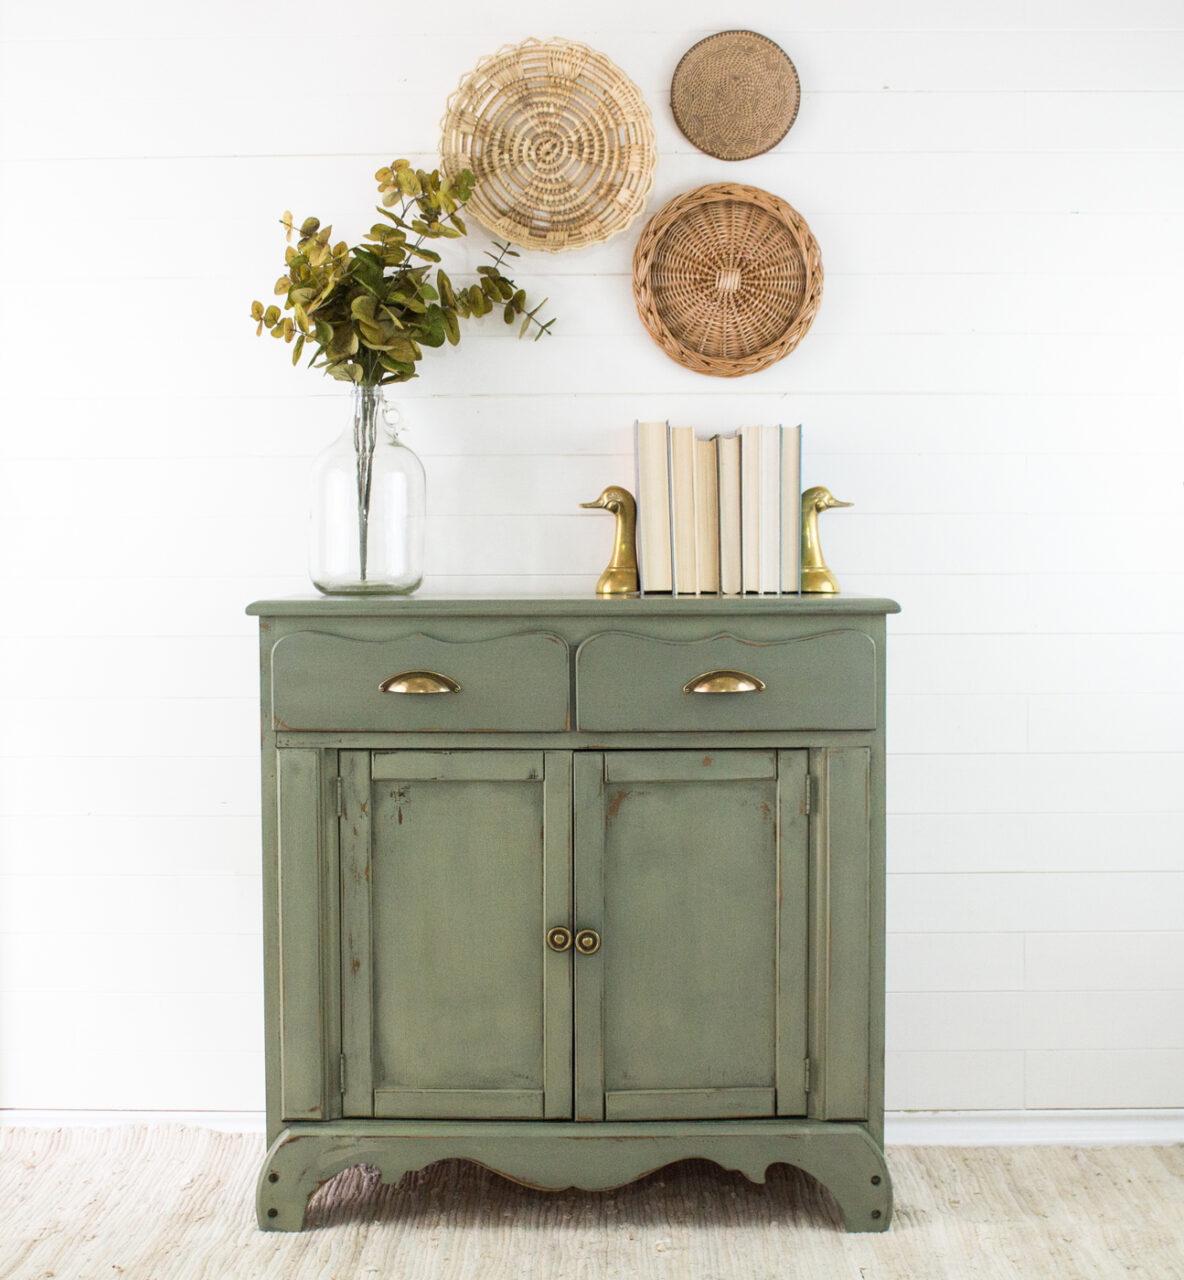
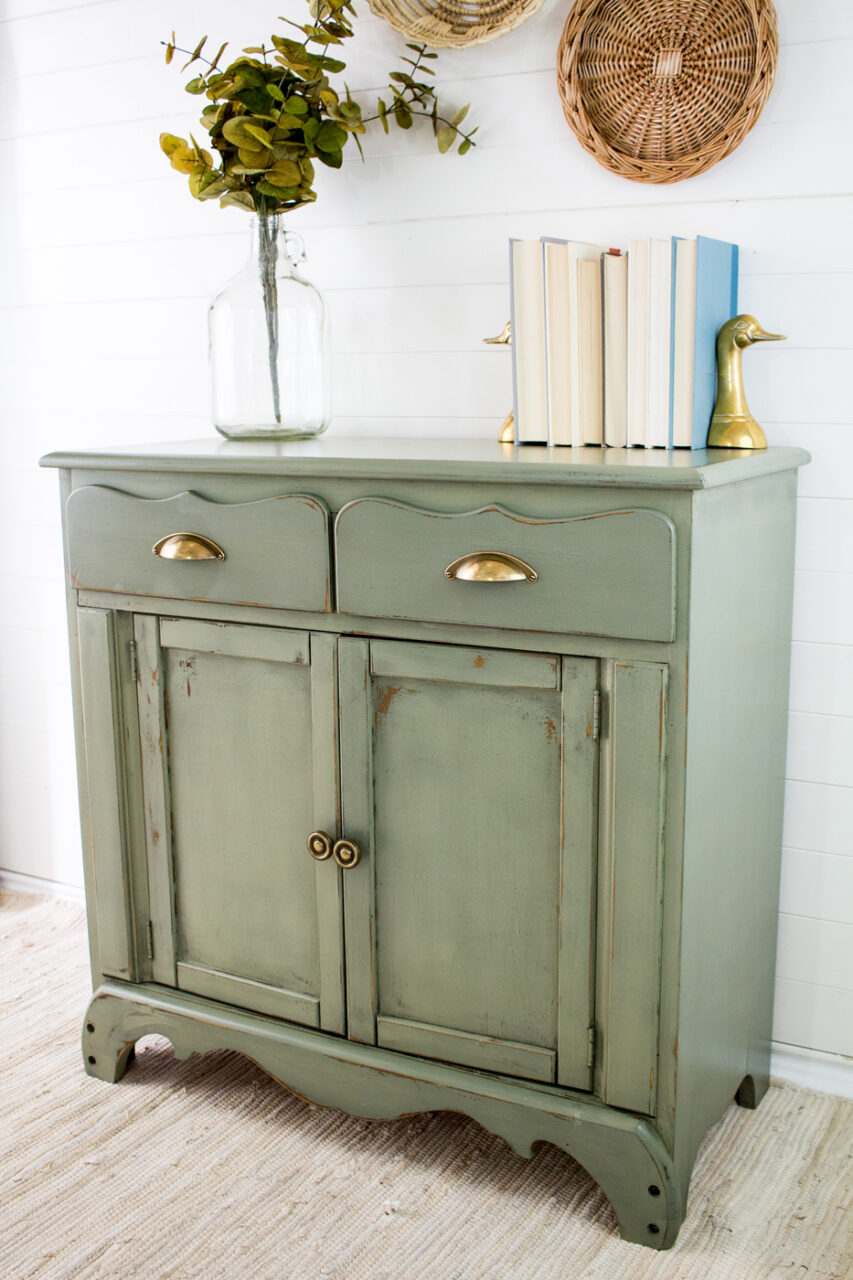
When it comes to transforming tired furniture into statement pieces, Homestead House Milk Paint is the way to go. In this blog post, we're going to walk you through the process of a rustic refresh with Acadia Pear. To add an extra touch of charm, we'll also dive into how we added plant-themed wallpaper to the inside of the drawer, giving this hutch a pop of fun and a dash of personality.
Gather Your Materials
Before you embark on your hutch refinishing journey, you'll need to gather a few essential materials:
- Hutch: Your choice, but something with character and vintage charm works best.
- Homestead House Milk Paint in Acadia Pear: This colour is a beautiful, soft green that exudes warmth.
- TSP Alternative: For pressing the hutch.
- Sandpaper and Sanding Block: For prepping the hutch's surface.
- Paintbrushes: We recommend the Staalmeester brushes
- Plant-Themed Wallpaper: To line the inside of a drawer.
- Wallpaper Adhesive and Tools: For applying the wallpaper.
- Furniture Wax: To seal and protect your freshly painted hutch.
The Transformation Process
Step 1: Prep the Hutch
Start by removing any hardware, such as knobs or handles. Give your piece a deep cleaning using TSP Alternative. Then, use sandpaper and a sanding block to smooth the surface of the hutch. This step is essential for ensuring that the milk paint adheres properly.
Step 2: Apply the Homestead House Milk Paint
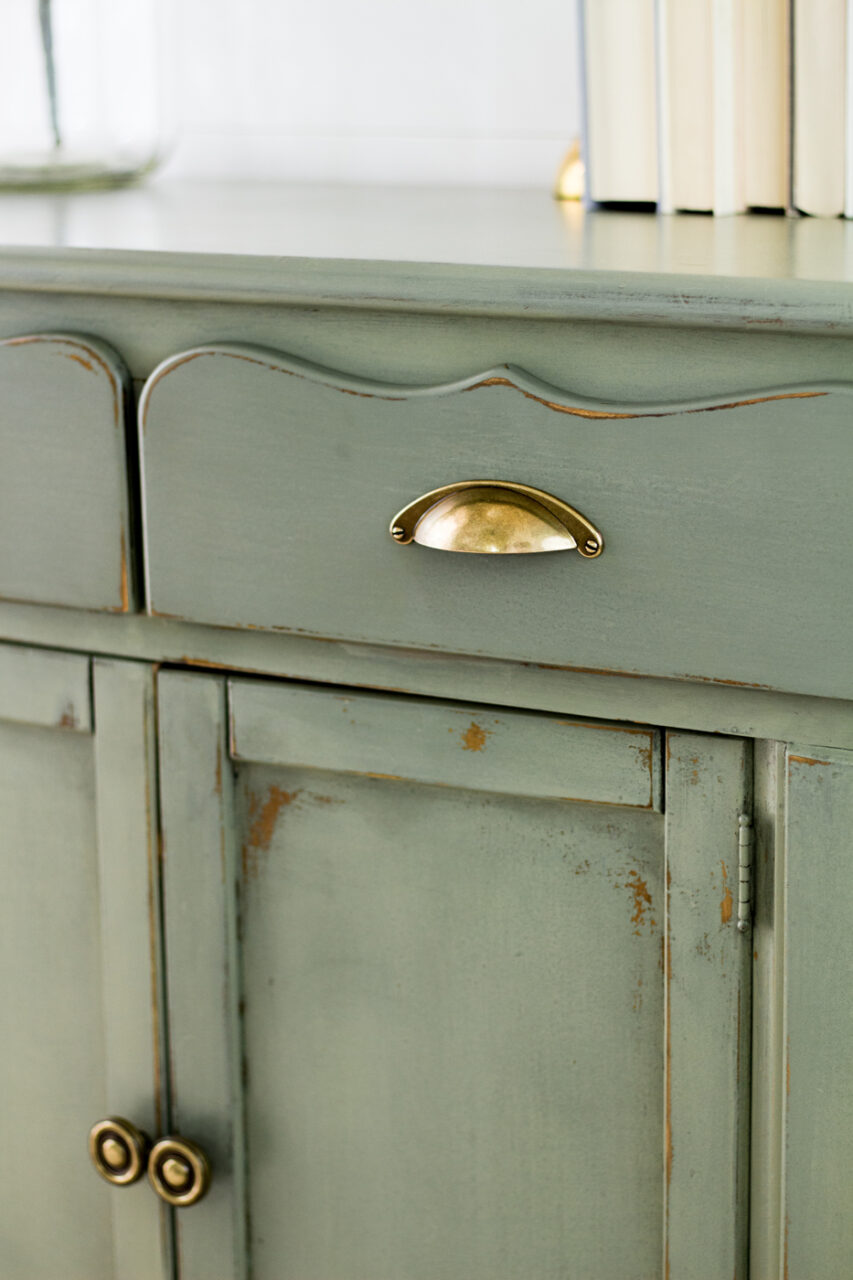
With your hutch fully prepped, it's time to dive into the fun part – painting! Using your paintbrush, apply a coat of Homestead House Milk Paint in Acadia Pear to the hutch. Milk paint has a unique, rustic look and dries quickly. Let the paint dry for approximately 20 minutes between each coat. Apply 2-3 coats to achieve your desired level of coverage. Once your final coat has dried, take some sandpaper and distress areas of the dresser that would naturally wear. By doing this you create a worn, well-loved, rustic look!
Step 3: Add the Plant-Themed Wallpaper
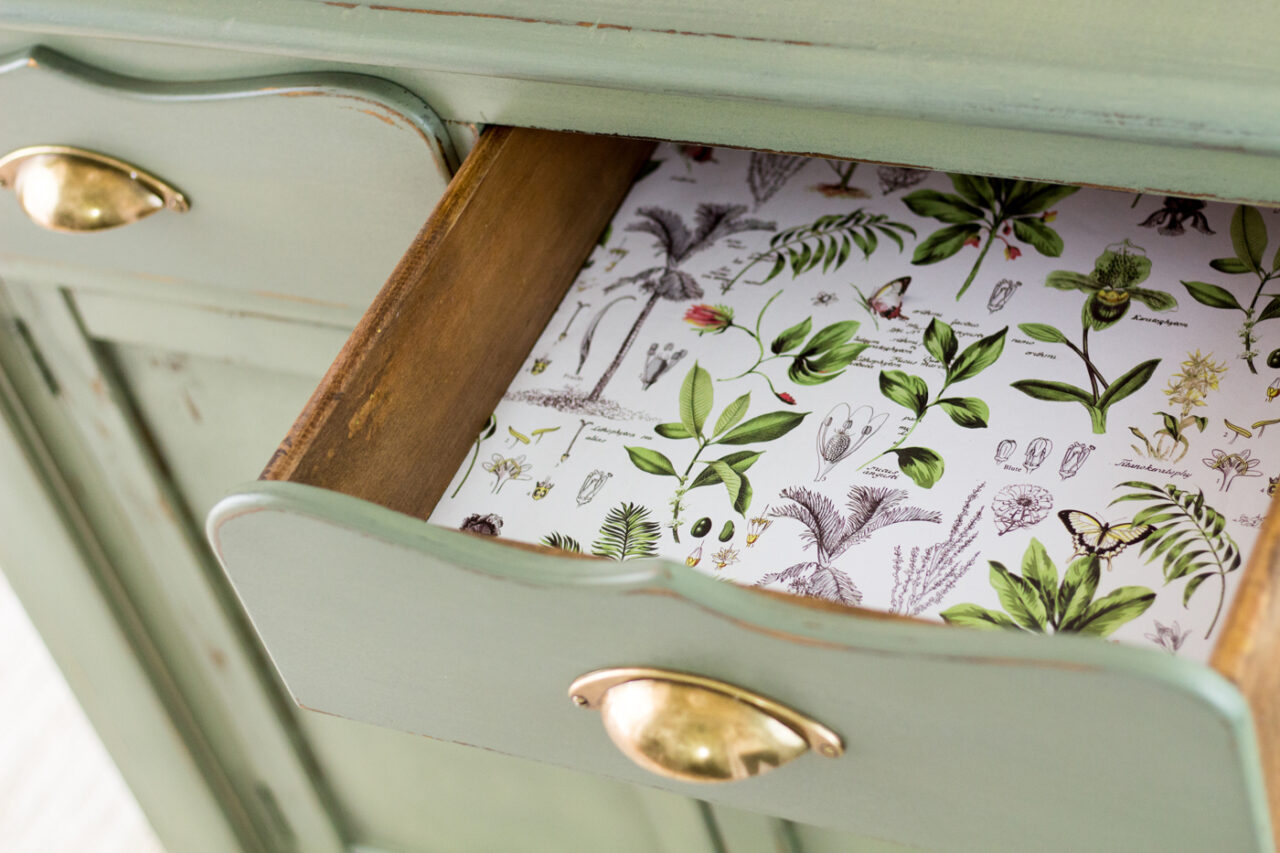
To inject a dash of fun and unexpected charm, we chose to line the inside of a drawer with plant-themed wallpaper. This step can make a world of difference in transforming a hutch into a unique and eye-catching piece of furniture.
Step 4: Seal the Deal
After everything has dried, it's time to seal the paint and wallpaper for durability. Apply Furniture Wax finish to the entire hutch. This not only safeguards your hard work but also brings out the true depth of the colour that enhances the beauty of the Acadia Pear milk paint.
The Finishing Touches
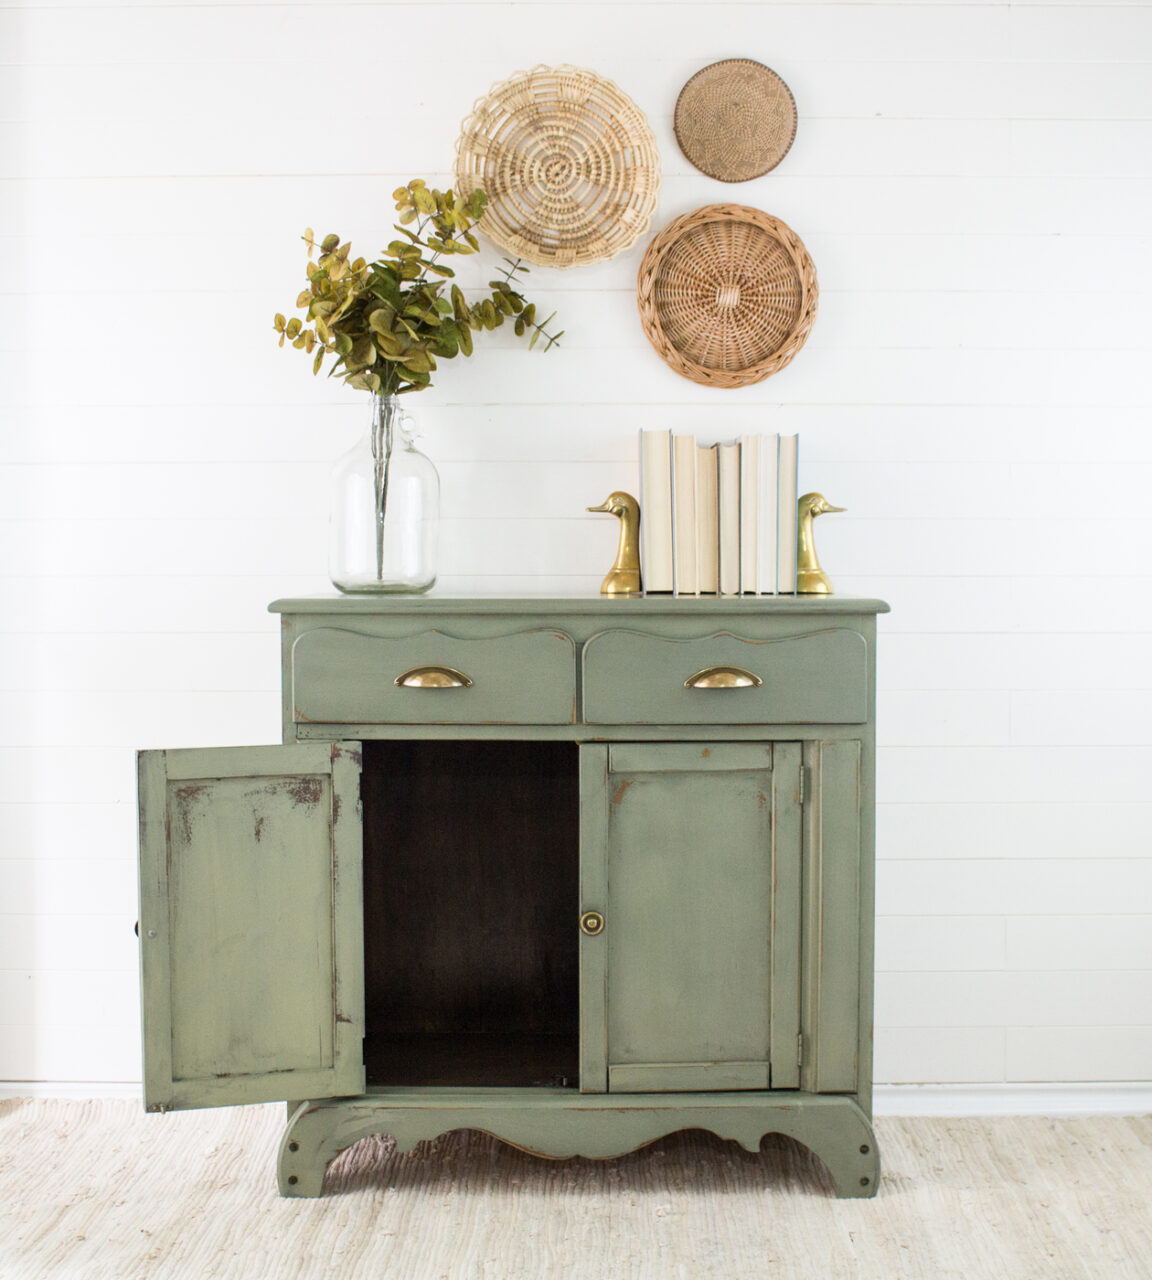
With the hutch transformed and looking fabulous, it's time to complete the look. Decor plays a crucial role in making your furniture piece stand out. Here's how we added the finishing touches to our Acadia Pear hutch:
1. Hanging Neutral Woven Art
Add a touch of texture and dimension by hanging some neutral woven art on the wall above or near your hutch. The earthy tones and intricate patterns complement the rustic look of the milk paint.
2. Books with Gold Swan Book Ends
Stack a few well-chosen books on one of the hutch's shelves and use elegant gold swan bookends to keep them in place. This adds a touch of sophistication and creates an inviting atmosphere.
3. Clear Vase with a Faux Plant
Place a clear vase with a lifelike faux plant on one of the hutch's surfaces. The combination of transparency and greenery adds freshness and a natural touch to your decor.
A Rustic Refresh with Acadia Pear
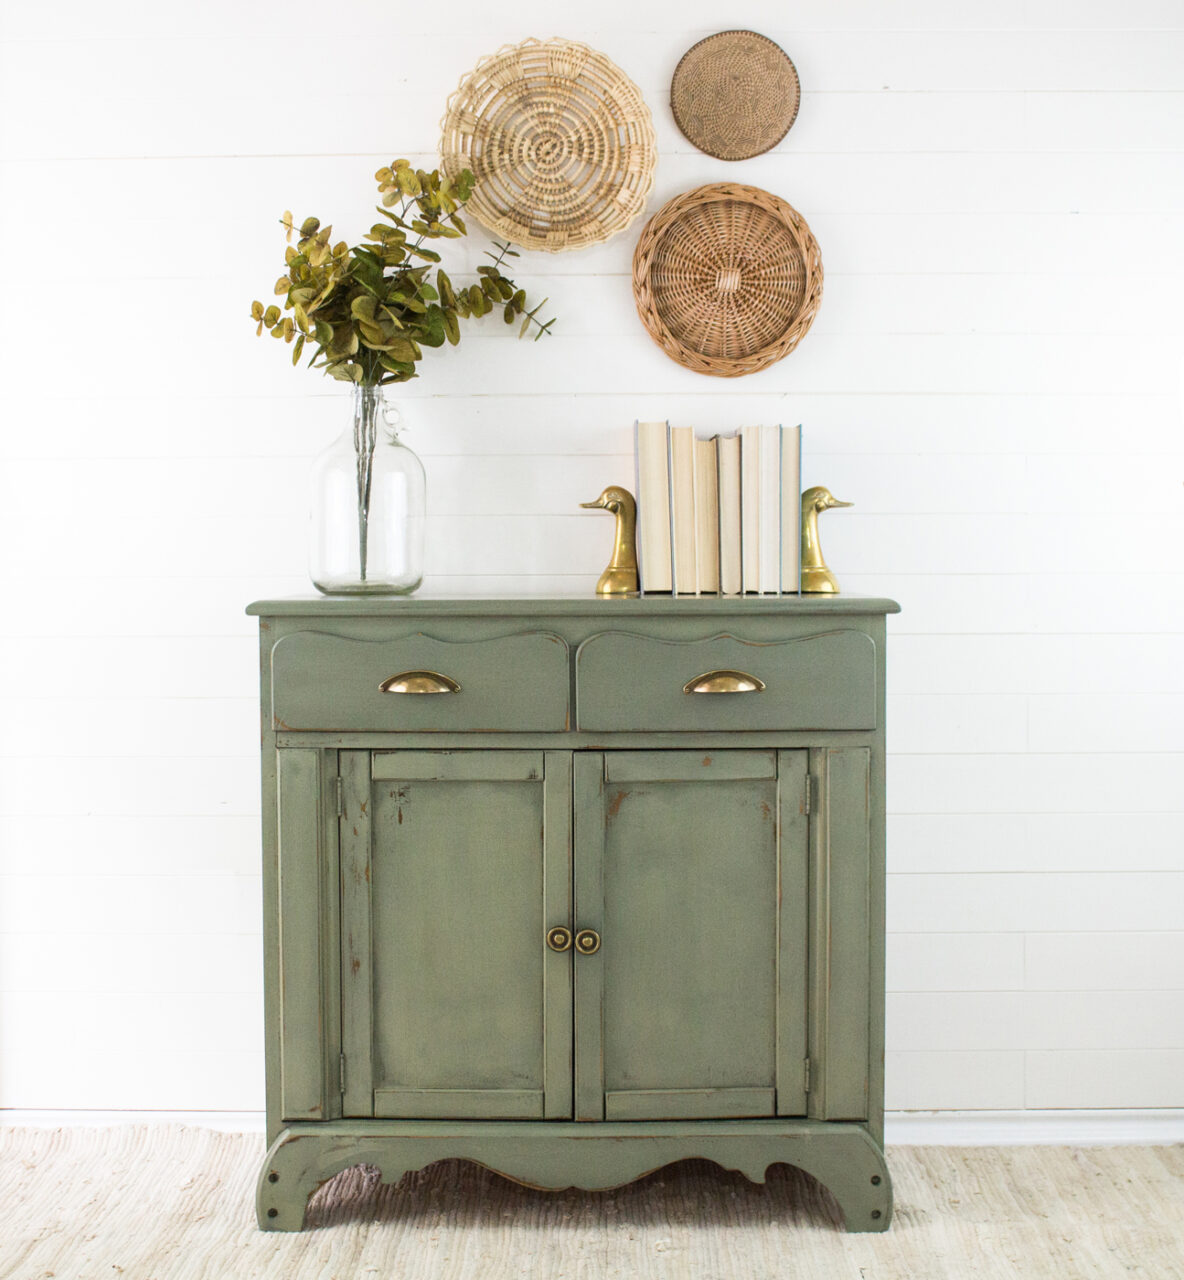
Refinishing a hutch with Homestead House Milk Paint Acadia Pear is a creative and rewarding DIY project that can breathe new life into your space. By adding a splash of fun with plant-themed wallpaper and carefully selecting your decor, you can turn a once mundane piece of furniture into a stunning statement piece that will be the envy of all your guests. So, roll up your sleeves, grab some paint, and get ready to enjoy the fruits of your labour as you transform your hutch into a rustic masterpiece. Happy decorating!
