
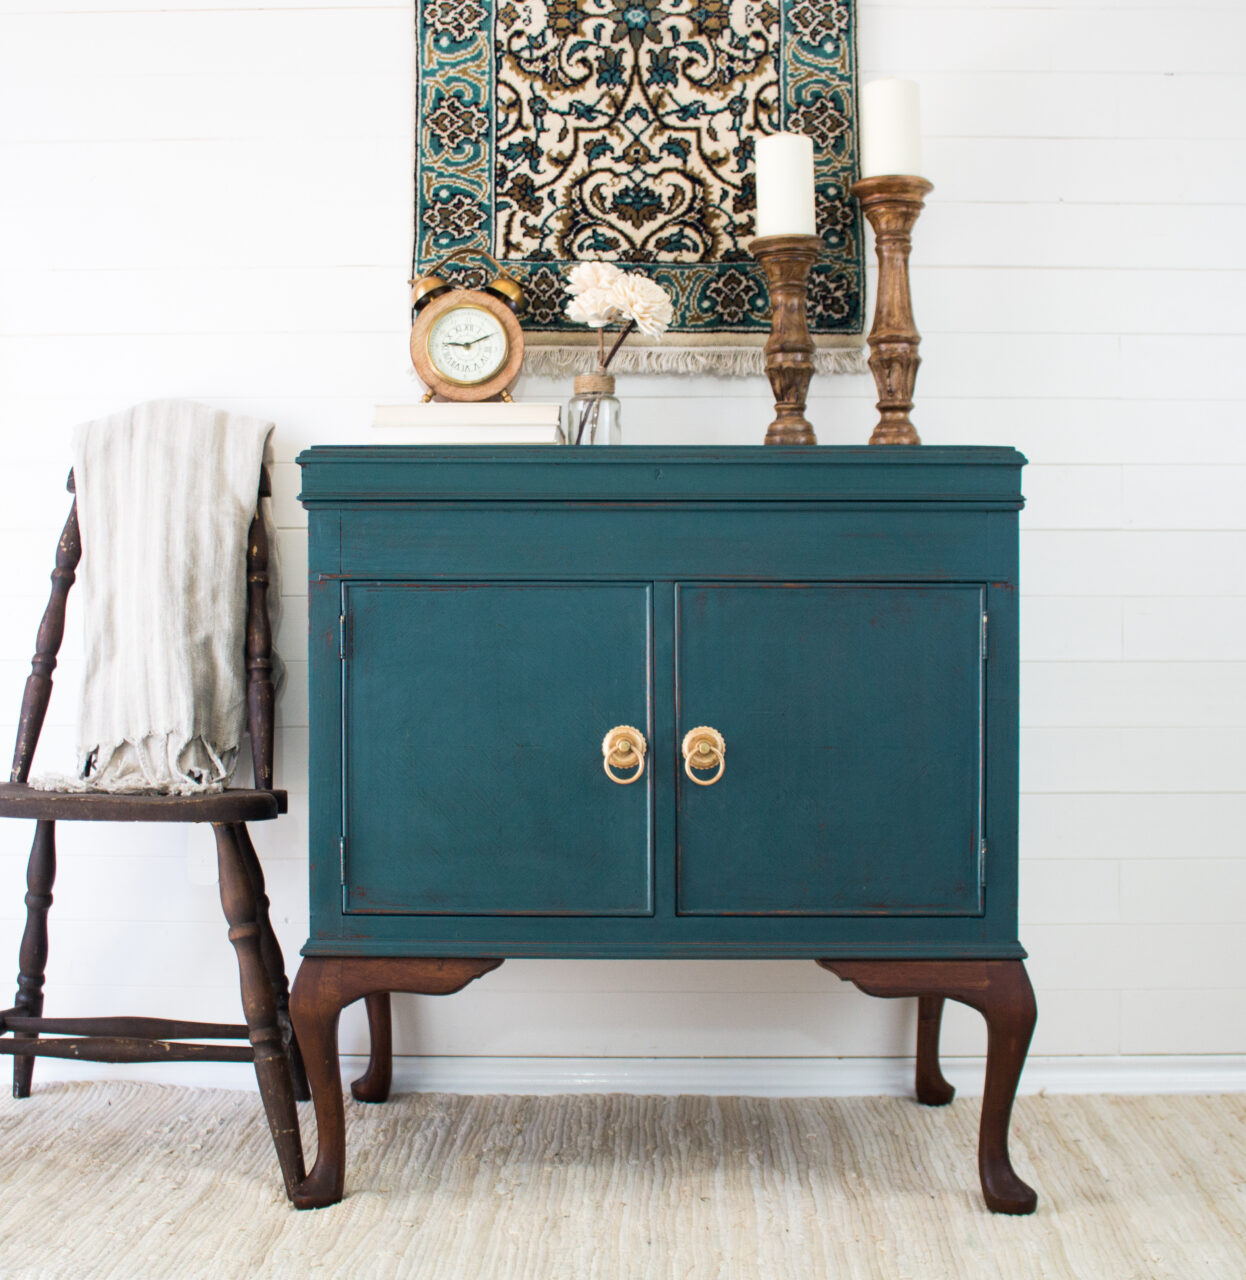
Refinishing furniture can be a rewarding and creative DIY project that breathes new life into old pieces. One versatile and eco-friendly option is using Homestead House Milk Paint, renowned for its charming, authentic finish. In this blog post, we'll delve into the process a sideboard console transformation using Homestead House Milk Paint in the captivating shade of Gaspe Green. Get ready to witness the transformation of a tired piece of furniture into a statement-worthy focal point for your home.
Why Homestead House Milk Paint?
Milk paint has a history dating back centuries, known for its all-natural composition and distinctive, vintage appearance. Homestead House Milk Paint is a modern twist on this classic formula, offering a range of vibrant colours, ease of use, and an eco-friendly formula. Made from simple ingredients like milk protein, lime, and earth pigments, this paint is free from harmful chemicals and emits no harmful fumes.
Choosing the Perfect Piece
Begin your furniture refinishing journey by selecting a suitable sideboard console. Whether you've inherited a family piece or scored a thrift store find, the structure and design should be sturdy enough for the makeover. Consider the piece's proportions, style, and potential in your space.
Gathering Supplies
Before diving in, gather your supplies:
- Furniture piece
- Homestead House Milk Paint in Gaspe Green
- Stain & Finishing Oil
- Staalmeester Paint Brush
- Sandpaper (various grits)
- Painter's tape
- Drop cloth
- Clean cloth
- Mixing containers
Step-by-Step Process
- Preparation: Clean the sideboard thoroughly using TSP Alternative to remove dust, dirt, and any existing finish. Lightly sand the surface to create a better bond for the milk paint. This step ensures a smooth and professional-looking finish.
- Mixing the Paint: Homestead House Milk Paint comes in a powder form. Mix the powder with a 1:1 ratio with water. Stir well to achieve a smooth consistency.
- Applying the First Coat: Using a paintbrush, apply the first coat of Gaspe Green milk paint to the sideboard. Milk paint has the unique characteristic of appearing slightly translucent in the initial coat. Don't worry if the first coat looks uneven; the subsequent coats will enhance the colour and coverage.
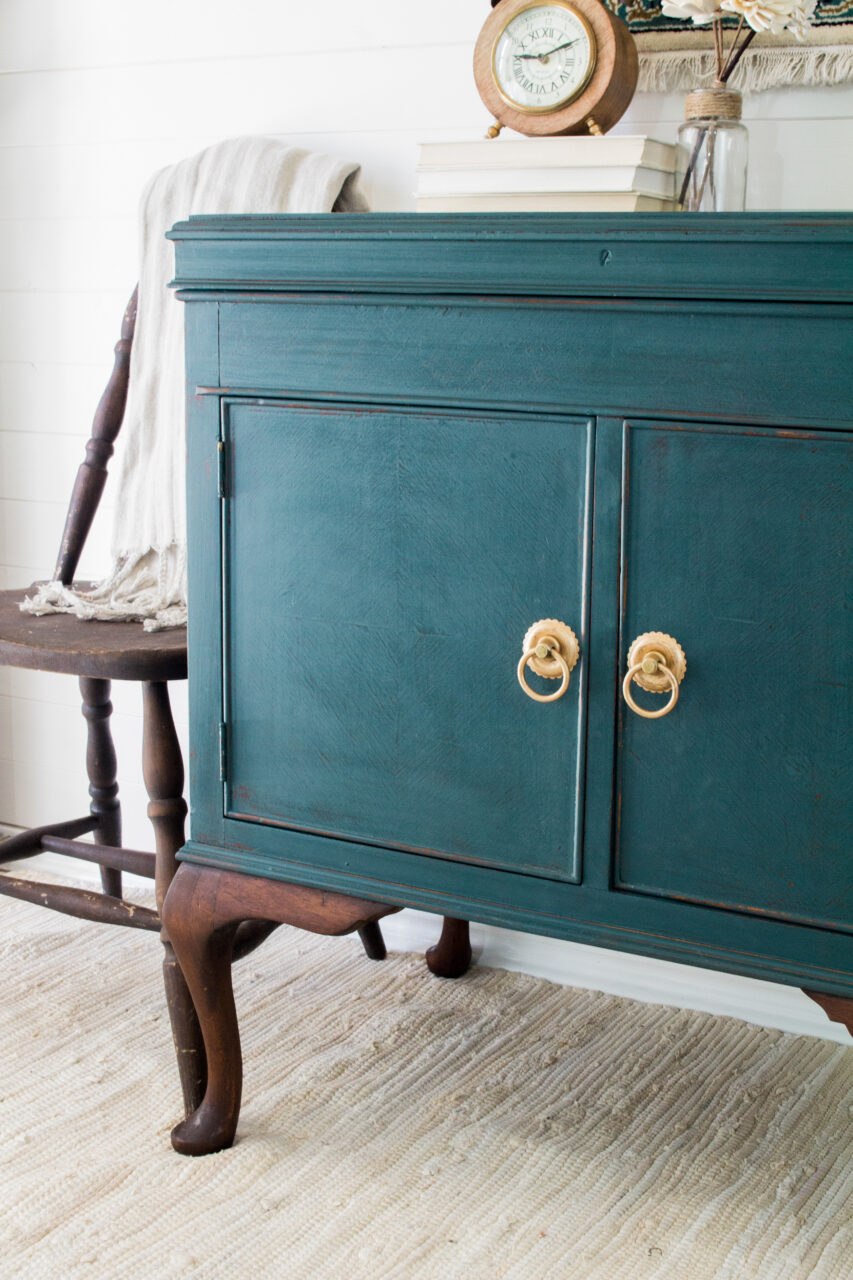
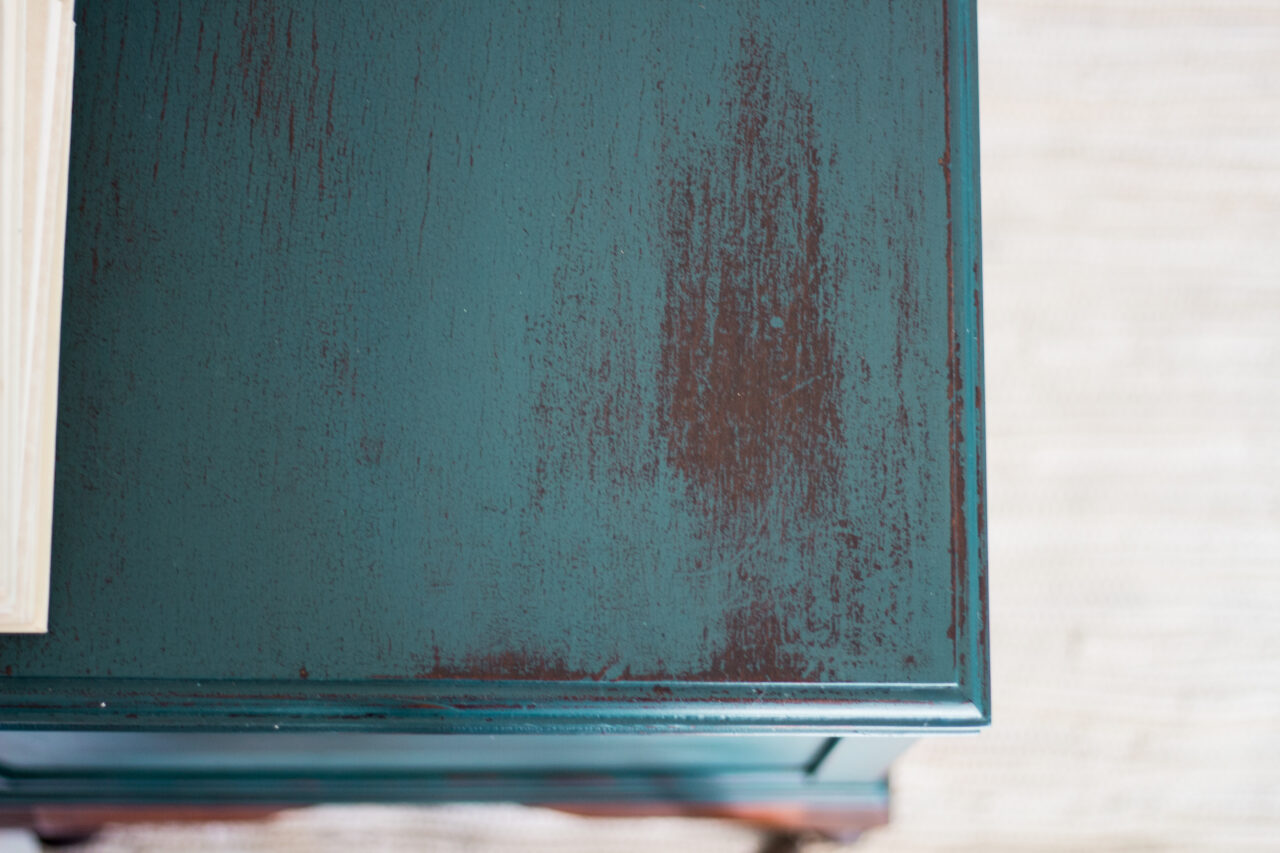
- Allowing for Chipping (Optional): Milk paint is known for its ability to chip and distress naturally. If you want a weathered, vintage look, you can encourage chipping by lightly sanding certain edges and areas.
- Applying Additional Coats: Depending on the desired opacity and coverage, apply two to three more coats of Gaspe Green milk paint, allowing each coat to dry completely before moving on to the next. As you add layers, the colour will intensify, and any initial streakiness will disappear.
- Sealing the Finish: Once satisfied with the colour and coverage, apply Natural Stain & Finishing Oil to protect and enhance the paint's depth. This step also brings out the rich, velvety texture that milk paint is known for.
- Final Touches: After the finishing oil has dried, carefully remove any painter's tape, and inspect the piece for any touch-ups needed. Clean the hardware if present, and reattach it to the sideboard.
The Final Reveal
Refinishing furniture with Homestead House Milk Paint in Gaspe Green is a captivating journey that marries modern convenience with the charm of traditional techniques.
By following these steps, you can accomplish your own sideboard console transformation to create a striking focal point that reflects your personal style and love for both the old and the new. So, roll up your sleeves, embrace your creative side, and let the magic of milk paint bring out the beauty in your furniture.