DIYing a farmhouse dining table with milk paint is a great way to achieve a vintage, rustic look that is both beautiful and durable. Milk paint, made from milk protein, lime, and pigments, has been used for centuries to create rich, deep colours that are perfect for creating a farmhouse aesthetic. Milk paint is easy to work with, dries quickly, and is safe for both the environment and your health. Whether you're looking to refresh an old table or create a new piece of furniture from scratch, milk paint is a fantastic option that will give your dining area a cozy and inviting feel.
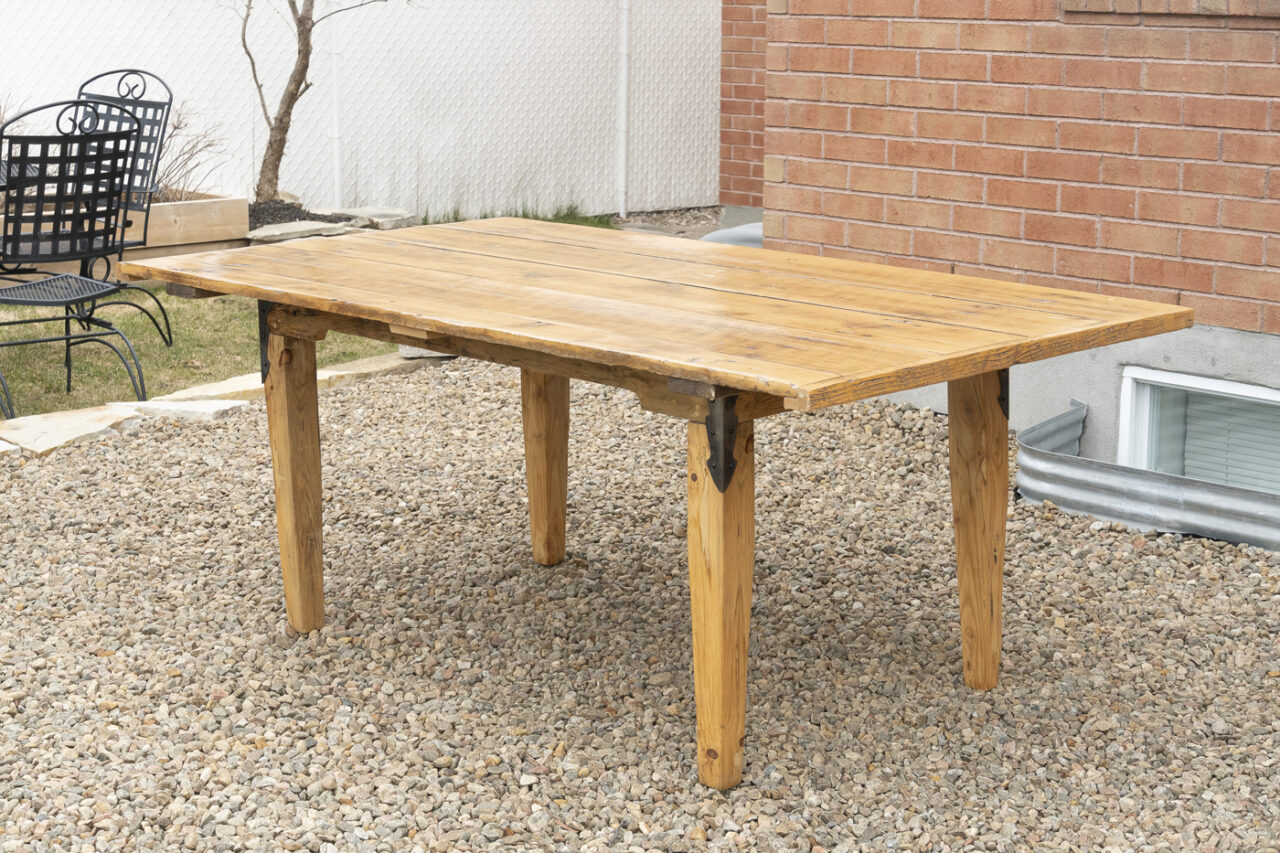
Check out the before picture of this table:
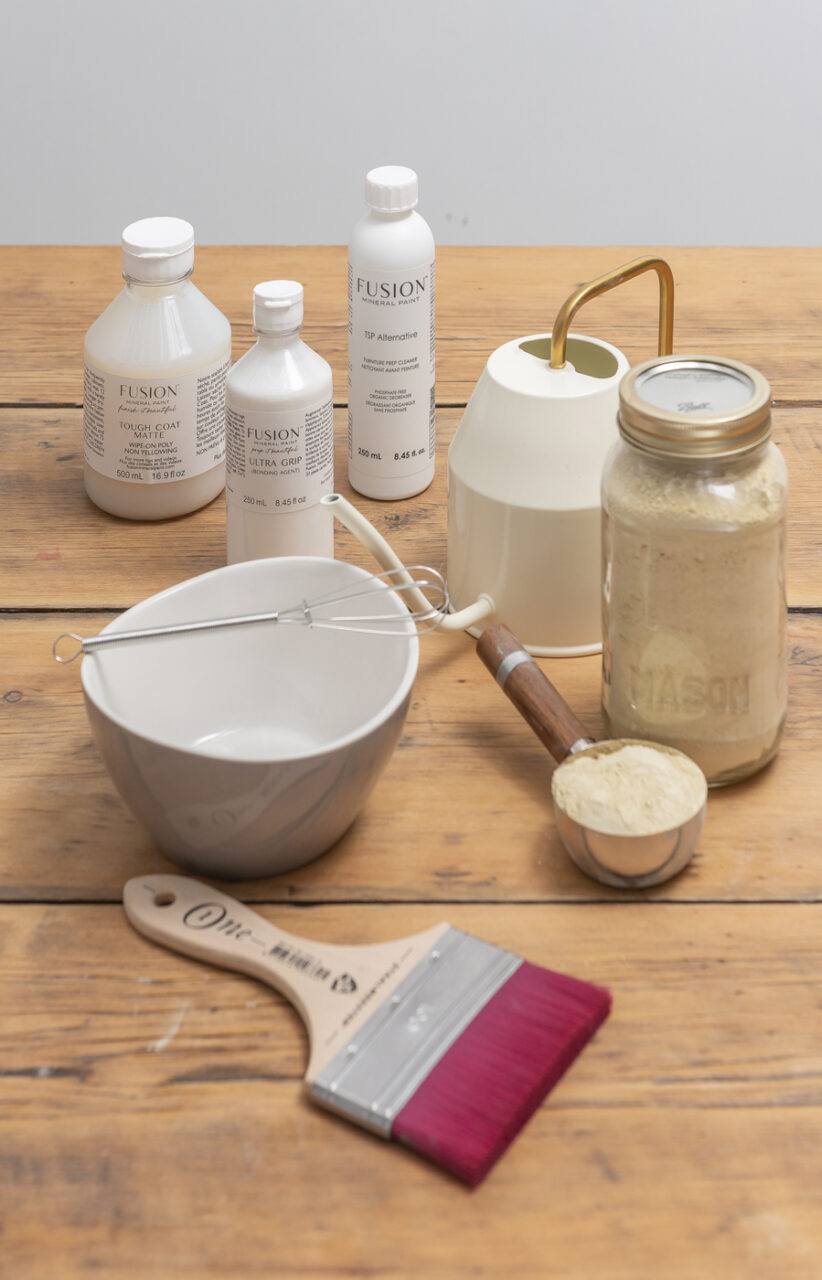
Supplies Needed to DIY a Farmhouse Dining Table with Milk Paint
- TSP Alternative + Wiping Cloths
- Ultra Grip or Bonding Agent
- Homestead House Milk Paint "Swedish Yellow"
- Tough Coat "Matte"
- Staalmeester One Series "Spalter"
Step 1: Prepping a Wooden Table for Milk Paint
The most important process in furniture refinishing is prep. You always want to make sure your pieces are ready to receive a properly applied finish that will last for years. To start you want to give your piece a thorough cleaning. We started by cleaning it well with our Fusion TSP Alternative solution mixed with water. We enjoy using the misting bottle as our applicator because it allows us to focus on one area at a time. Simply spray, scrub, wipe and repeat if necessary.
Step 2: Mixing Your Milk Paint
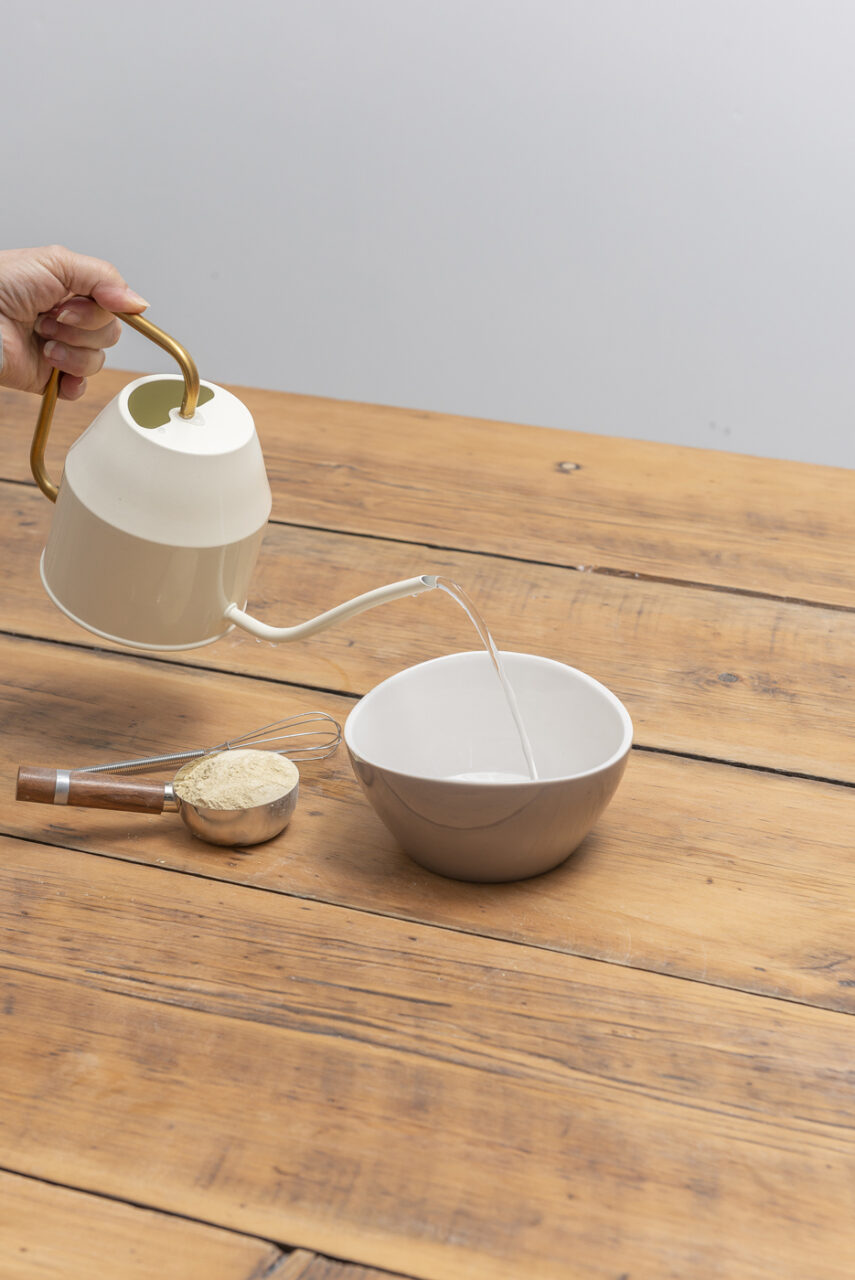
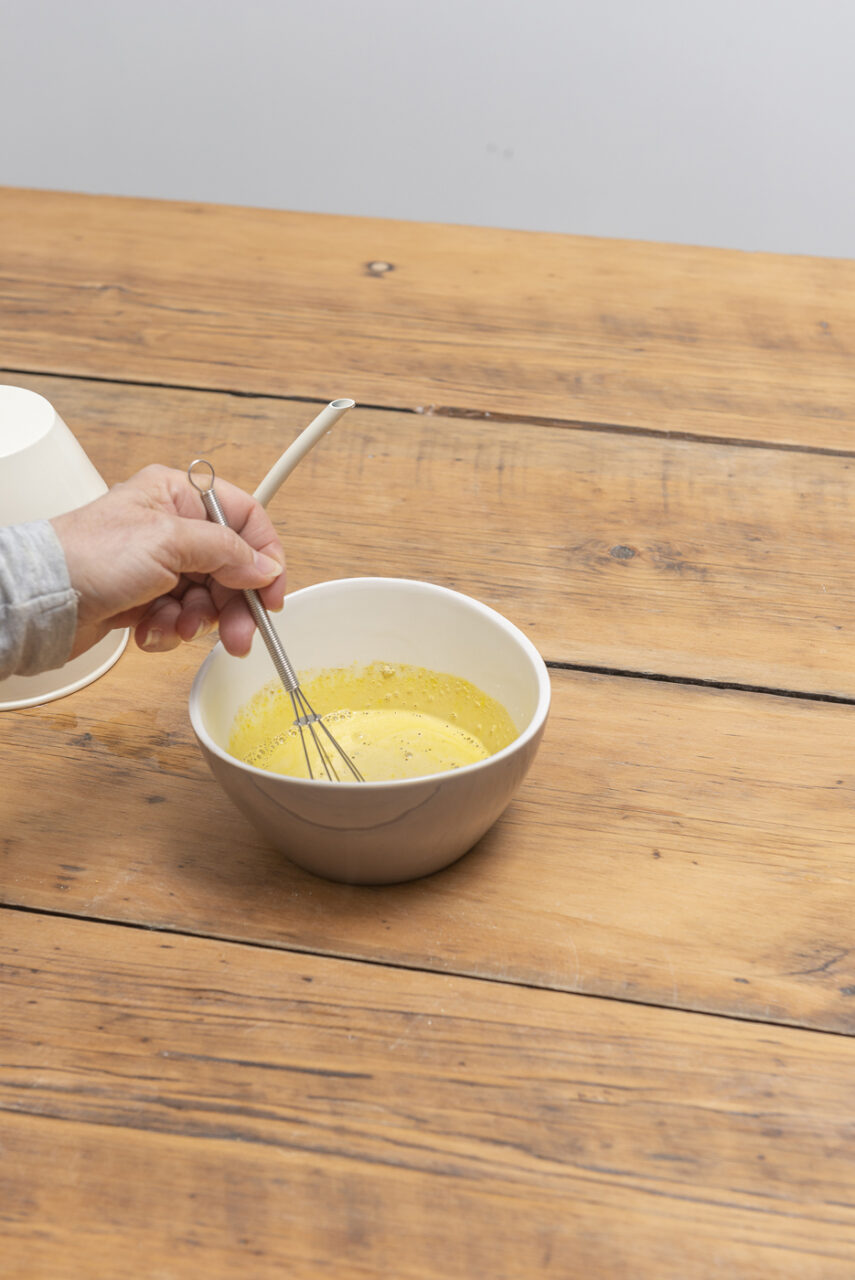
We did a 1:1 ratio of milk paint to room temperature water and mixed it with a stir stick. Ensuring the milk paint is fully incorporated into the water means the pigments break down properly. You can also let your milk paint sit for a few minutes to thicken up, though it’s not necessary.
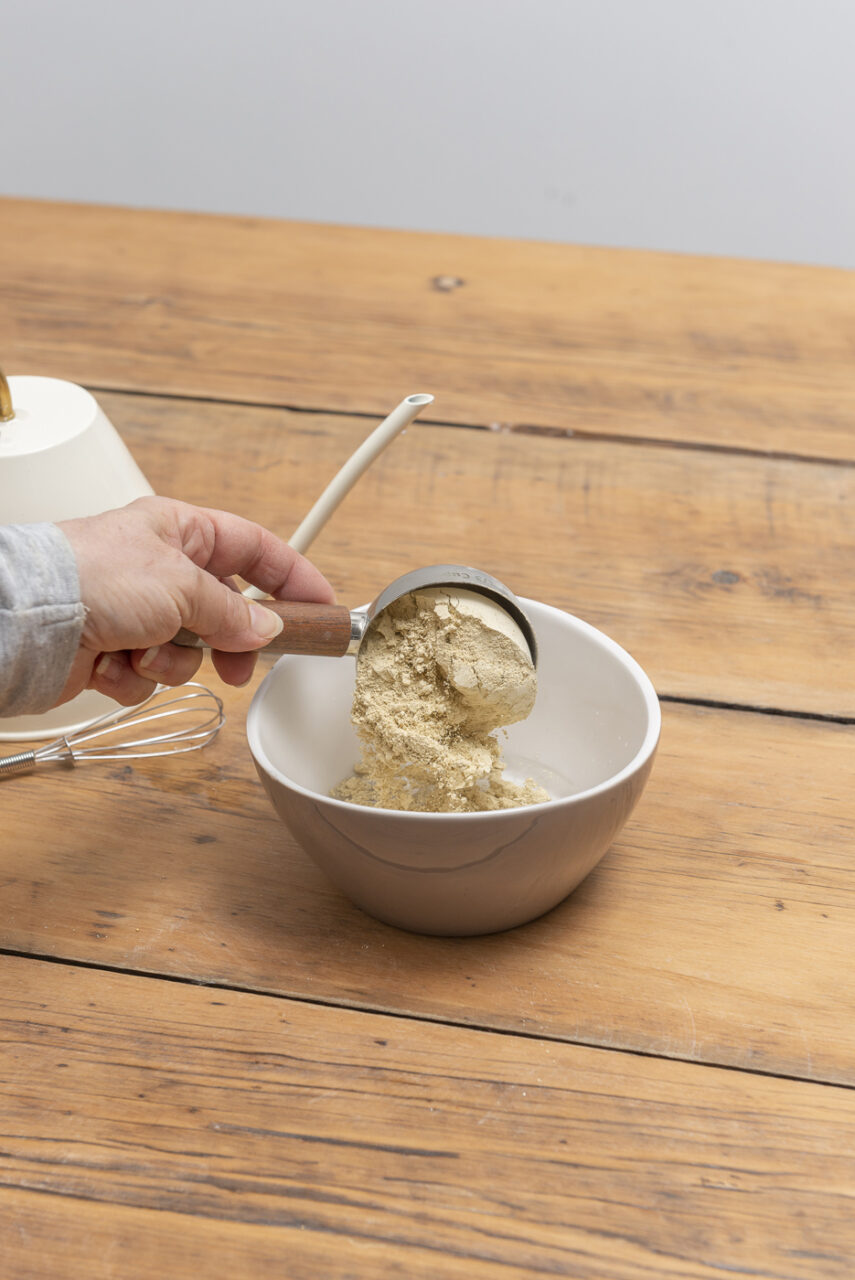
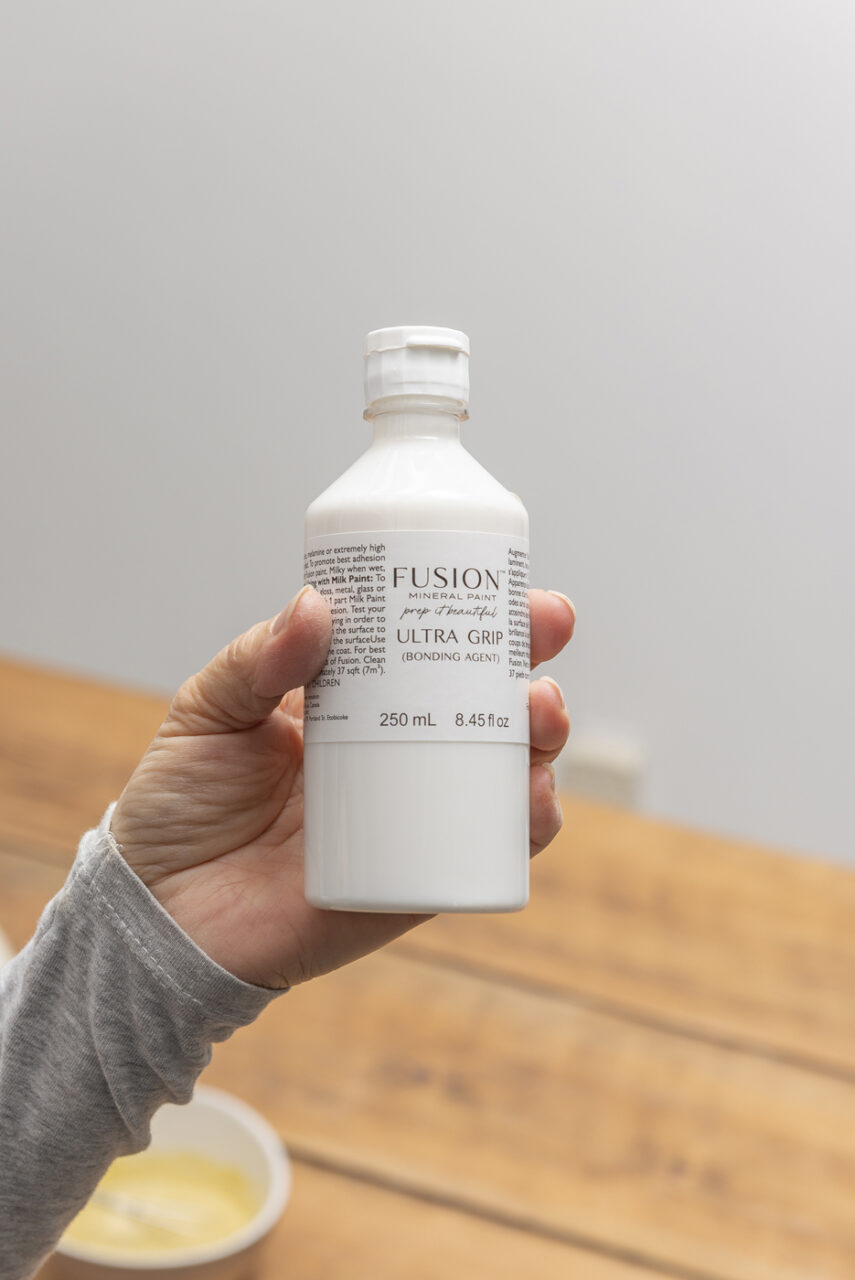
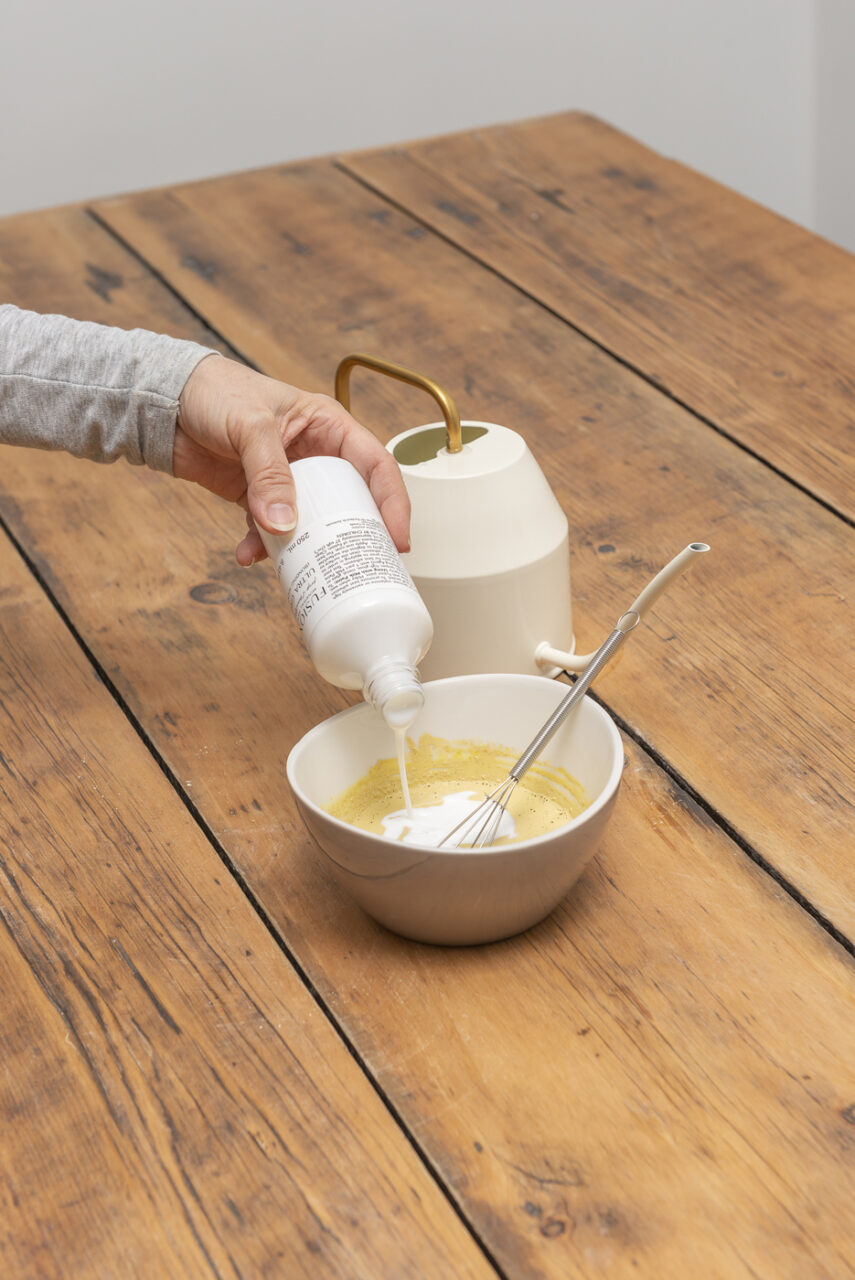
Since this piece had a glossy finish that we didn't want to sand off, we chose to add Ultra Grip to ensure our paint would adhere. We added one part bonding agent or ultra grip to our mixed milk paint.
Step 3: Time to Paint!
Next up, painting! We used a Staalmeester One Series Spalter brush for maximum coverage with each brush stroke.
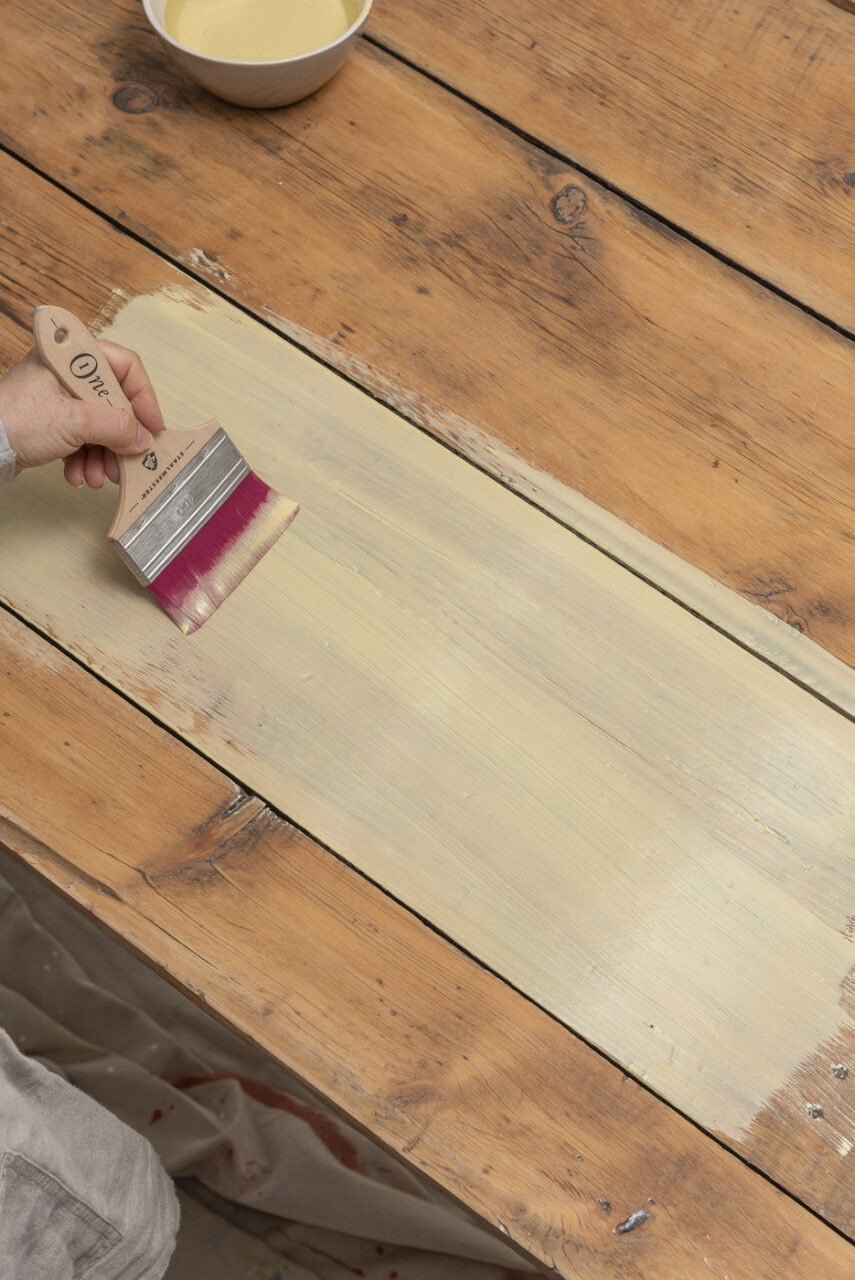
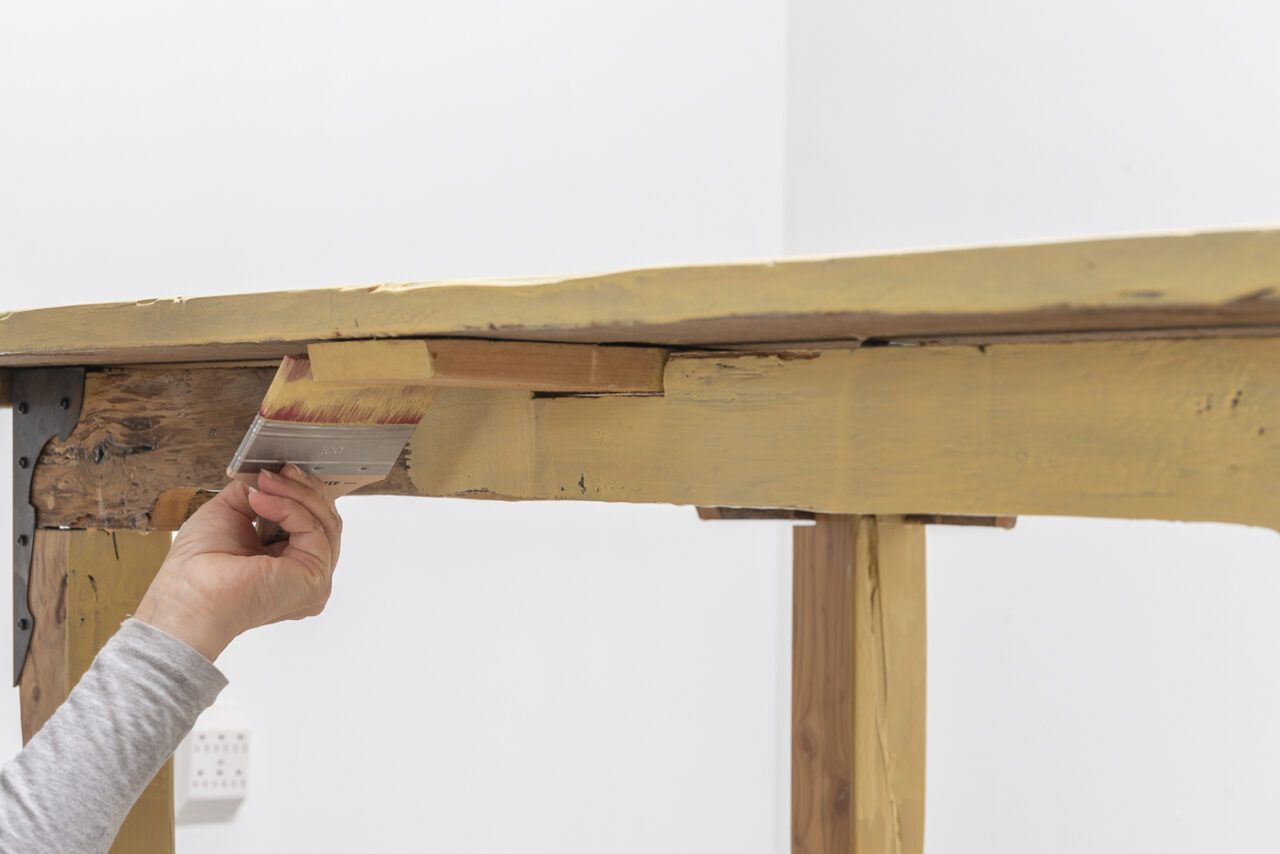
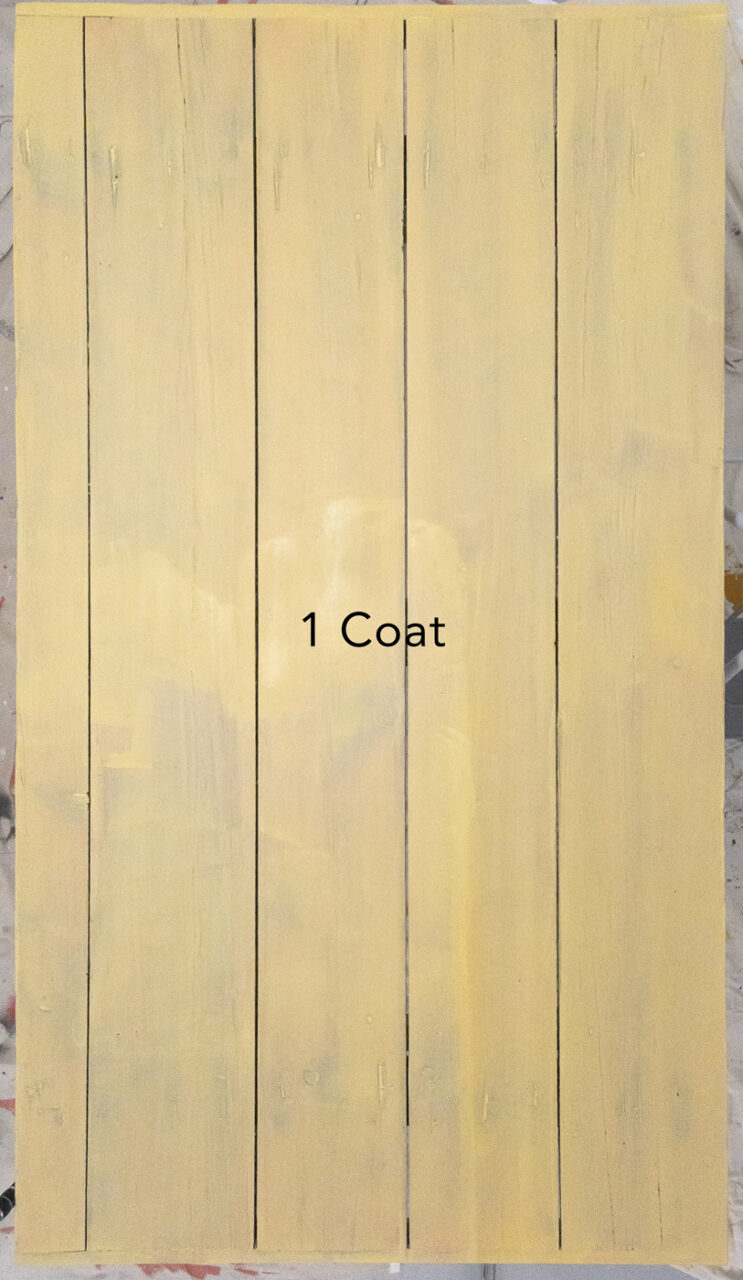
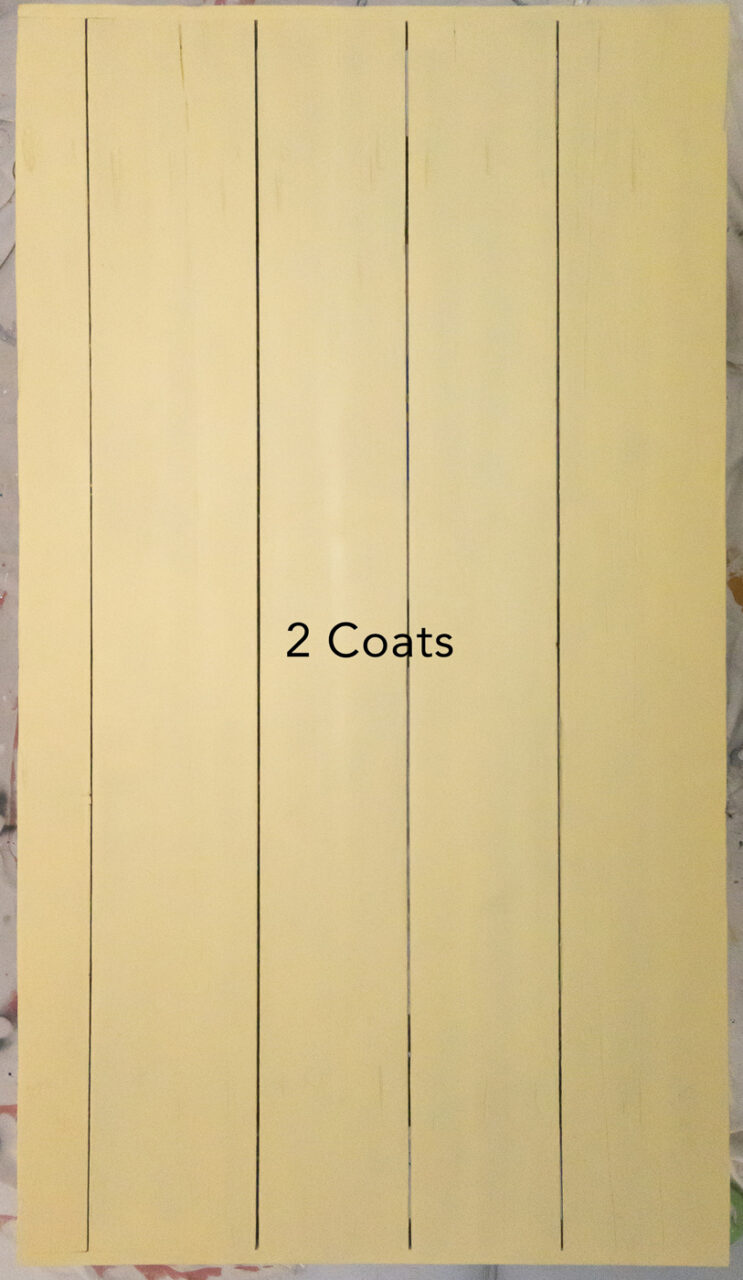
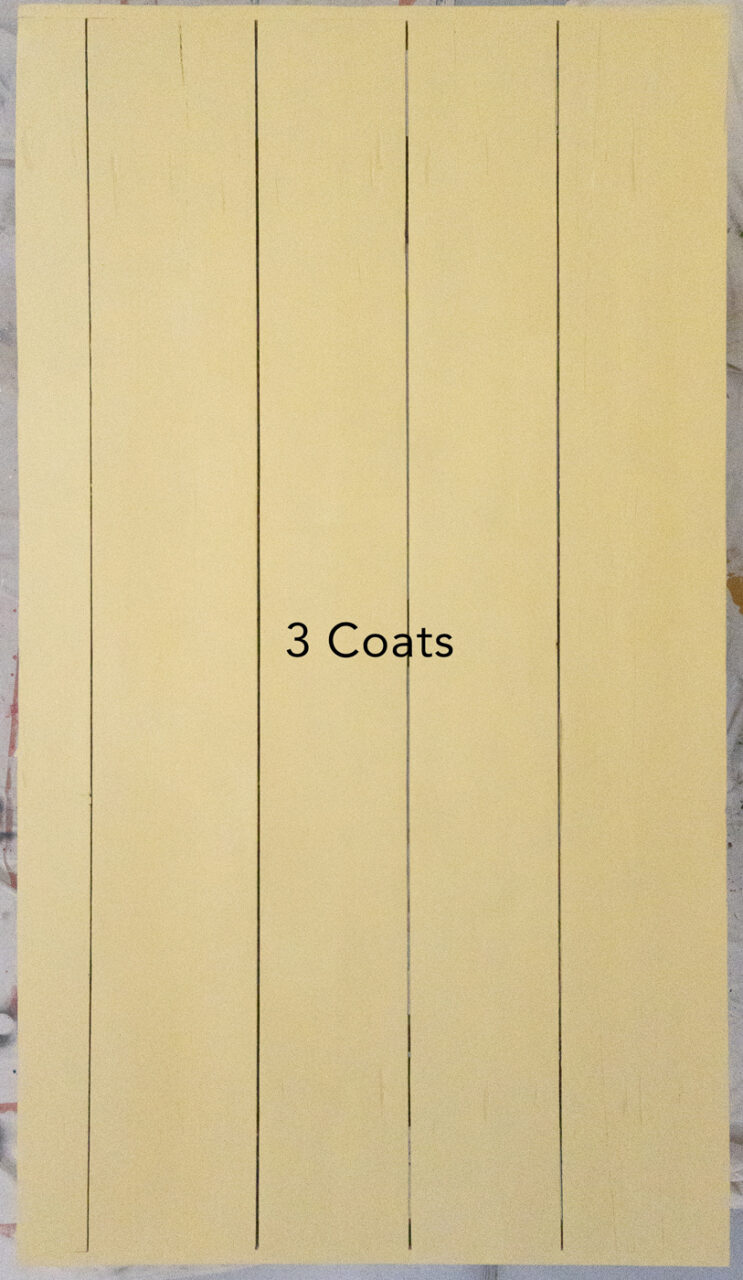
We did a total of three coats to give a fully opaque finish with this gorgeous, buttery colour. You can see the progression of each coat below.
Step 4: Top Coat
It's always a good idea to add a top coat to seal your Milk Paint and bring out the true depth of colour! This will also protect your paint for a finish that lasts generations. We chose to use Fusion's Tough Coat since we knew this table would be getting a lot of daily use. Water-based finishes won't deepen the colour like an oil-based topcoat.
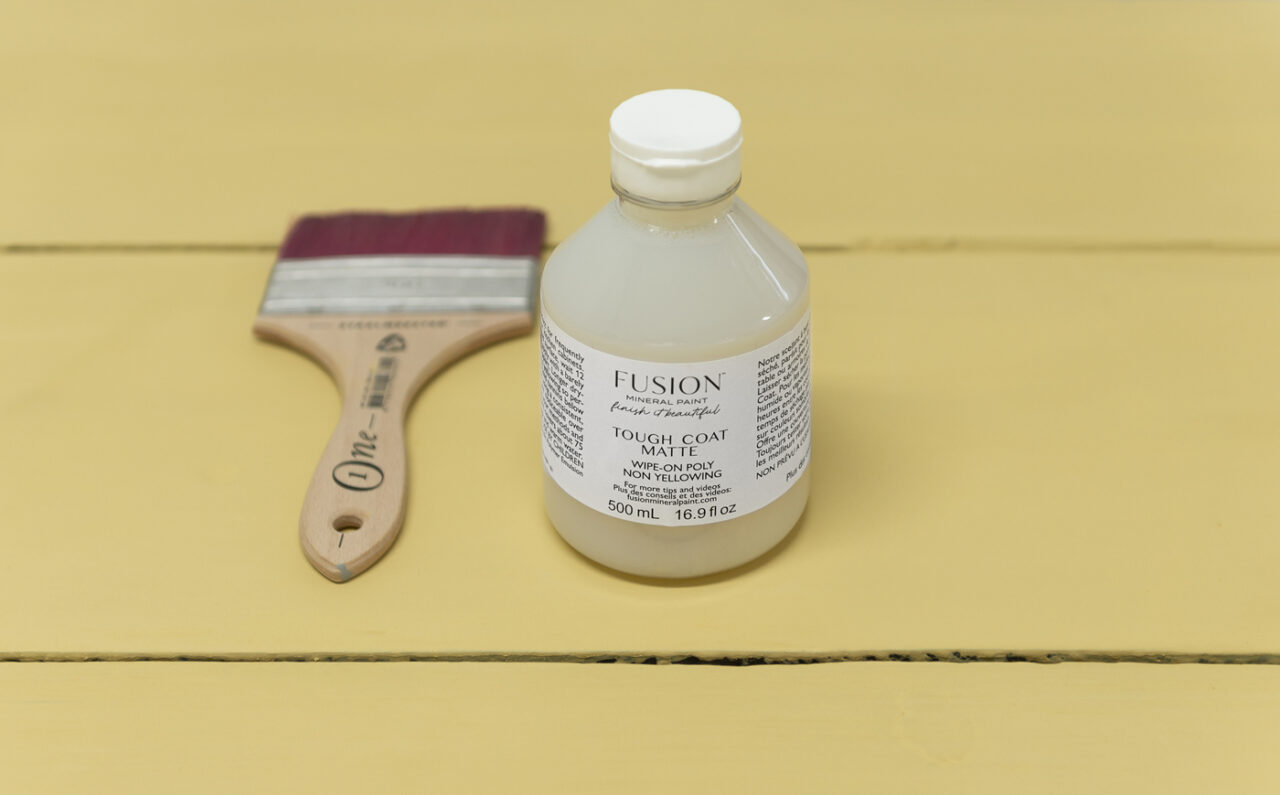
We applied our tough coat using the same Staalmeester brush, but you can also use a wipe-on sponge or applicator pad. Tough coat dries quickly, so do not go over the same area twice until the second coat (if desired). Did you know we also have a gloss version of our Tough Coat?
Step 5: Enjoy Your DIY'd Farmhouse Dining Table with Milk Paint
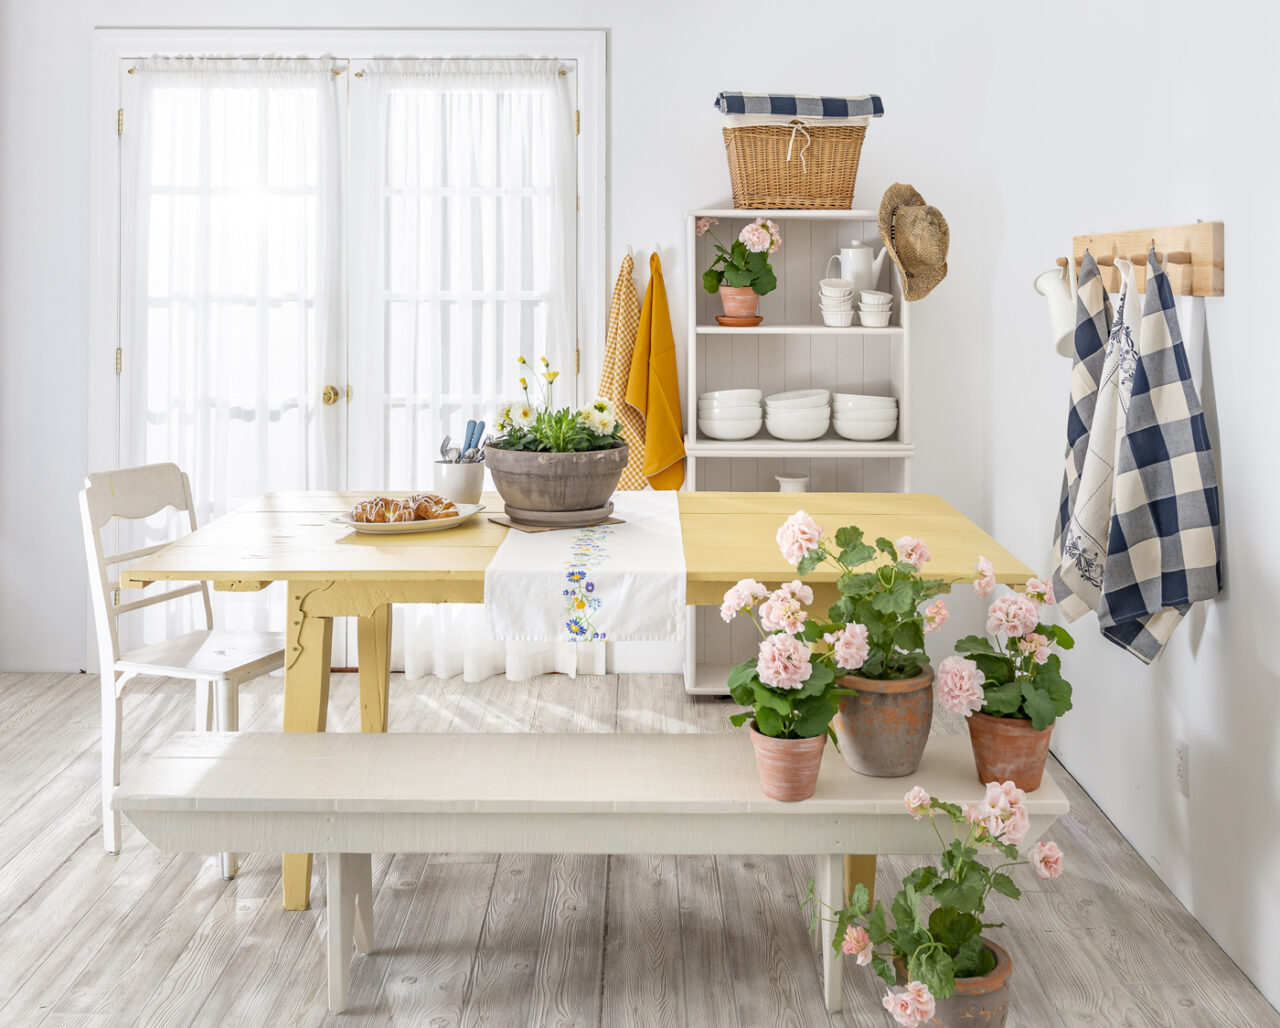
We absolutely adore this new Homestead House colour, Swedish Yellow.

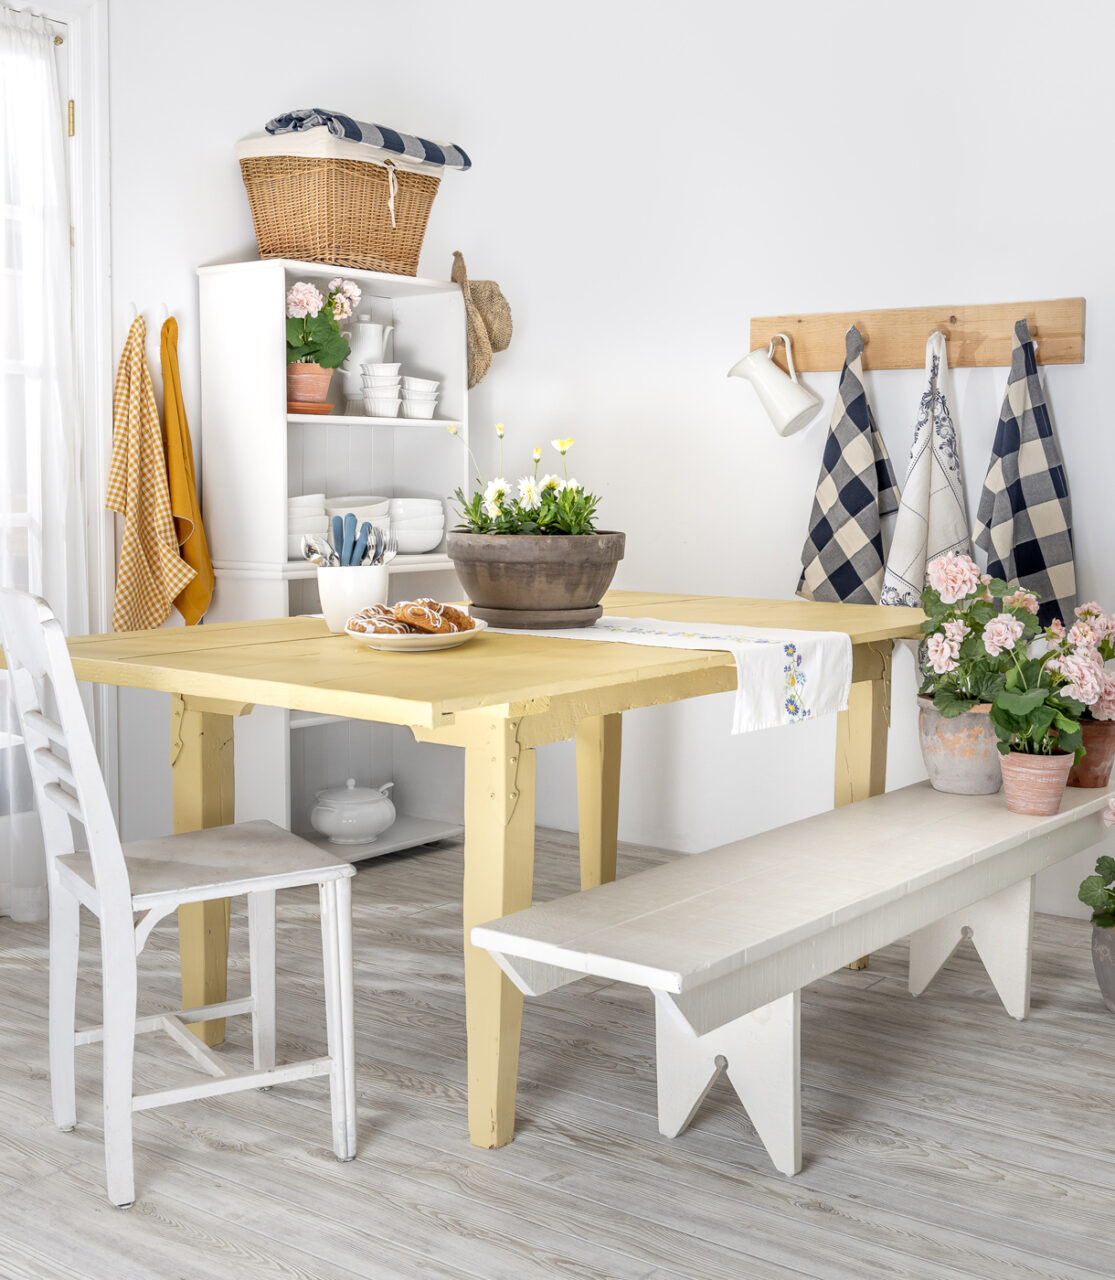

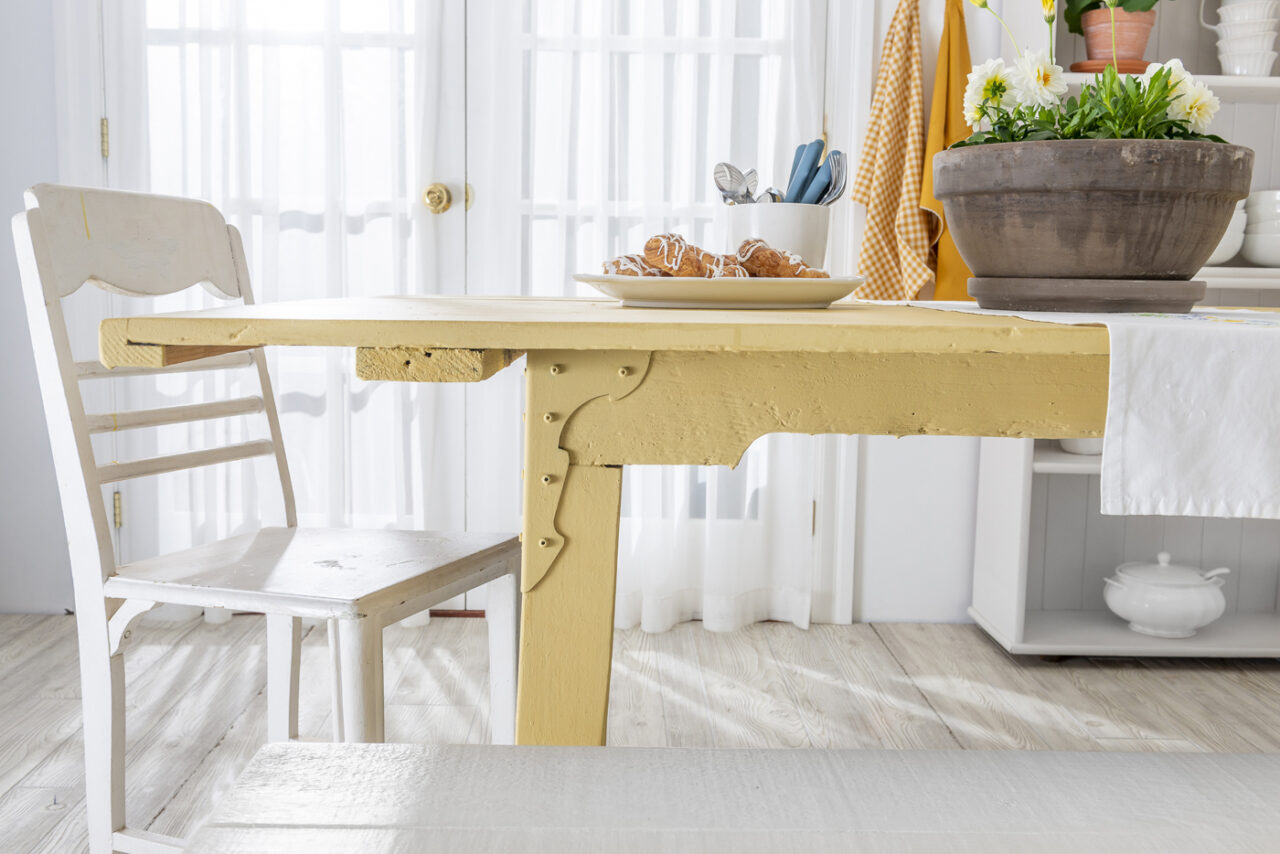
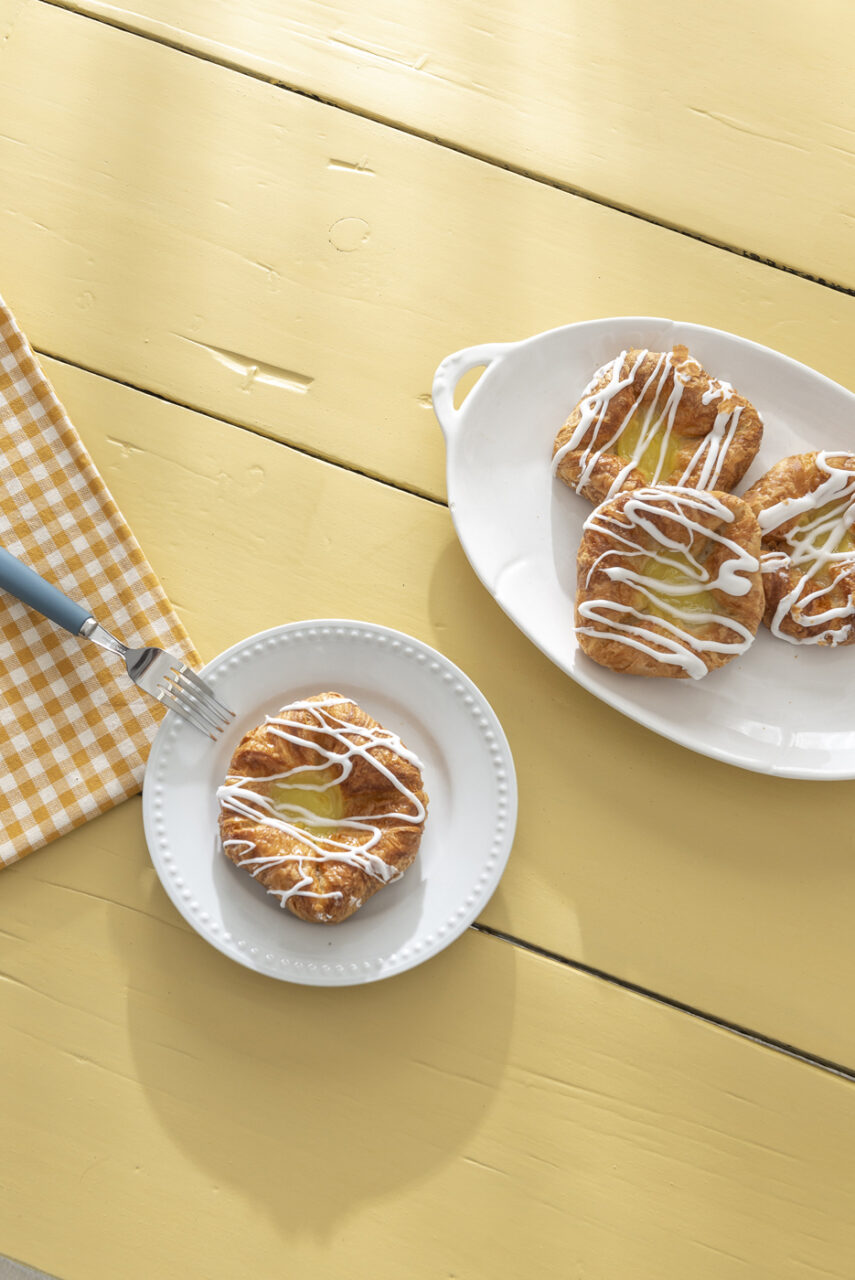
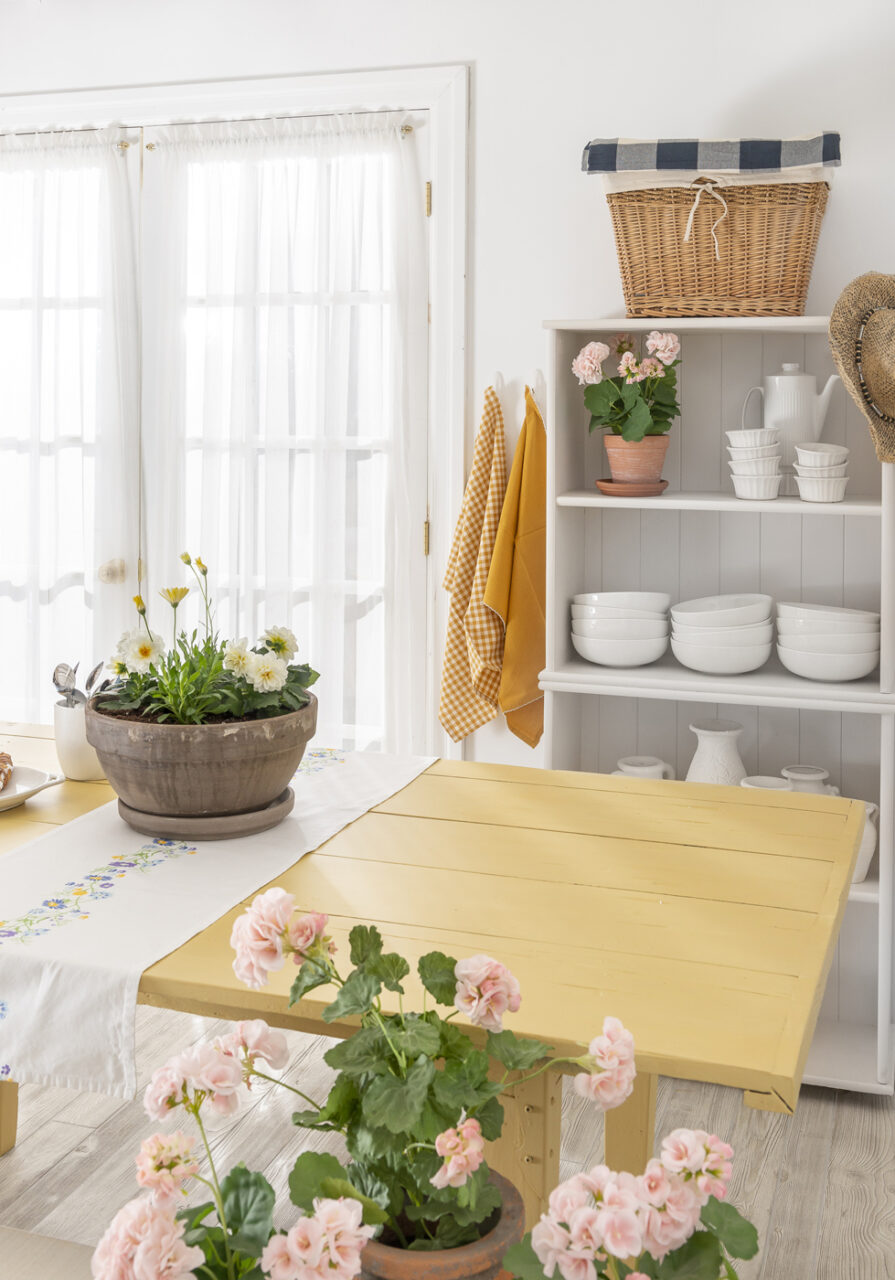
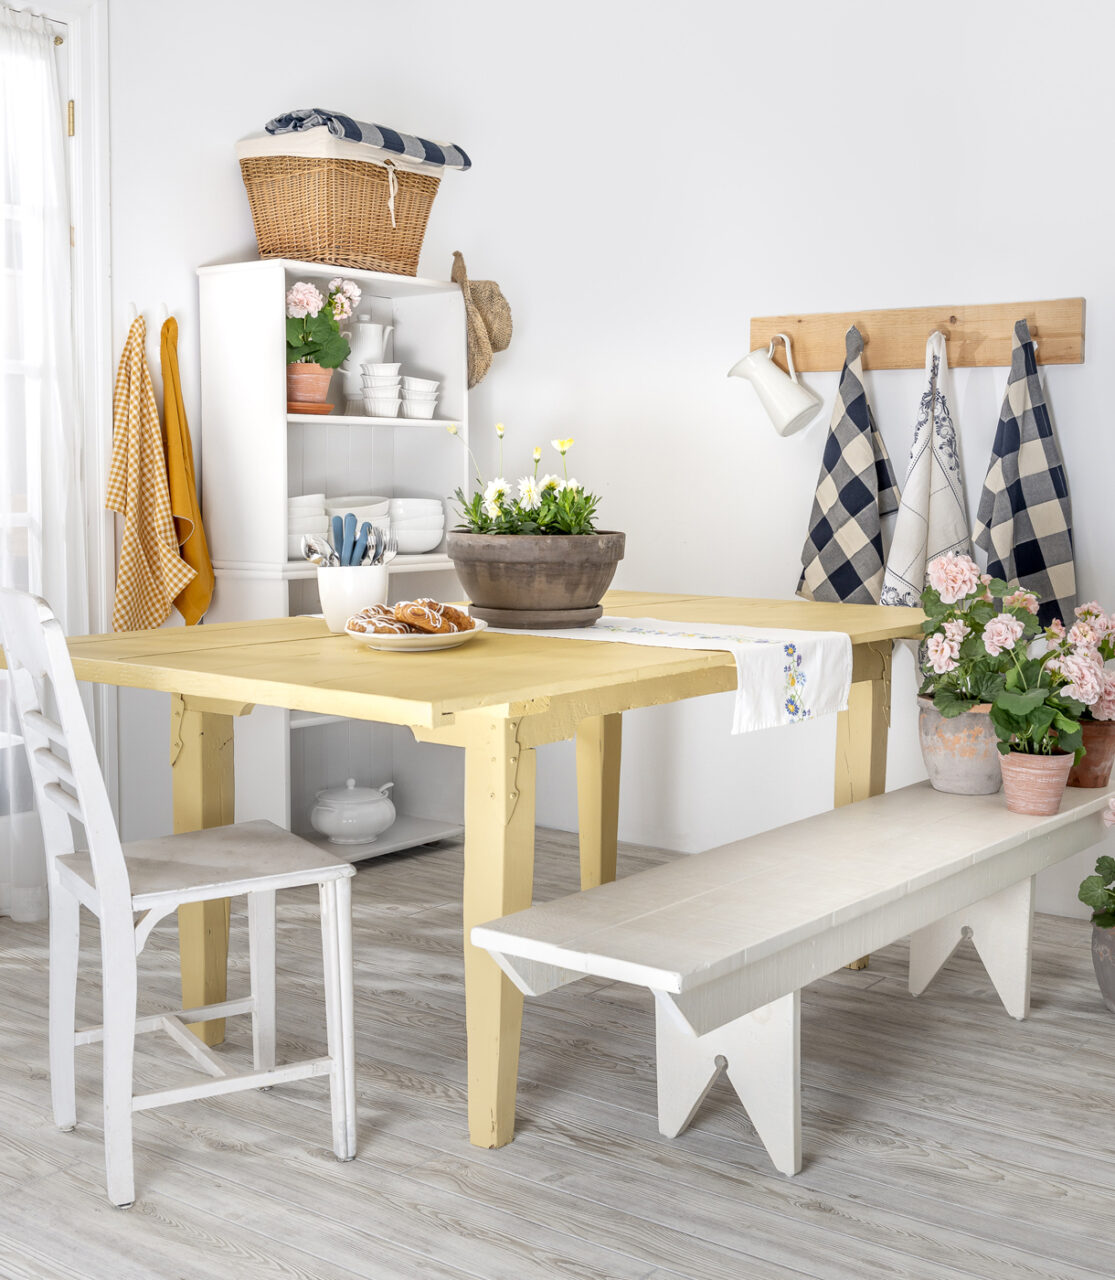
Check out our other Swedish Yellow inspiration blog here!
