
Refinishing furniture is a creative and rewarding way to breathe new life into old pieces, adding a touch of personal flair to your living space. One fantastic method to achieve this is by using Homestead House Milk Paint. In this blog post, we'll take you through the journey of refinishing a dresser using the captivating and versatile shade, "Bayberry." Get ready to discover the magic of Homestead House Milk Paint in this dresser transformation with Bayberry.
Why Choose Homestead House Milk Paint?
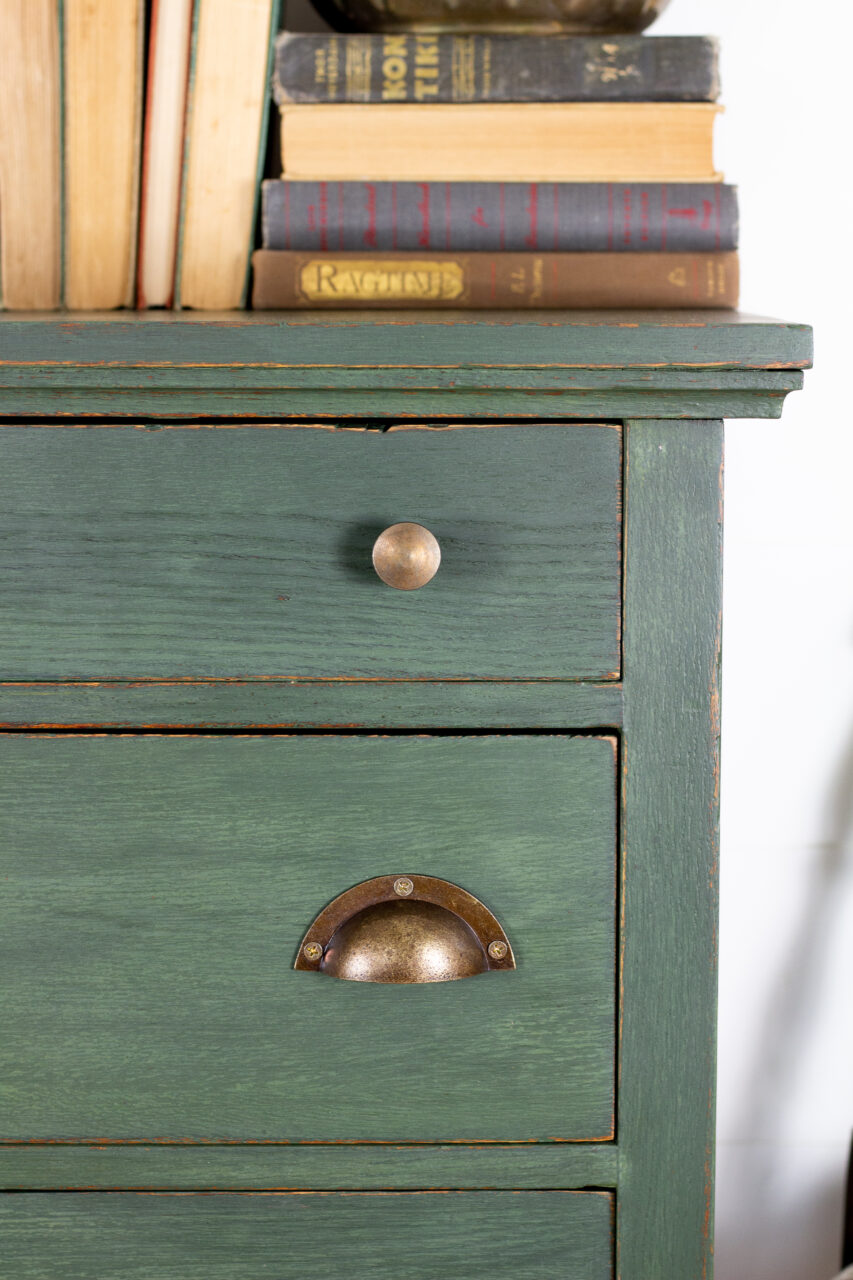
Homestead House Milk Paint is a popular choice among DIY enthusiasts and furniture refinishers due to its unique characteristics. Made from all-natural ingredients like casein (a milk protein), lime, clay, and natural pigments, this paint offers a vintage, chalky finish that's perfect for achieving a distressed or shabby-chic look. "Bayberry," one of its charming shades, exudes a serene aura that makes it an excellent choice for a variety of furniture pieces.
Preparing the Dresser
Before you start painting, proper preparation is crucial. Begin by removing any hardware and cleaning the dresser with TSP Alternative. Then give it a quick scuff sand to create a smooth canvas. Clean the piece thoroughly to remove any dust or debris that might interfere with the paint's adhesion.
Mixing and Applying "Bayberry" Milk Paint
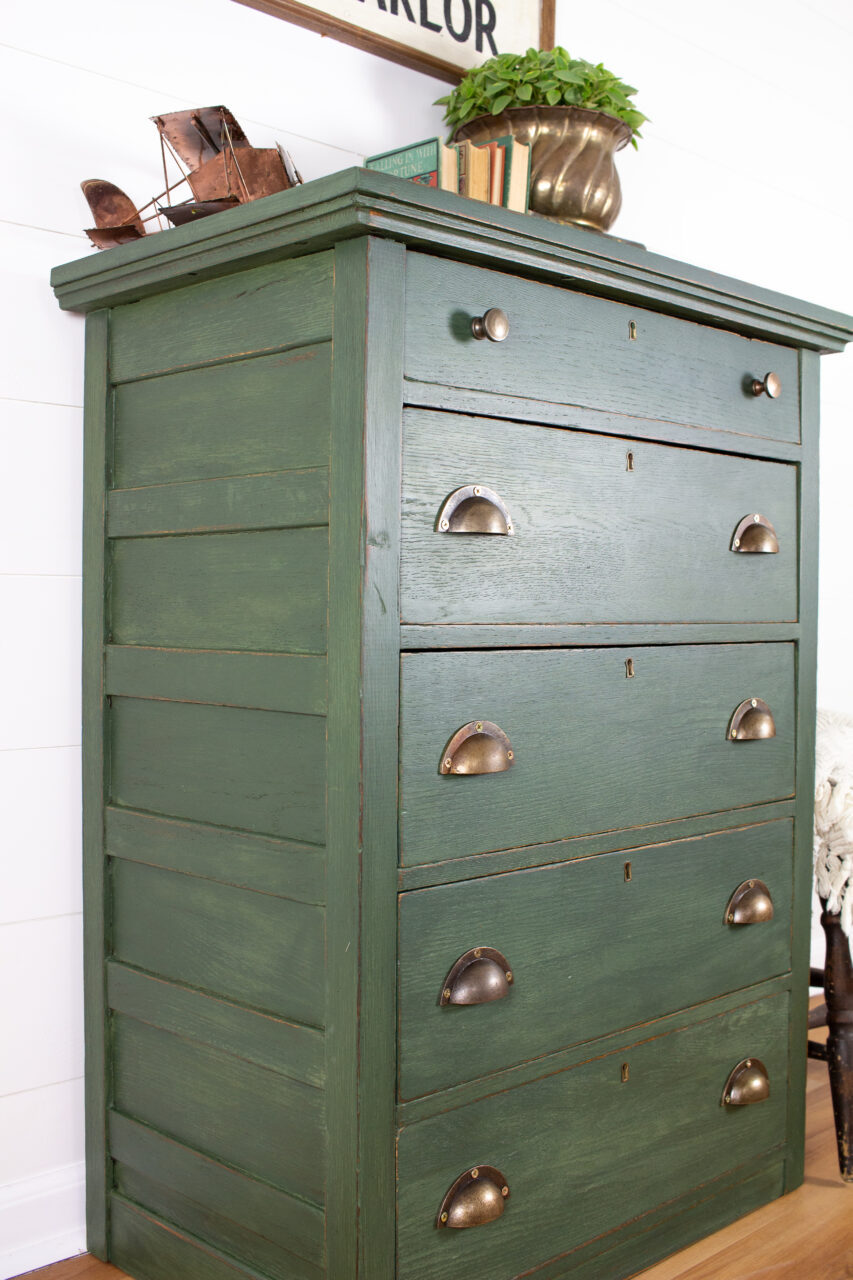
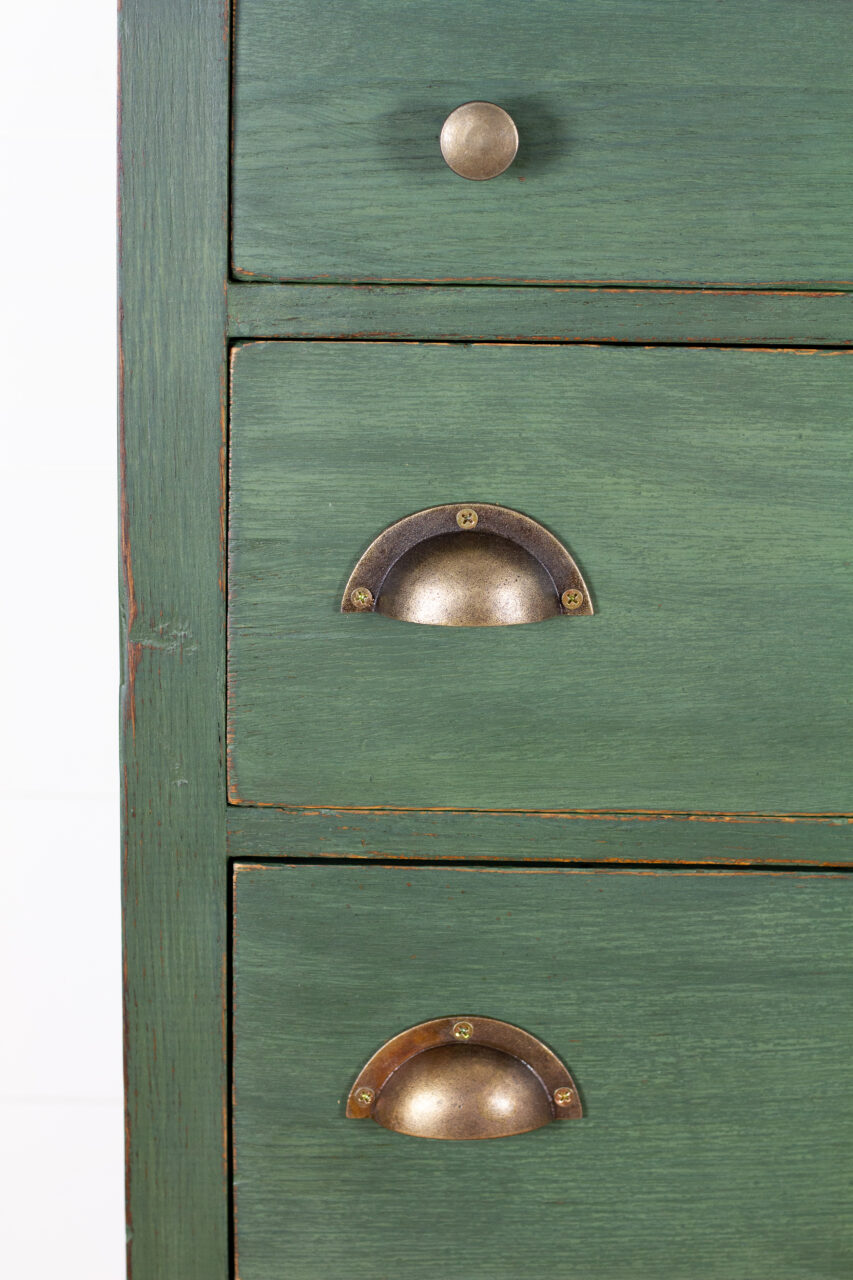
Homestead House Milk Paint comes in powder form, which you'll need to mix with water with a 1:1 ratio. "Bayberry" is a rich green shade that can vary in intensity based on how many coats you apply. For a more translucent look that showcases the wood's natural texture, use more water when mixing the paint.
Start applying the paint with a brush, we recommend one of our favourite Staalmeester brushes, working in even strokes along the grain of the wood. Milk paint dries relatively quickly, so work efficiently to avoid visible brushstrokes. If you're aiming for a distressed finish, you can intentionally leave some areas less coated for a worn-in effect.
Adding Depth with Distressing Techniques
Once the paint is dry, you can enhance the character of your piece by distressing it. Gently sand the edges, corners, and other areas that would naturally experience wear and tear over time. This step not only adds depth to the finish but also reveals glimpses of the original wood, creating a charming vintage appeal.
Sealing the Paint
To protect the paint and achieve a smooth finish, apply a topcoat. Depending on your preference, you can use a clear wax, hemp oil, or stain and finishing oil. Each option will give your dresser a slightly different look, so consider the level of sheen and protection you desire.
Reassembling and Styling
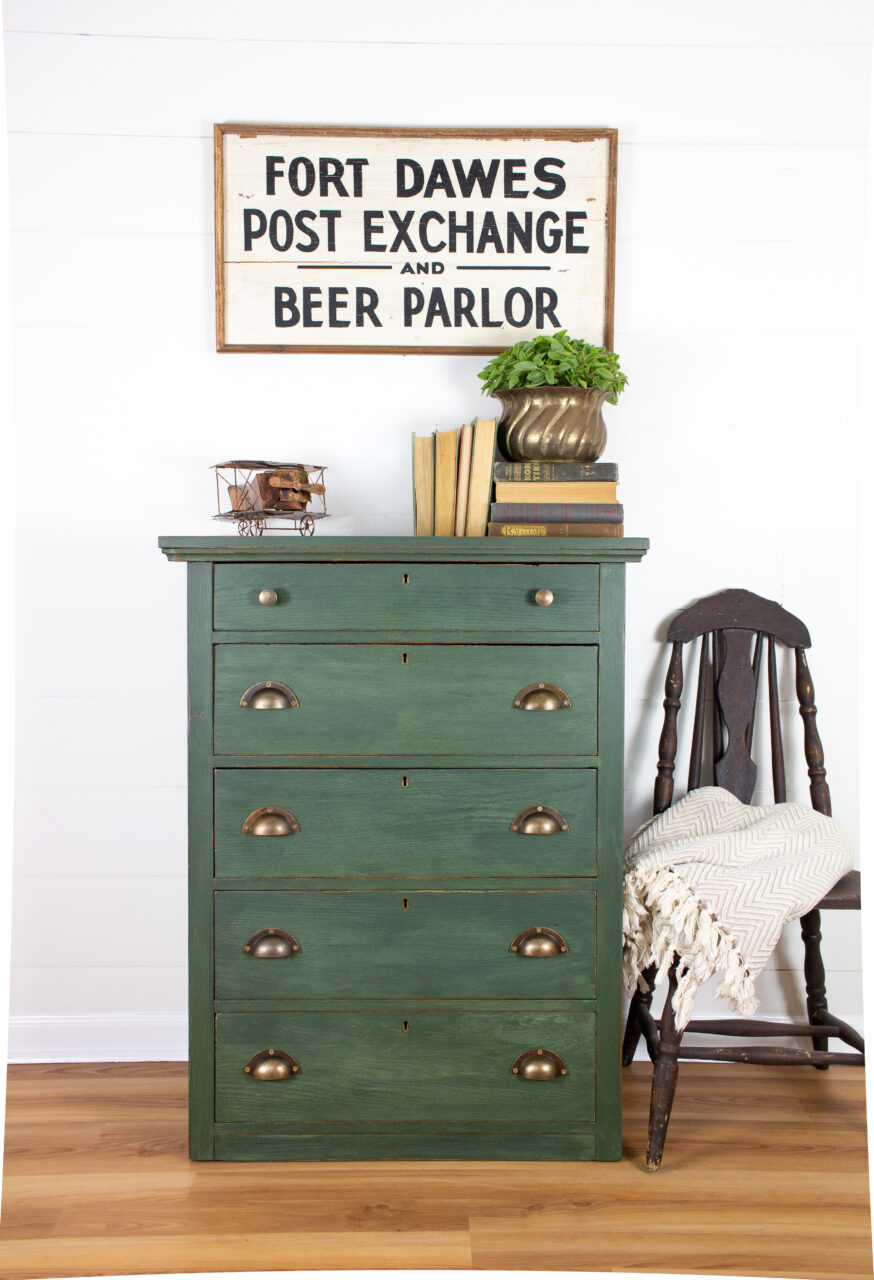
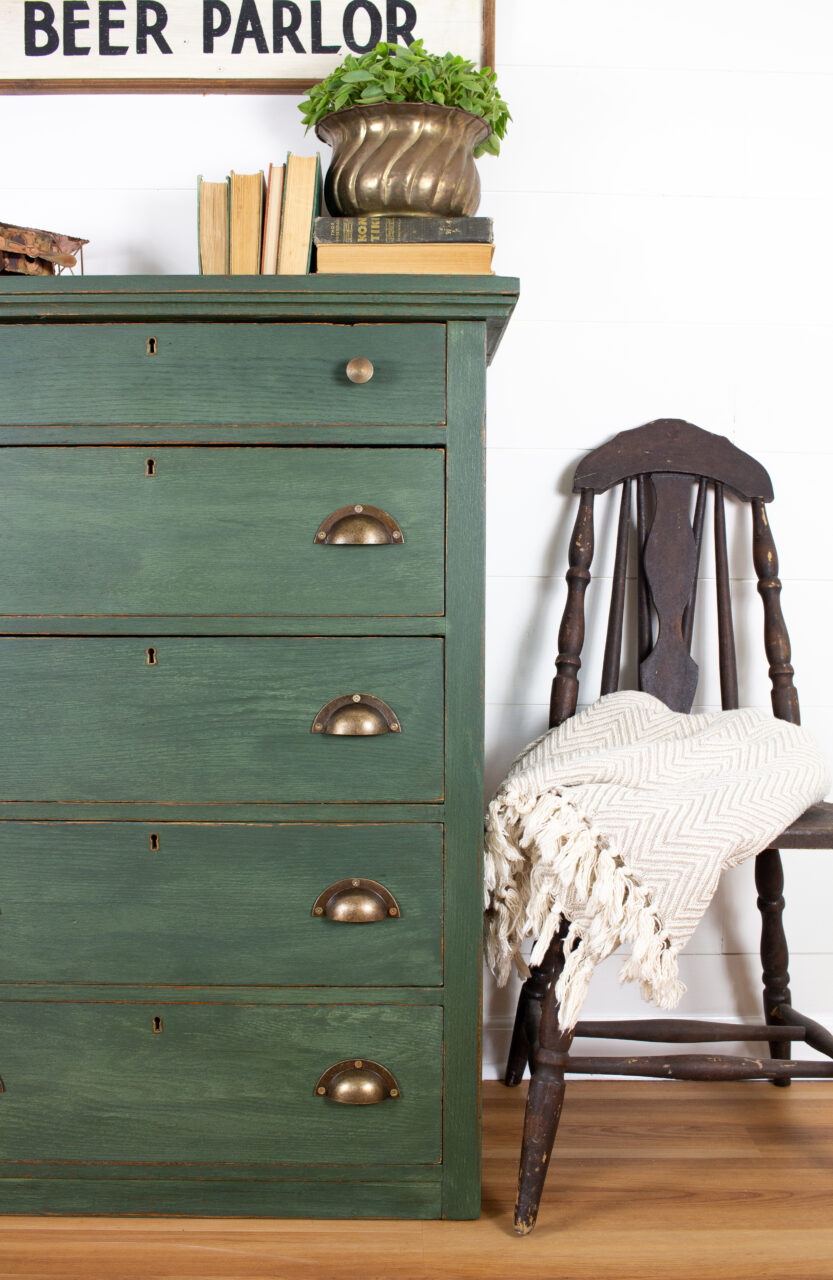
After the topcoat is dry, it's time to reattach the hardware and admire your transformed dresser. The "Bayberry" milk-painted finish adds a touch of elegance and warmth to the piece, making it a stunning addition to any room. Consider styling the dresser with complementary decor elements to complete the look. Whether it's in a bedroom, living room, or hallway, your refinished dresser will surely be a conversation starter.
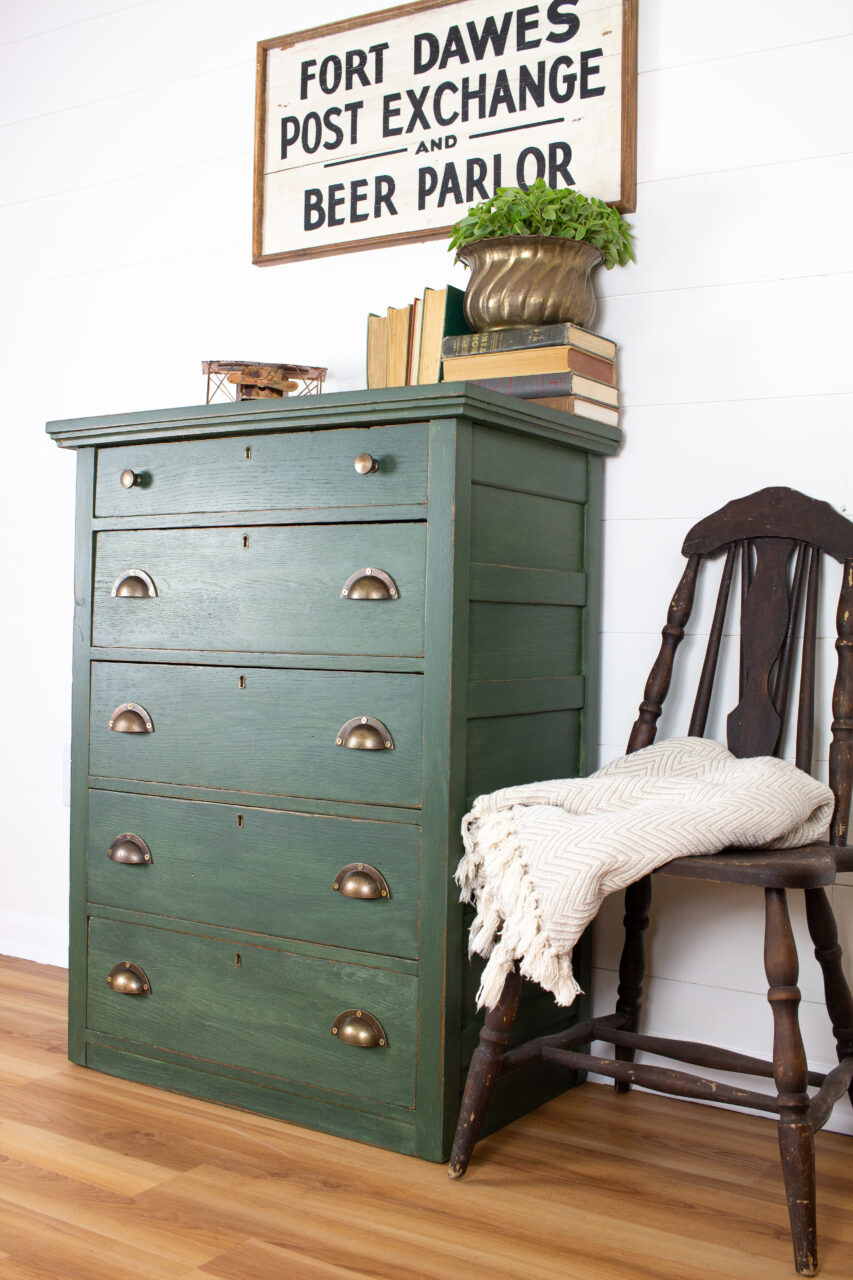
Dresser Transformation in Bayberry
Refinishing furniture with Homestead House Milk Paint in the captivating shade of "Bayberry" is a gratifying DIY project that allows you to express your creativity and bring a unique touch to your home decor. With its all-natural ingredients and vintage charm, this milk paint is a fantastic choice for reviving tired furniture pieces. So, roll up your sleeves, unleash your artistic side, and watch as your dresser undergoes a stunning transformation that will leave you proud of your accomplishment for years to come.