
Homestead House Milk Paint is a versatile and eco-friendly option for those looking to repaint their furniture, walls, or any other wooden fixtures. One of the unique features of this paint is the ability to create custom hues by mixing the available colours together. This option allows you to add a personal touch to your project, and create a one-of-a-kind piece that perfectly reflects your style and taste. In this blog post, we'll explore the process of mixing a custom milk paint colour using Homestead House Milk Paint, and we'll also share some helpful tips to ensure that your project turns out perfect. So, let's dive right in!
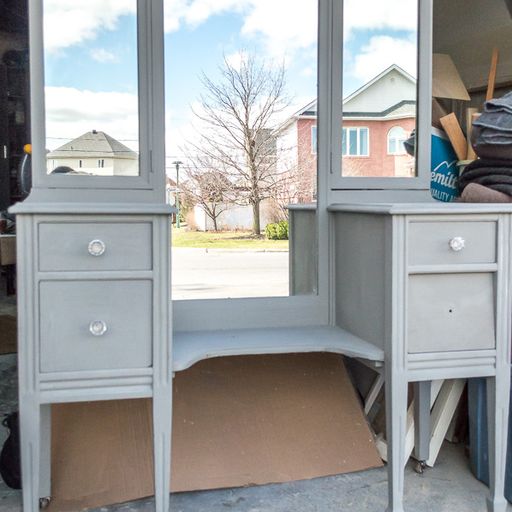
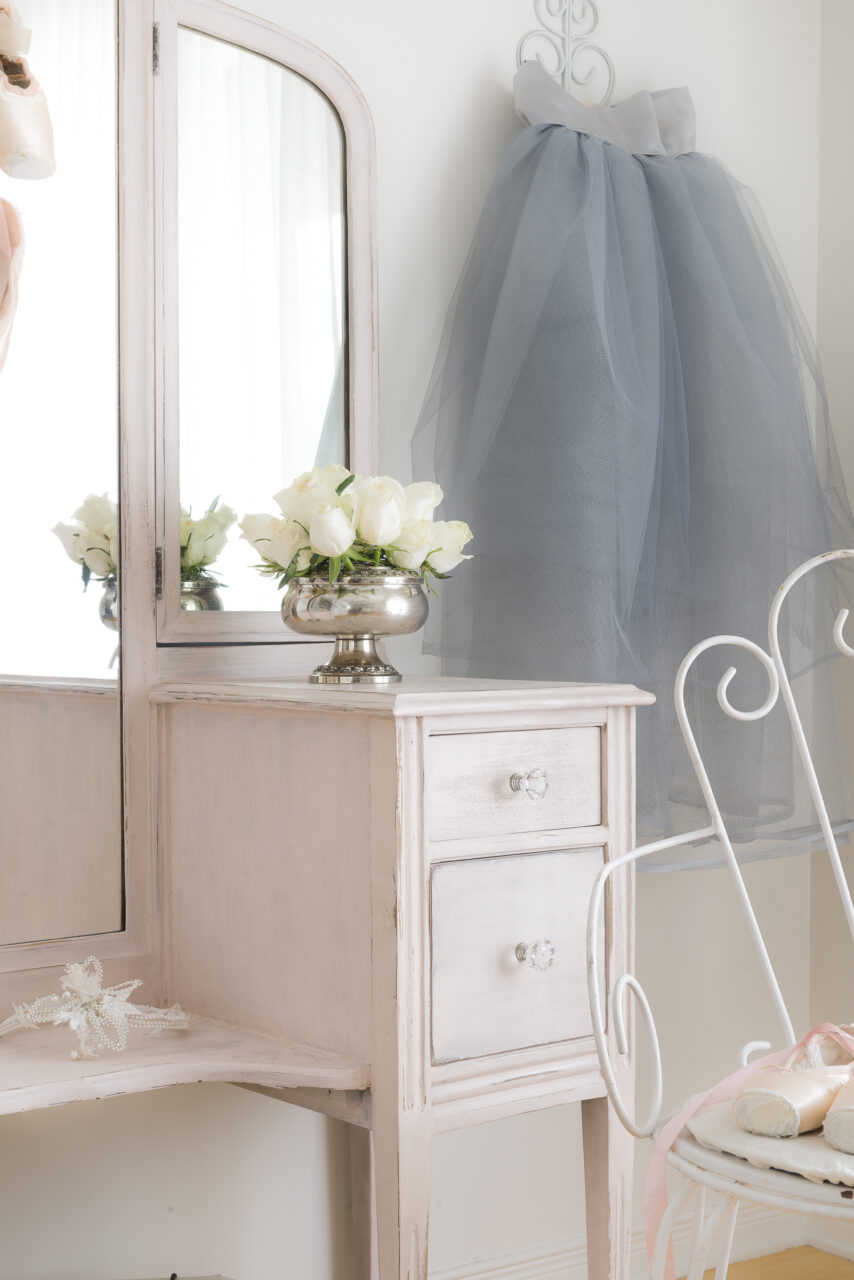
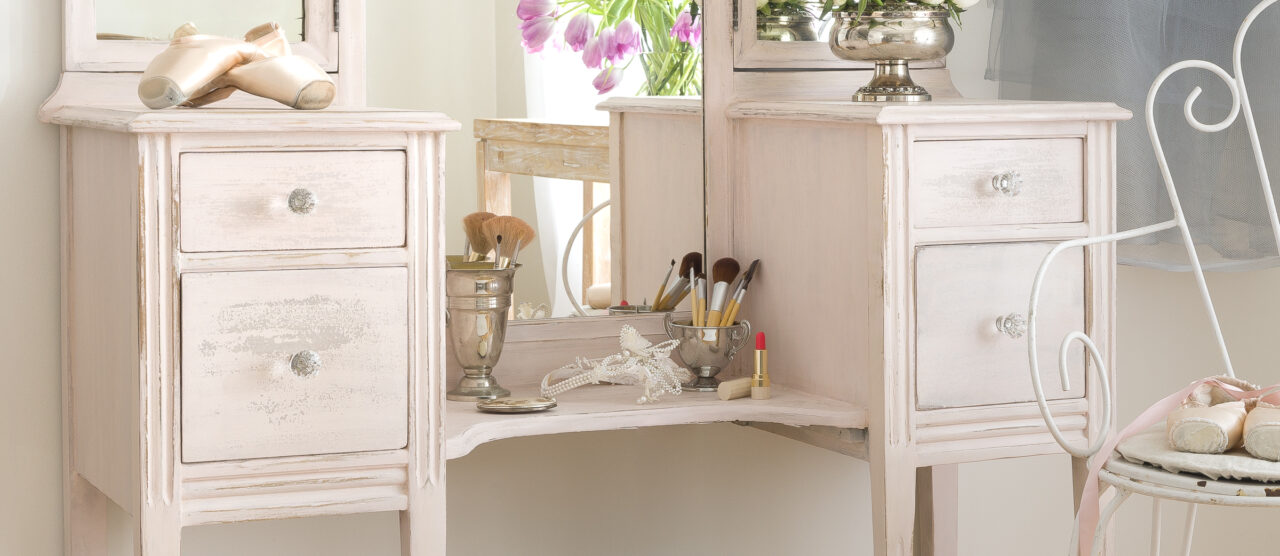
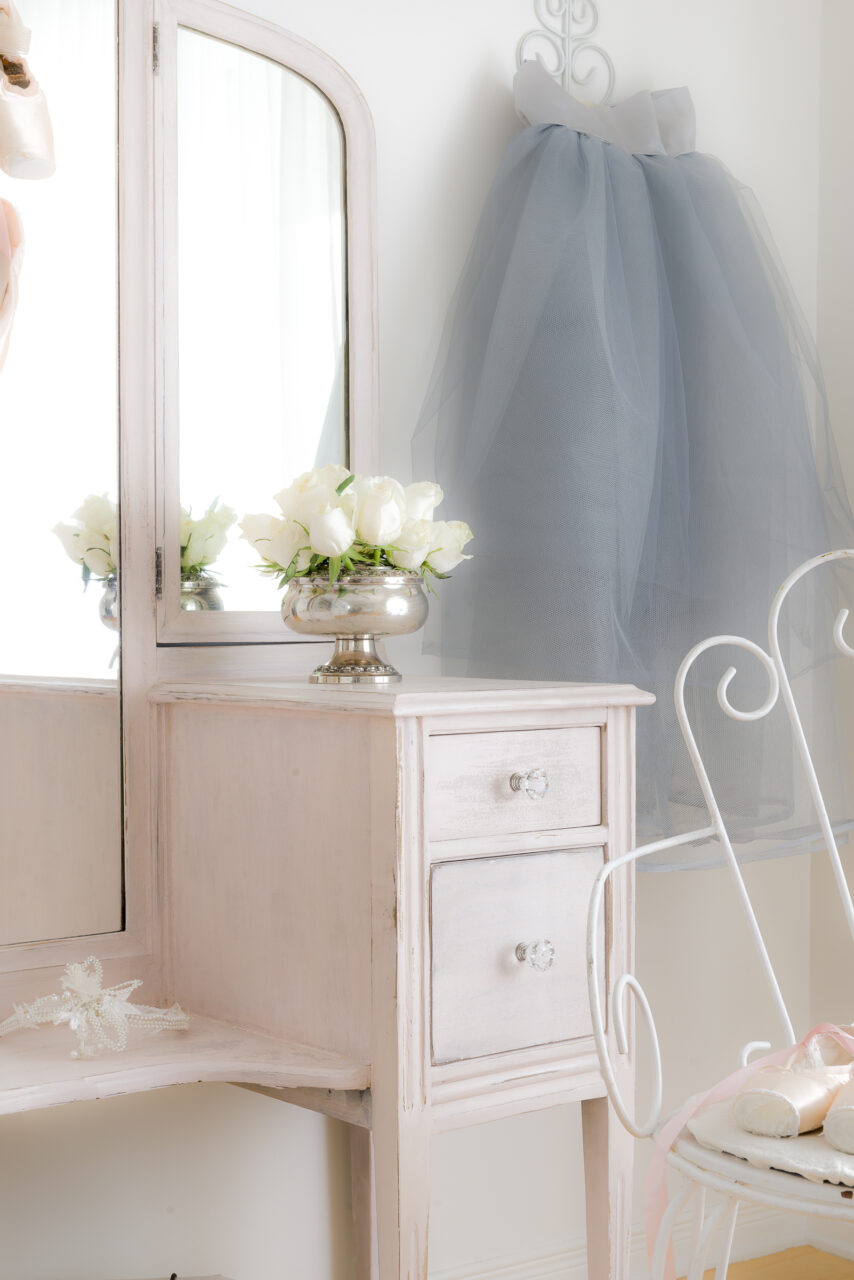
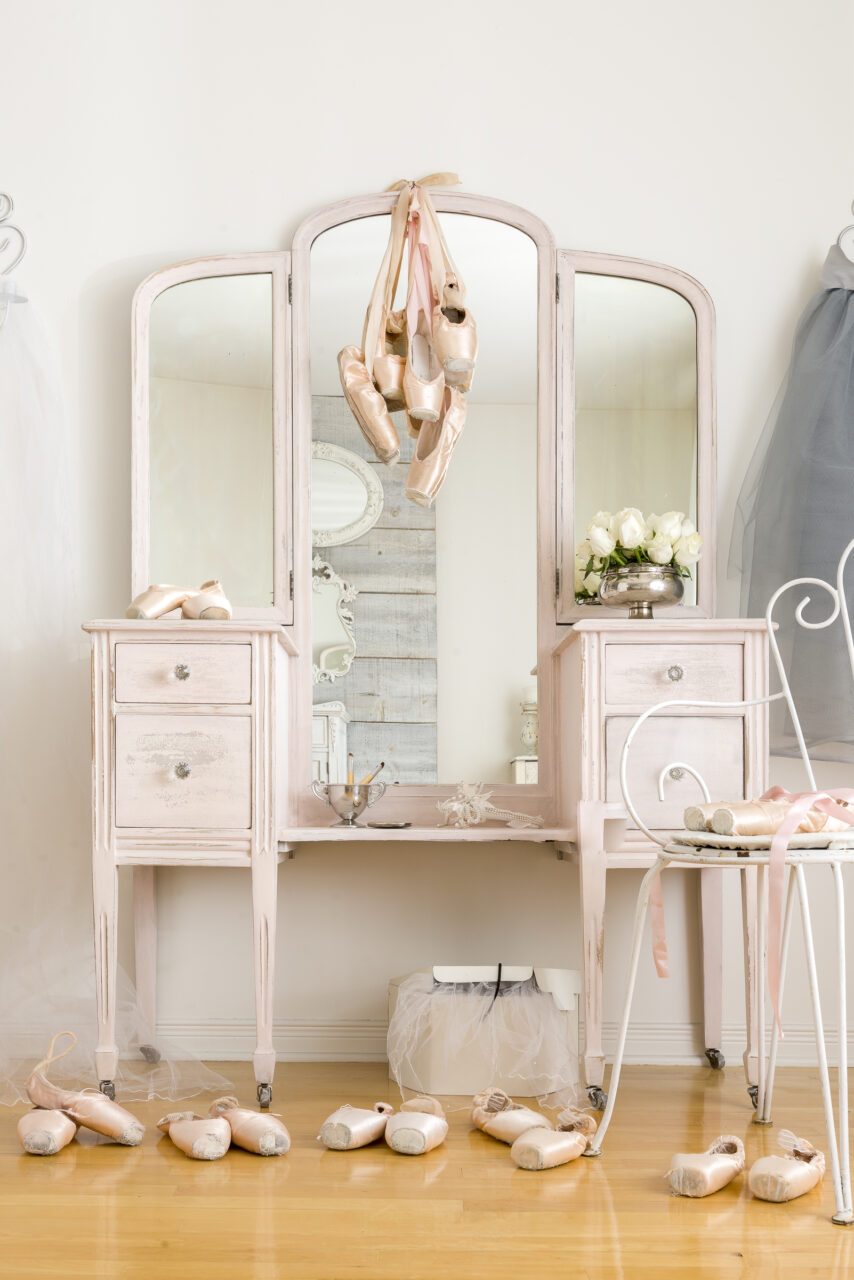
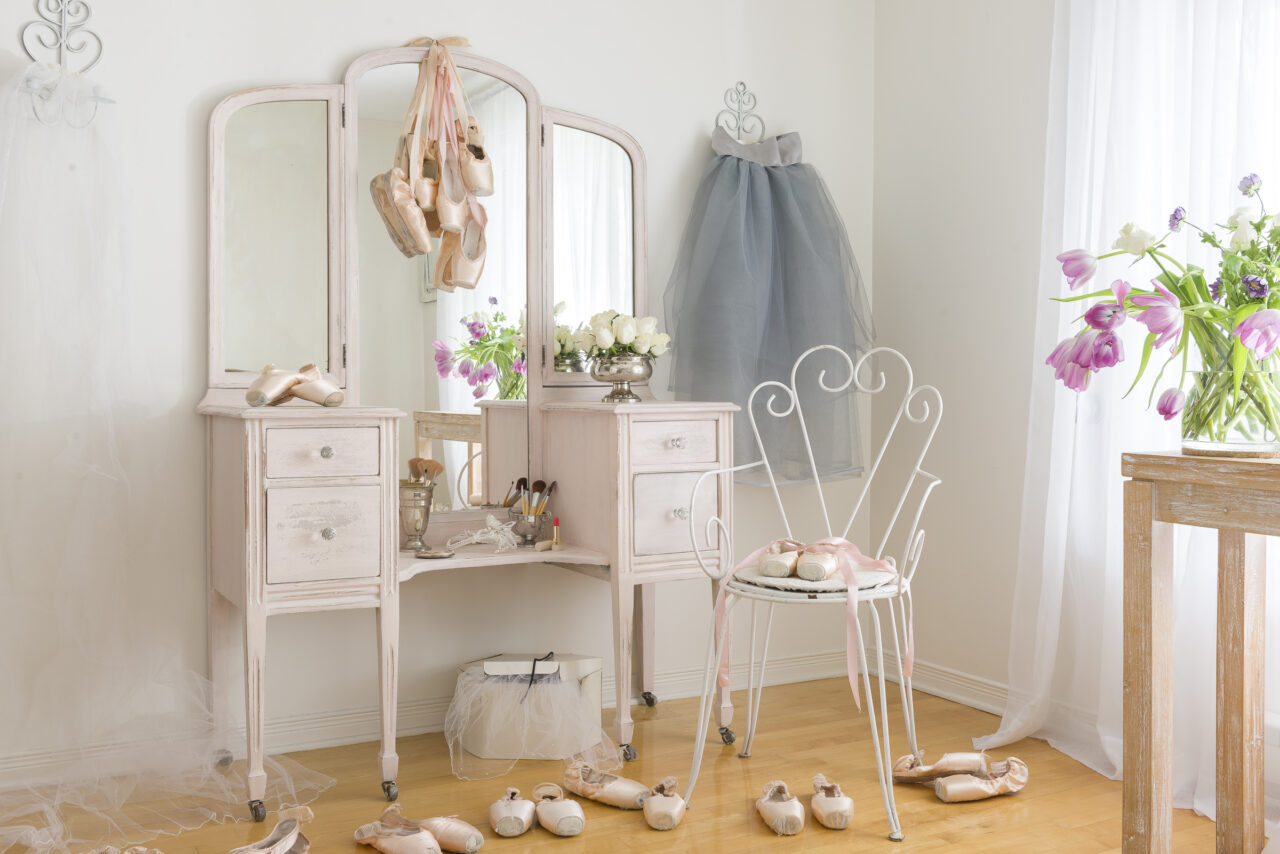
We were inspired by this vanity to create a custom pink shade influenced by pink ballerina slippers.
How To Mix Custom Milk Paint Colours
Mixing milk paint colours can be a fun and creative way to add a personal touch to your DIY project.
Here's how we used Homestead House Milk Paint colours to create our own custom colour "Ballet Slipper Pink"
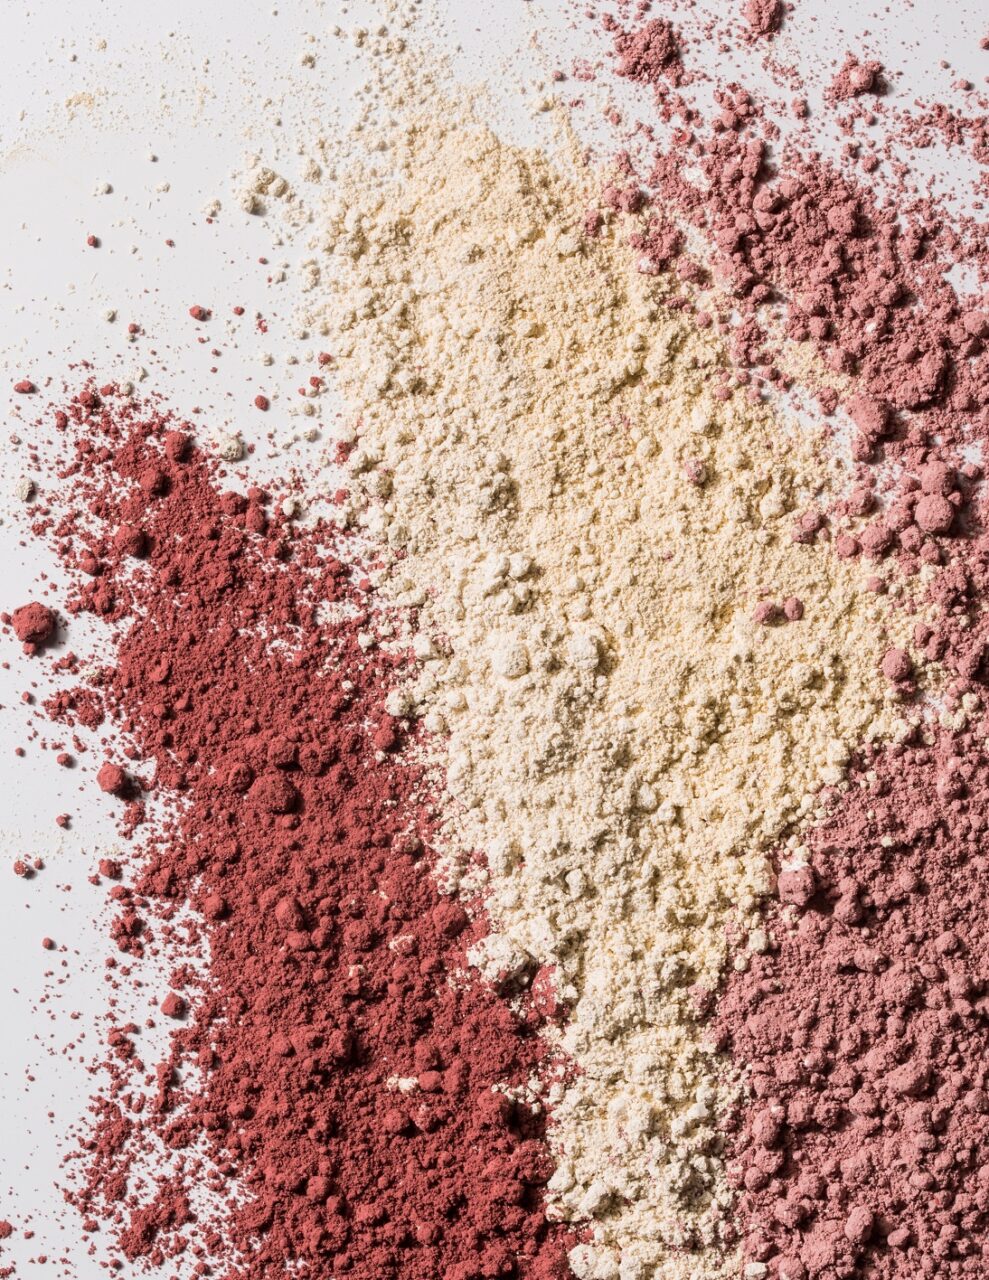
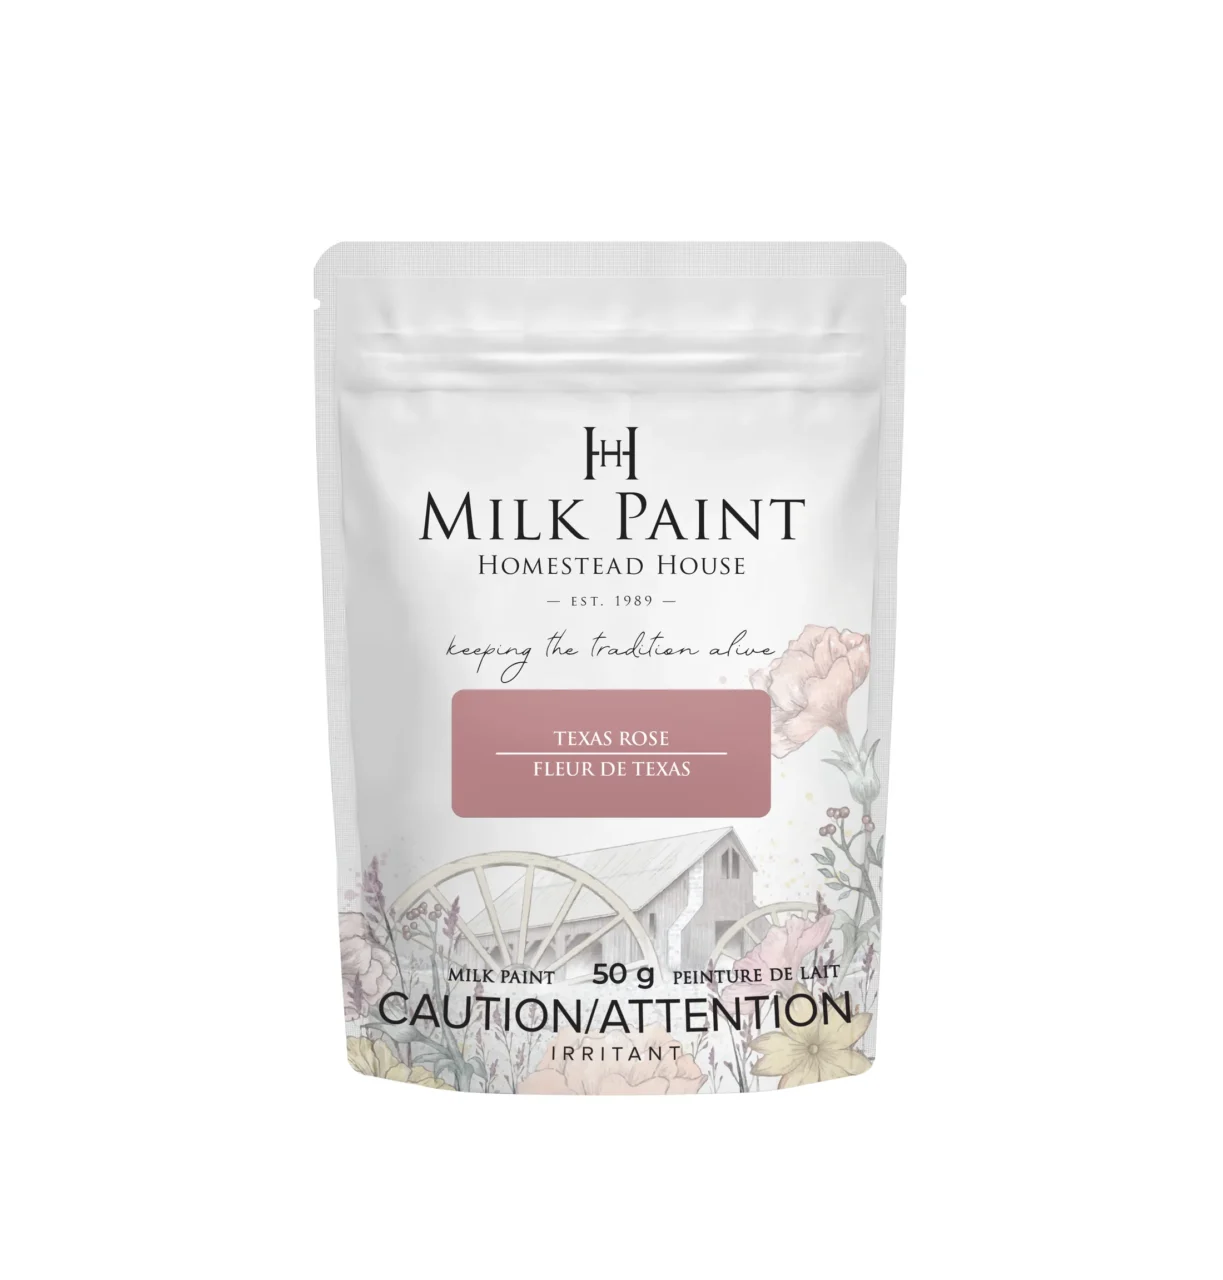
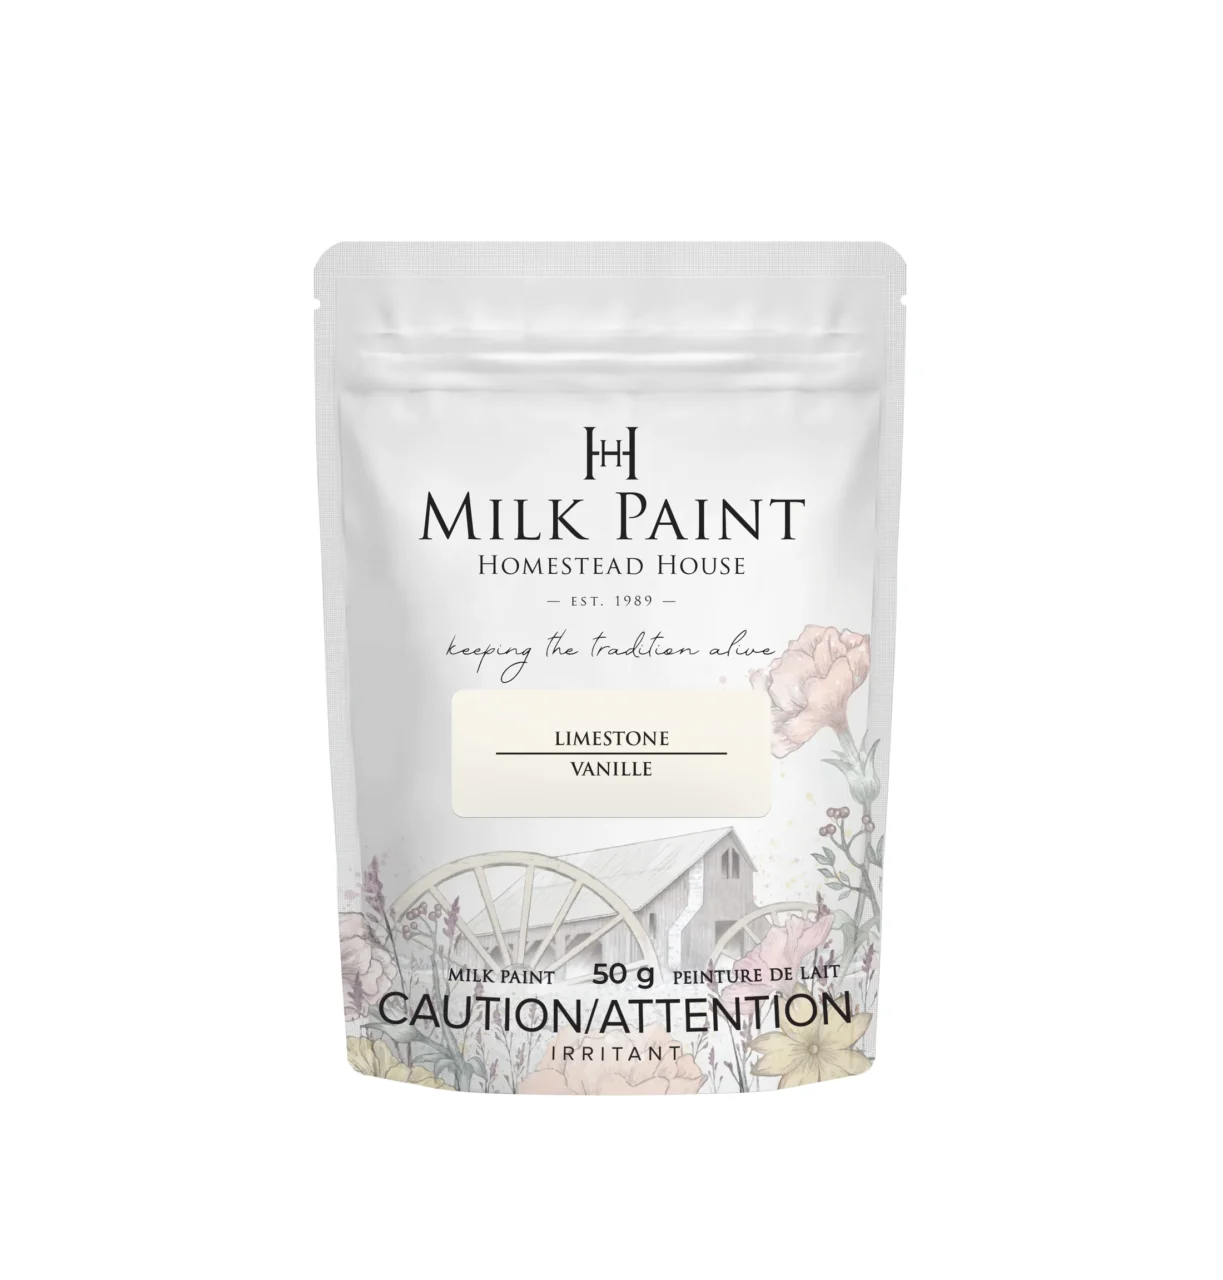
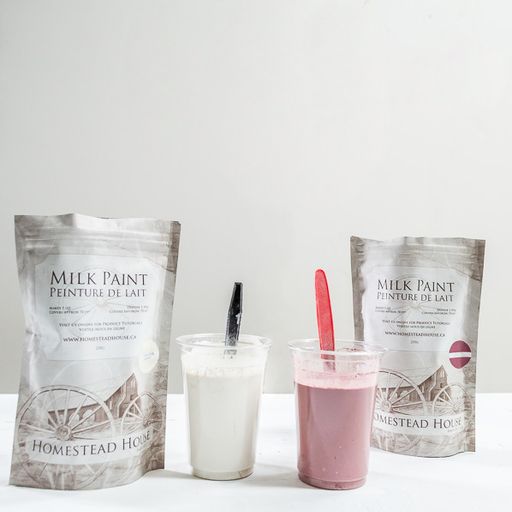
Step 1: Select two or more colours that you want to mix together. We chose Texas Rose & Limestone to create our beautiful light pink.
Keep in mind that lighter colours will typically have more influence on the mix, so adjust the ratio accordingly.
Step 2: Mix each colour separately by adding equal amounts of water to the paint powder, stirring well until the mixture becomes smooth and creamy.
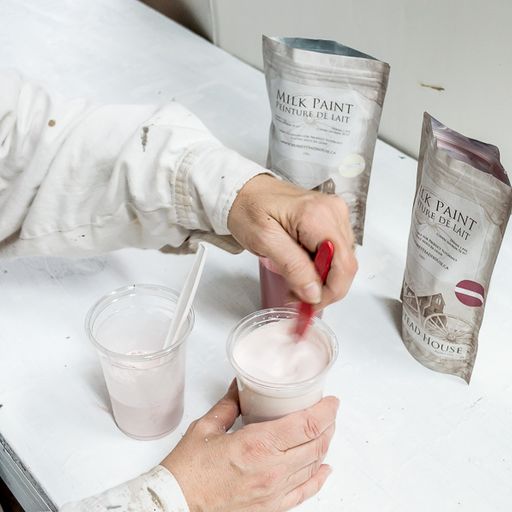
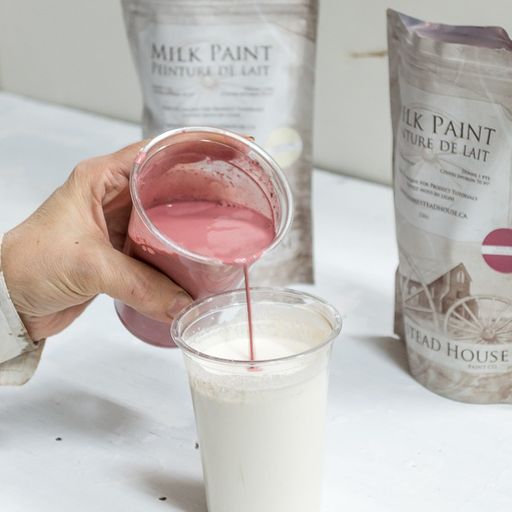
Step 3: Pour the first colour into a separate container, and then slowly pour the second colour into the same container, stirring and mixing well. Keep adding the second colour gradually until you achieve your desired hue.
Step 4: Test your mix by painting a small area on a piece of wood or cardboard. This will help you see how the colour looks in natural light. Adjust the mix if necessary until you achieve your desired shade.
Once you're happy with how your custom milk paint colour looks, you can apply it as you normally would.
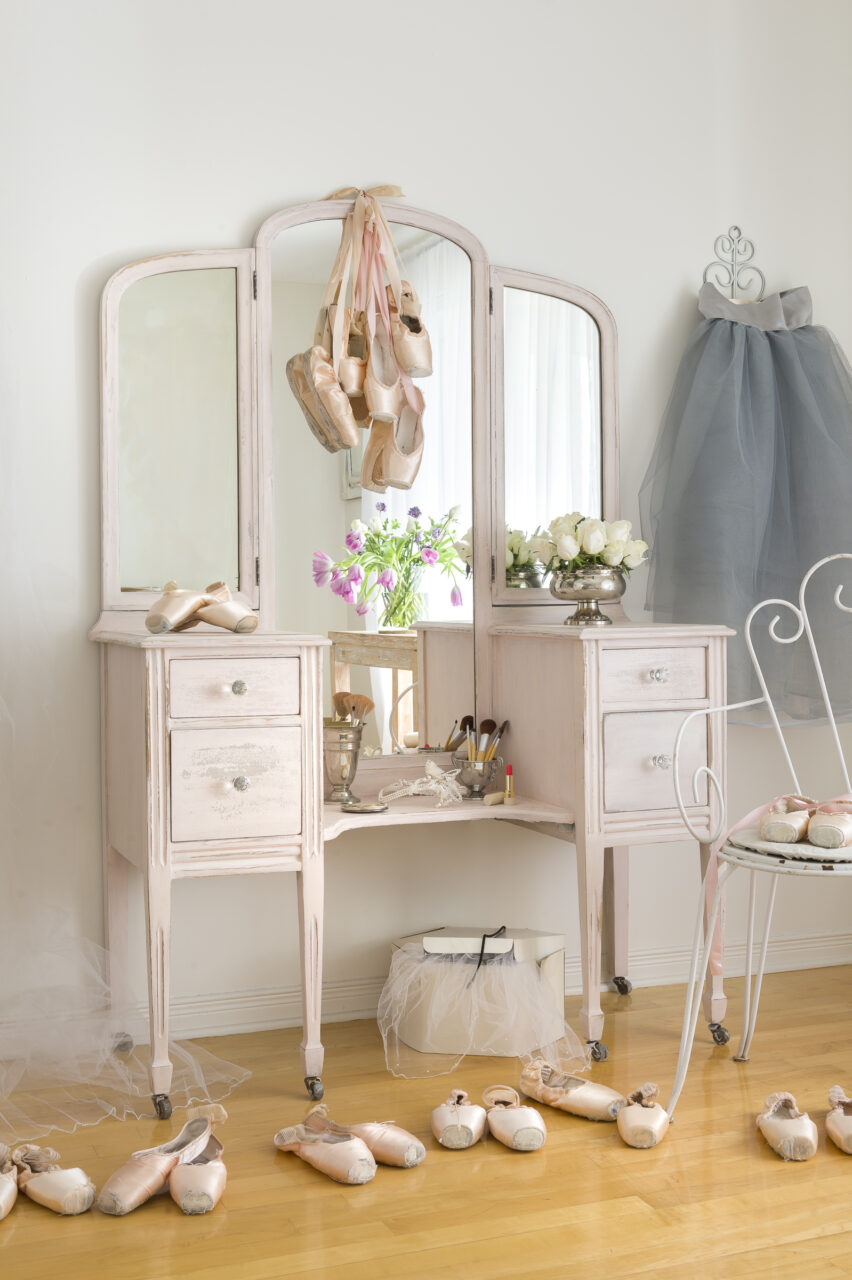
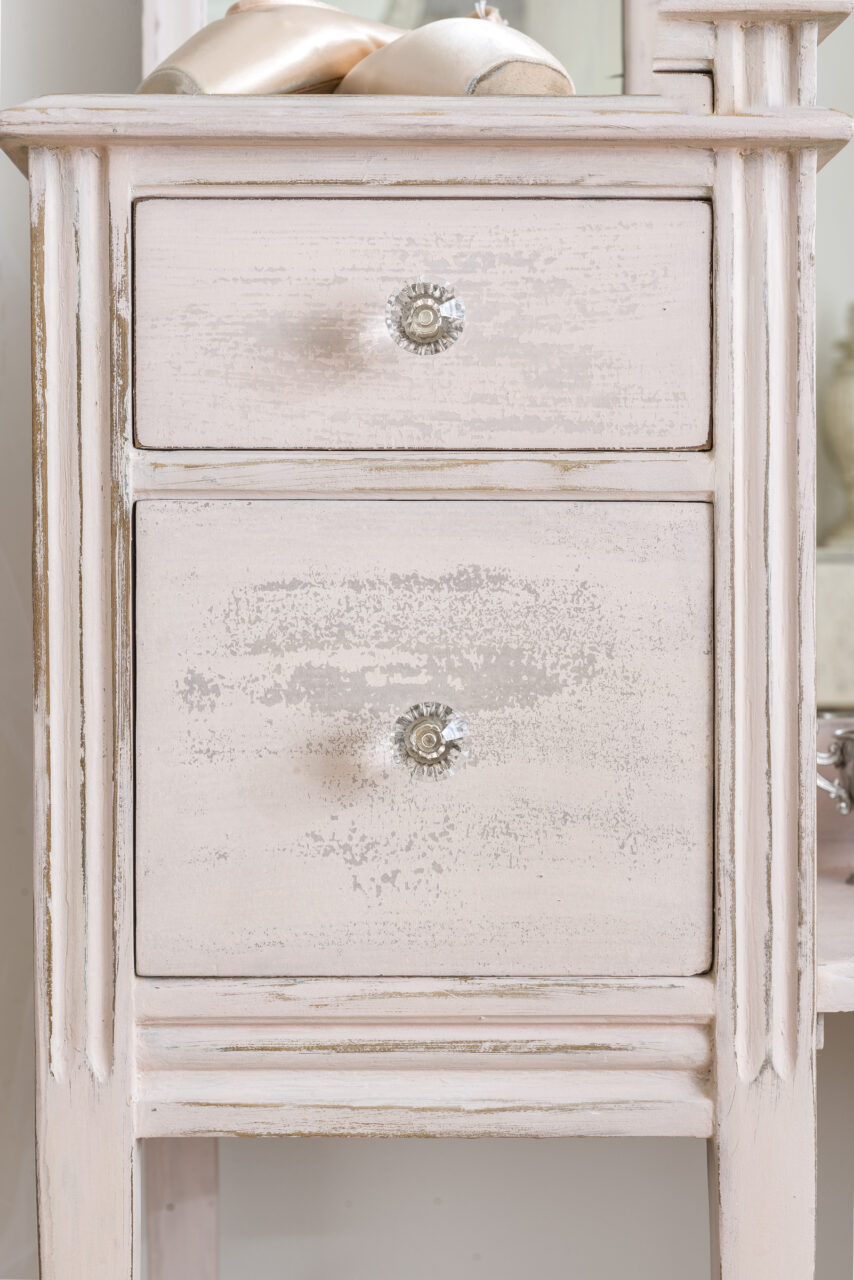
For this vanity we did three coats of our custom colour. We then used Furniture Wax "Clear" to seal the Milk Paint. Sealing milk paint with a topcoat such as wax or oil-based sealer enhances the true colour of the paint! It also helps protect it against moisture, stains, and UV rays. A topcoat also helps enhance the durability of the paint, making it more resistant to abrasion and scuffs. Additionally, a wax or oil-based topcoat gives milk paint a beautiful sheen, adding an extra layer of depth and richness to the finish.
We hope this inspired you to create your own custom Milk Paint Colours! By following these simple steps, you can create an endless variety of custom milk paint colours, giving your DIY project a unique and personal touch.