
I think we all can agree that furniture and decor is what makes a house a home. Furniture is the foundation for individual style when it comes to interiors and the furniture you place in your home decides whether you are a rustic farmhouse kind of person or more on the modern and contemporary side. Painted furniture also helps you tread the lines between both as it’s more affordable and budget friendly when you can change the finish on a piece of furniture you already have.

But how do you get that authentically aged, 100-year old look on a piece of furniture that you know was manufactured recently? Or how do you add that same character to an antique that was preserved in its original condition, only its just not your style? The answer to that is with milk paint and wax!
Milk paint is definitely the one finish that closes the gap between modern day and hundred year old finishes. The ingredients and the application are essentially the same. What is hard to replicate is the years of use and wear, the environmental conditions that fade and enhance the pieces as they are used. A little wax can help you achieve brining character back to a freshly painted surface.
When to choose wax
Wax provides a pretty, soft matte look while providing a little bit of protection without applying a shiny, modern finish. It doesn’t yellow when applied and but it does comes in various tints and colours making it perfect for those pieces that need a little sprucing up, or have a lot of ornate detail that should be highlighted instead of blending into the background of a paint colour. Wax is perfect for pieces that should look worn and aged without having to wait decades for natural character.
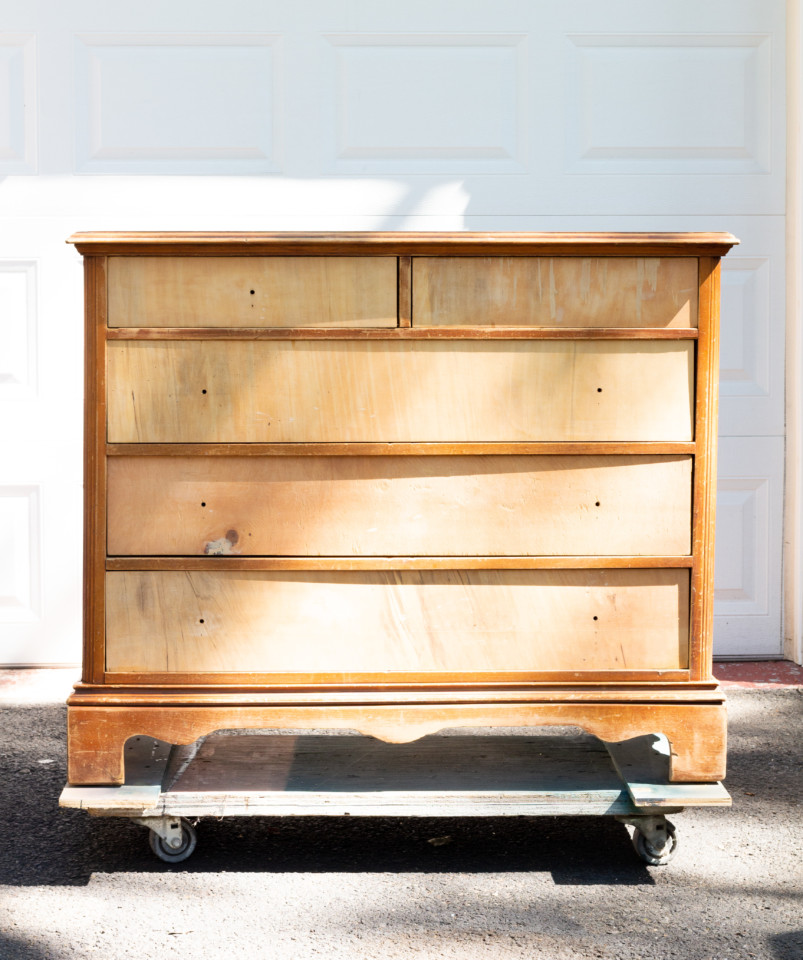
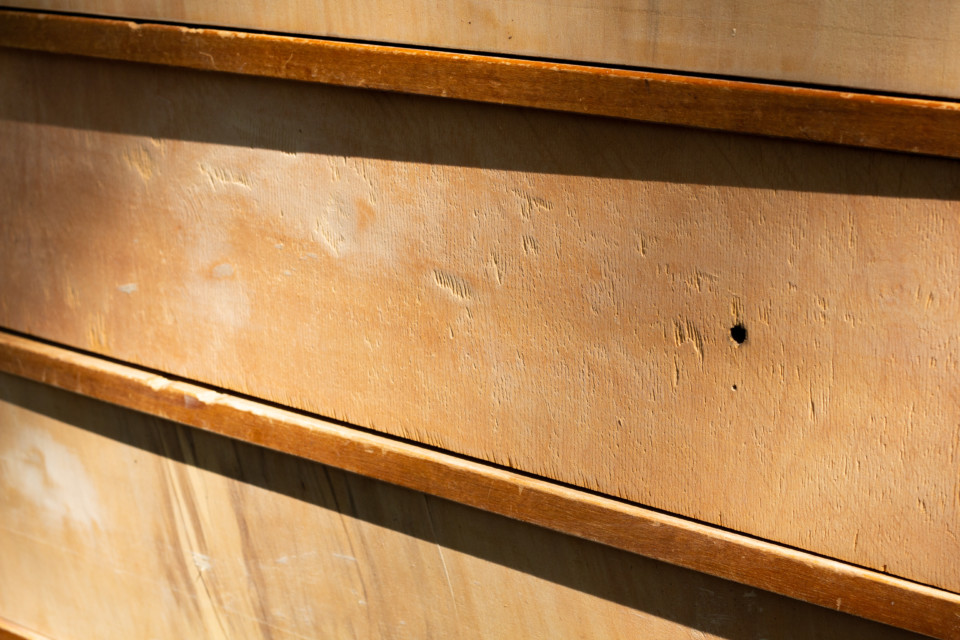
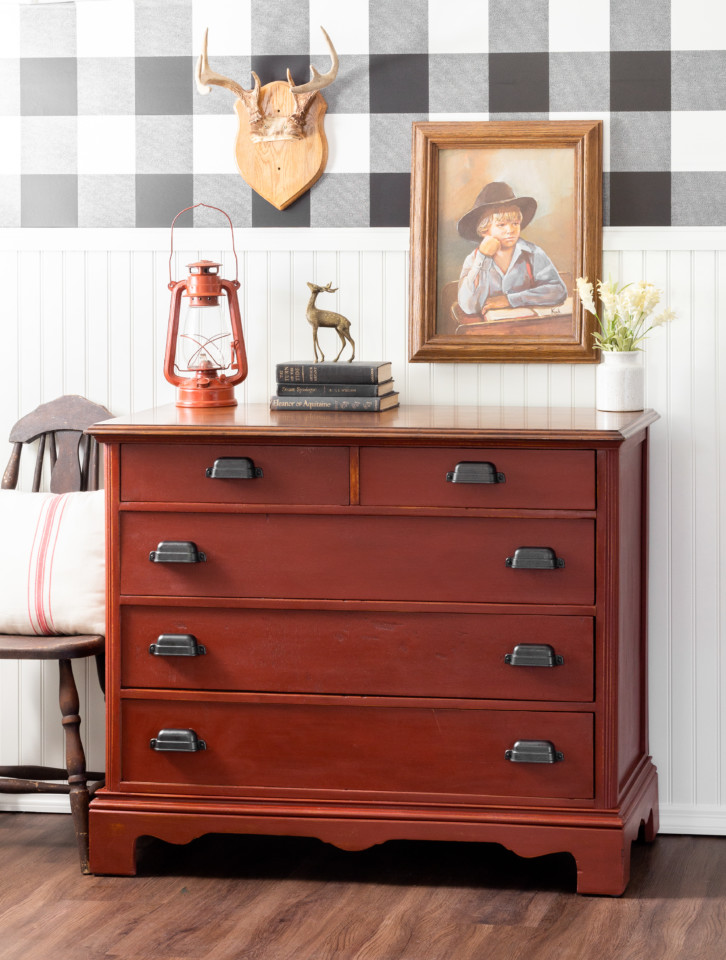
Take this piece for instance. It’s a vintage piece but not quite modern or antique. Looking at the condition, you see gauges and chips that are perfect for highlighting with dark wax!
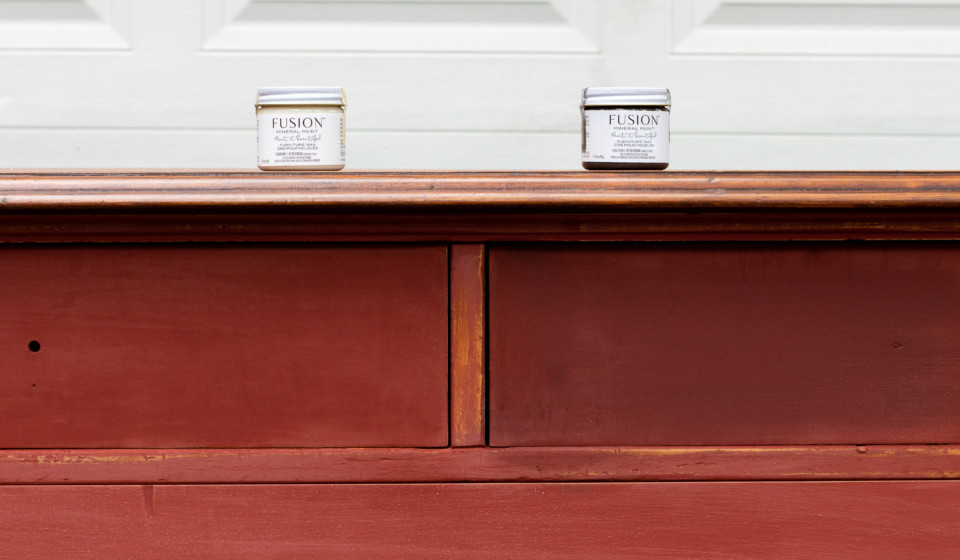
Supplies Used
- Fusion Ageing Wax
- Fusion Furniture Wax in Clear
- Staalmeester Premium Oval brush
- Sanding Blocks
- Wax block
- Homestead House Voyageur Milk Paint
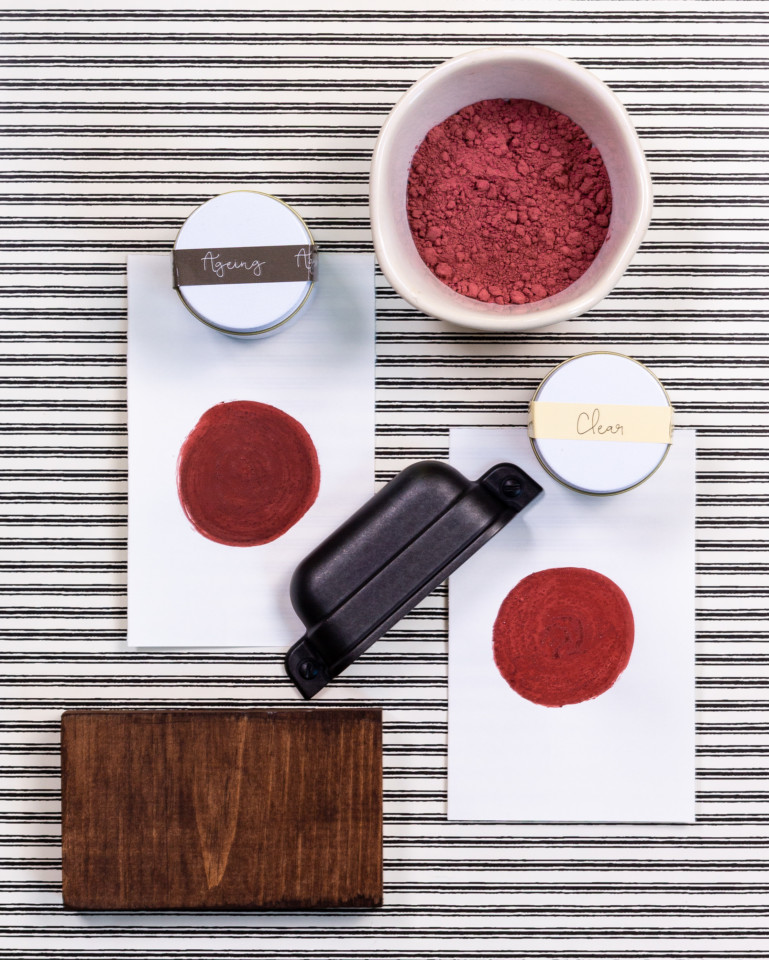
If you are going for a rustic country look, pick a traditional colour that is timeless and rich. We chose a deep red colour highlighted with dark hardware and ageing wax to achieve that look! Bringing in some wood elements balances out this design board!
STEP 1
PREP
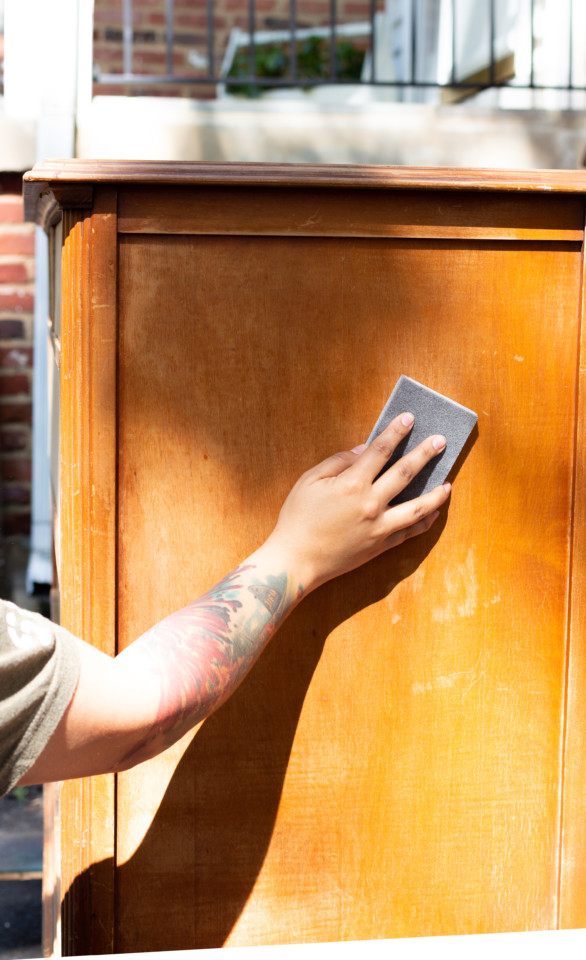
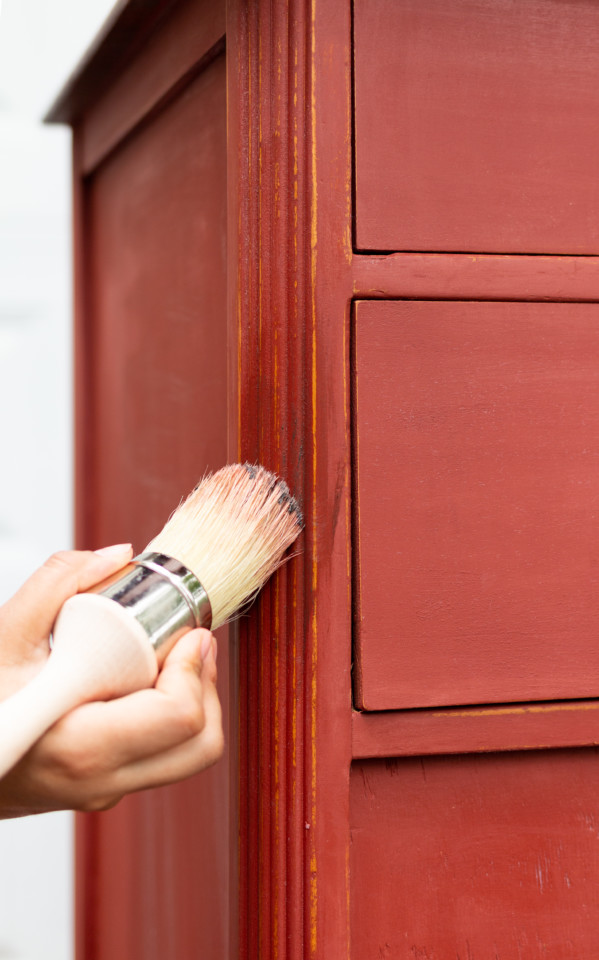
Since we wanted to keep the character of this piece, we started with a light sanding to scuff the surface. I wanted the paint to settle into the scratches and chips so the scuff sanding helped to provide some tooth for the surface. Wipe away any dust with a damp cloth.
STEP 2
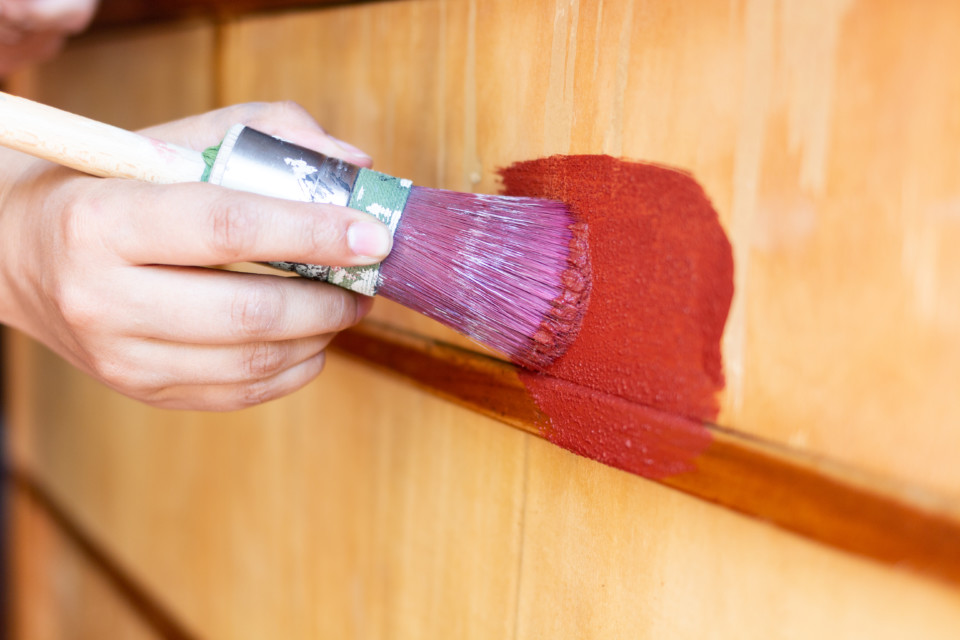
MILK PAINT
Mix your milk paint in a 1/1 ratio. You can mix a little thicker for more texture and coverage or thinner for less texture and more of a wash or stain. We chose to mix this colour thicker to add more texture for our ageing wax to sink into. Don’t mind any clumps or pigments, those will be smoothed out during distressing.
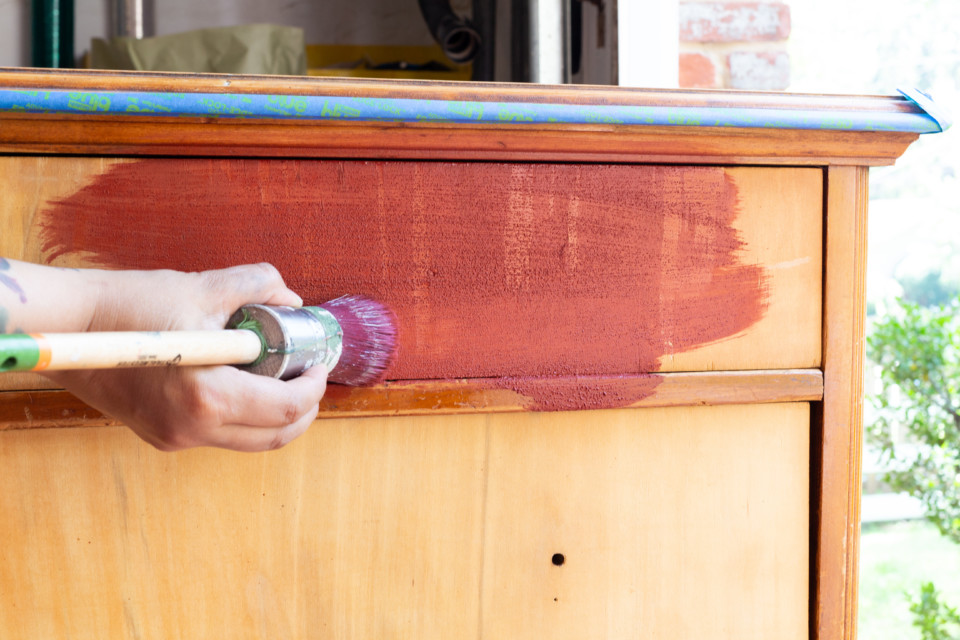
After you have allowed your final coat of milk paint to dry, you can start working on the distressing. Use a low grit sandpaper like 120 to distress your piece, paying special attention to raised or highlighted areas. The distressing will contrast with dark wax to make the details pop even more. Use a higher grit like 220 for flat surfaces that you want smoothed out. This will knock down any clumps that sat on the surface, but still allow some of the heavier texture to come through. When you are finished your piece should look like this:
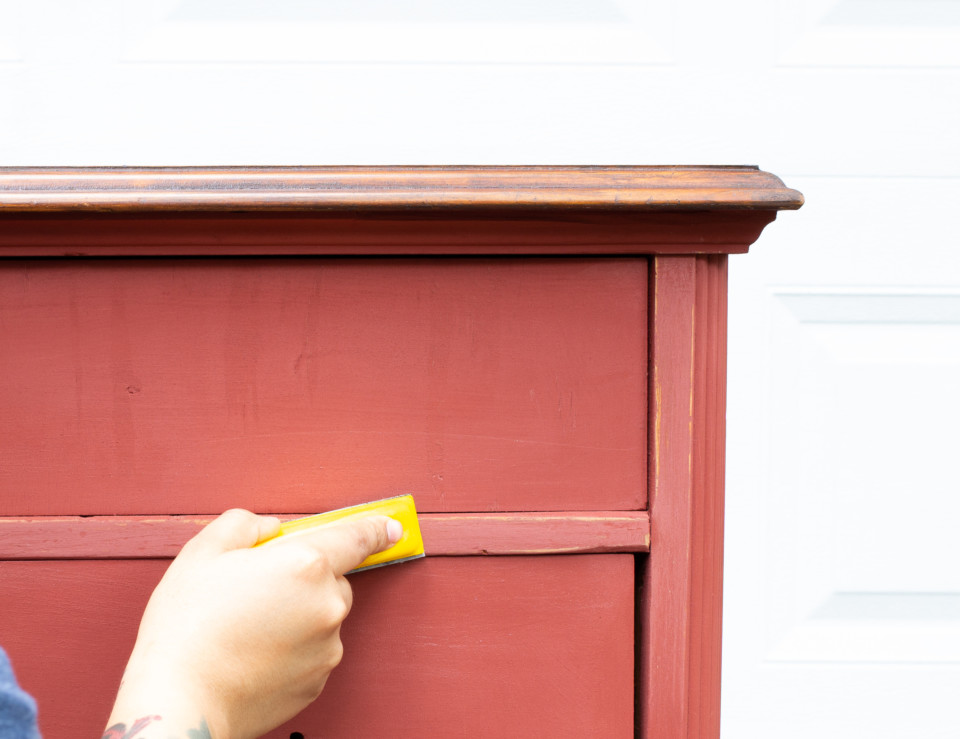
Don’t worry about the colour looking washy or faded. Adding wax will brighten that up with the first application.

STEP 3
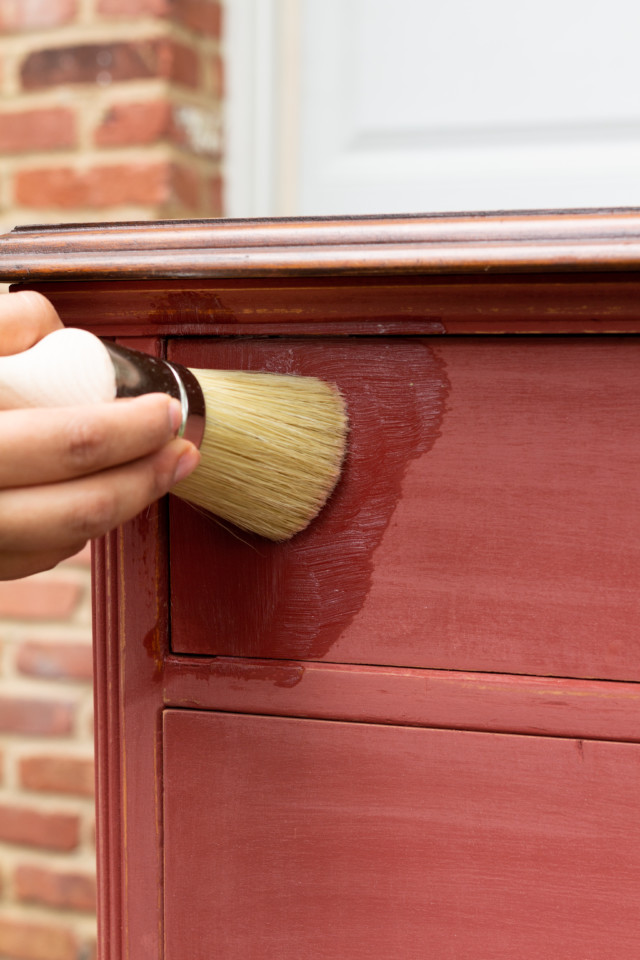
ADDING FURNITURE WAX
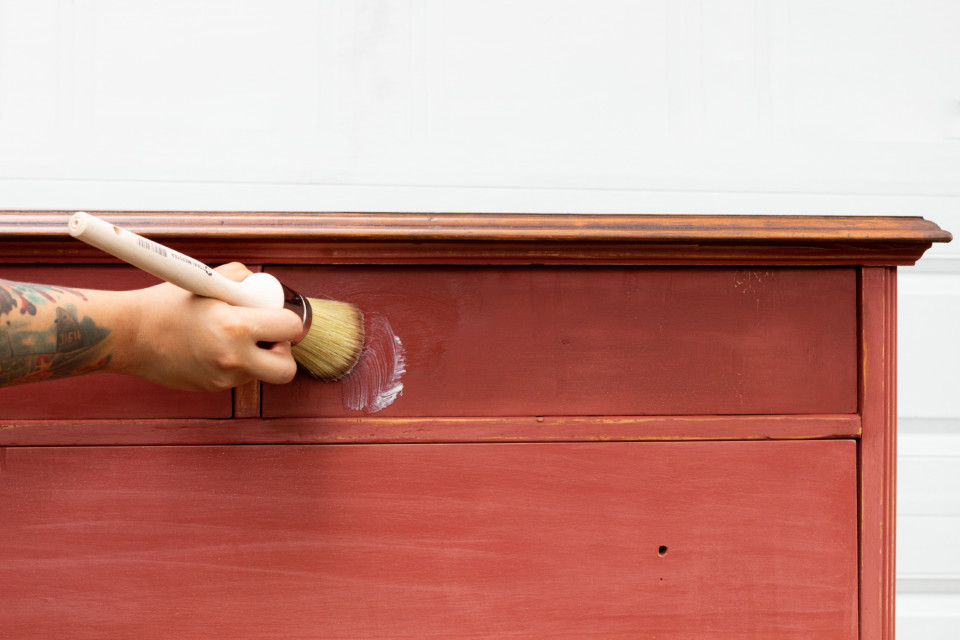
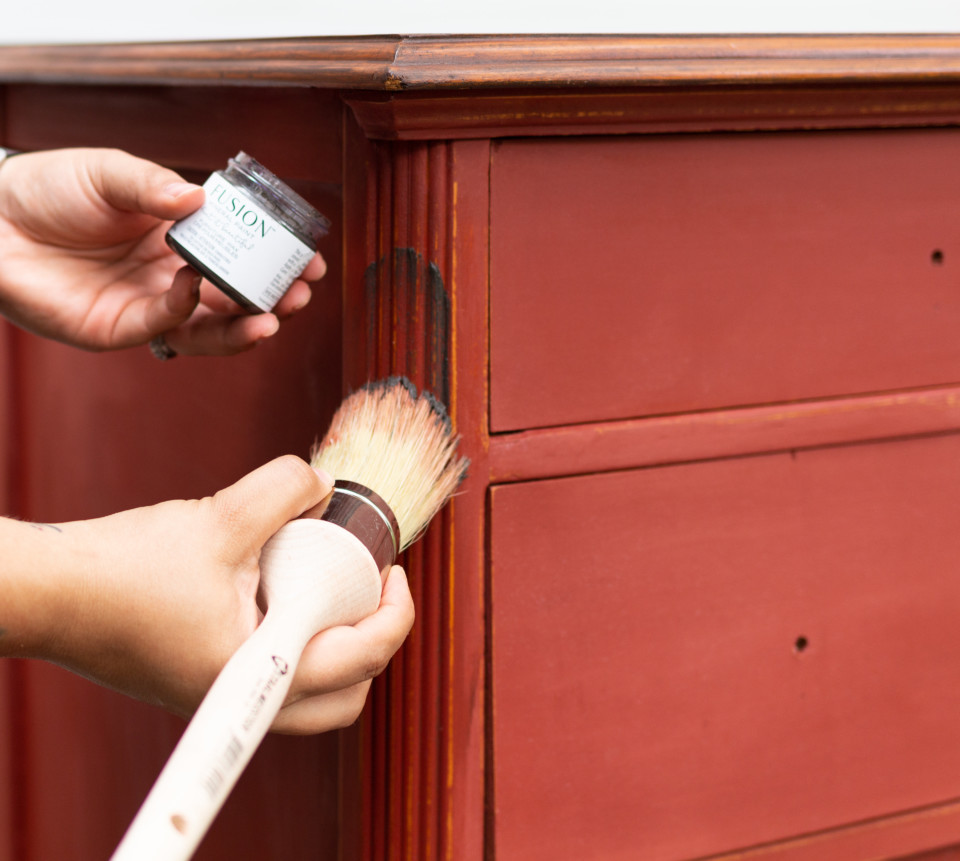
You can choose to wax with clear wax alone or add a dark/ageing wax for a richer look. If you plan on using an ageing wax, it’s best to add a base layer of clear to help control the look of the ageing wax as it is applied.
If you happen to over-do it with the ageing wax, just use clear wax to “erase” some of the dark wax and buff until you get the exact look you want.
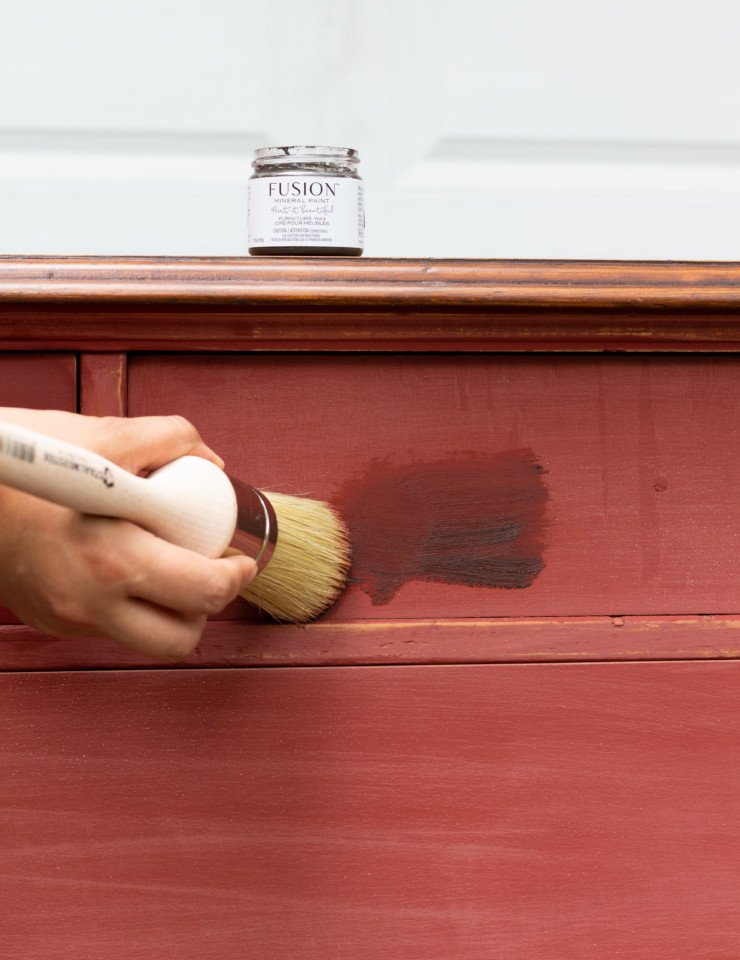
Here is a side by side look at clear wax and dark wax applied directly over milk paint.
When using ageing wax, pay special attention to ornate details and crevices. When ageing wax sits in these parts, you get a natural look that makes those details pop.
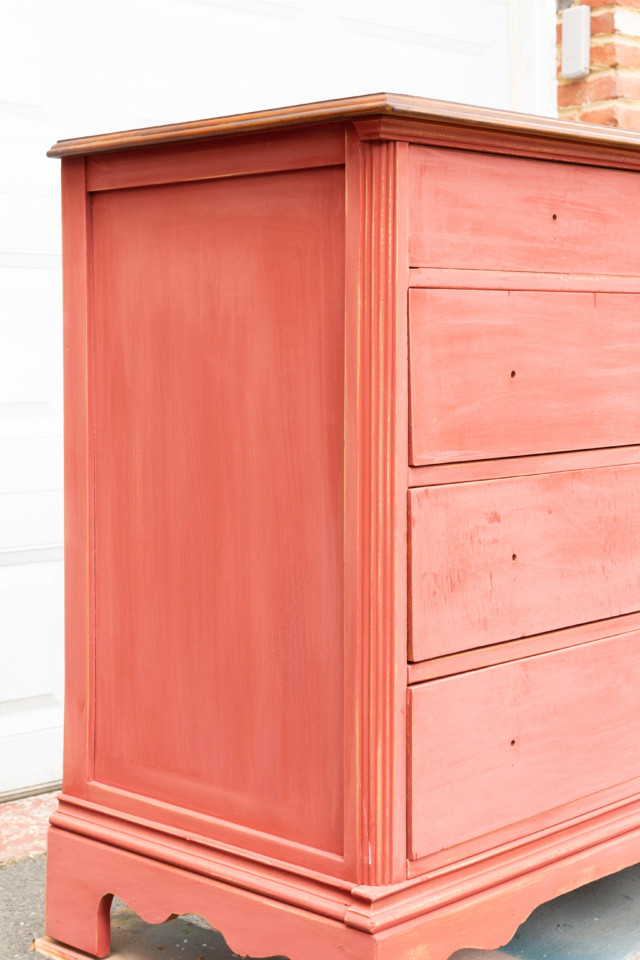
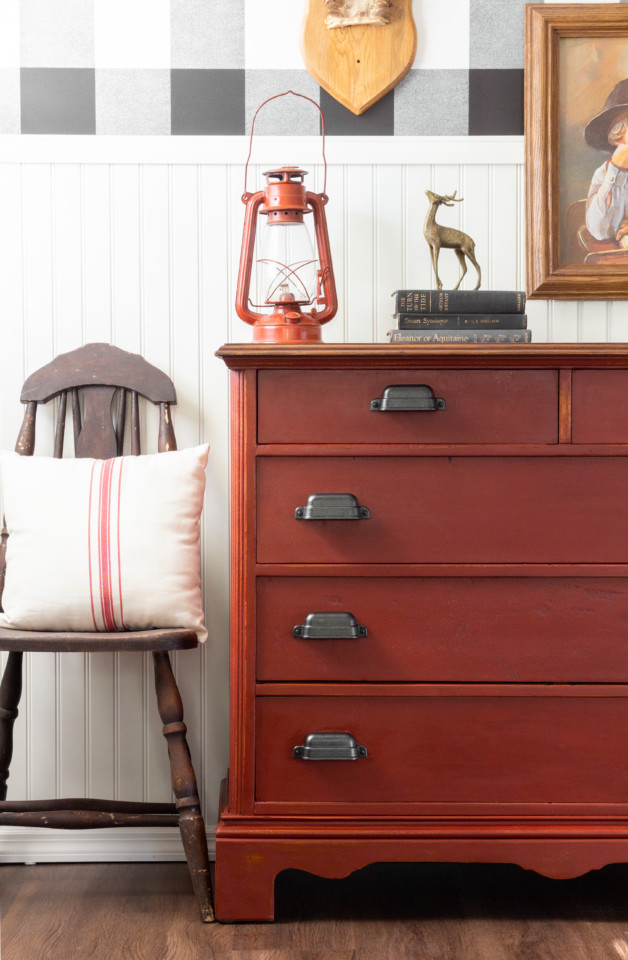
The end result is nothing short of a rich, rustic look that brings in tons of character and depth. What once was a 20 year old boring, maple dresser is now a classic statement piece!
THE FINISHED PRODUCT
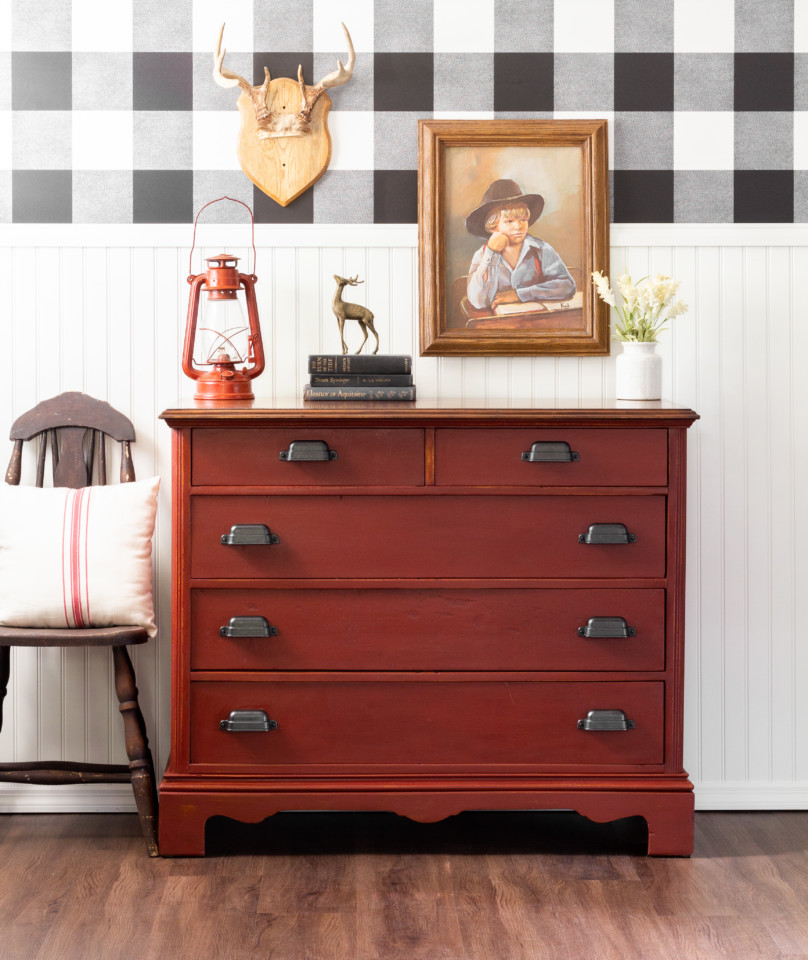
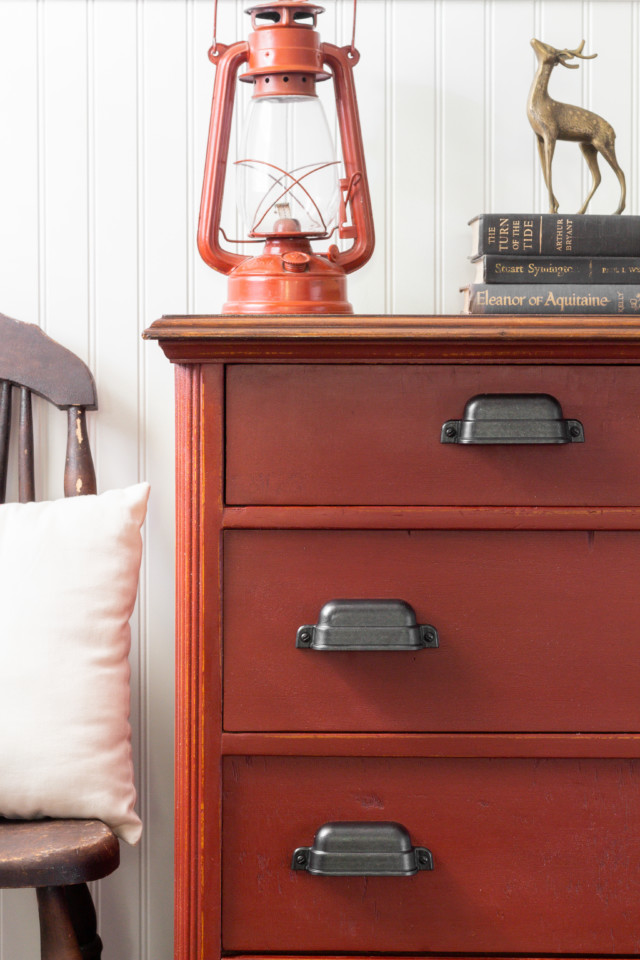
The cracks and chips showcase the wax in a subtle way by settling in all the imperfections. The dark hardware also brings out the ageing wax but still contrasts nicely with the deep red colour.
Wax takes anywhere from 7-21 days to cure if applied correctly. Finishes that are not buffed correctly could remain tacky or sticky and will require thinning with a solvent like mineral spirits to remove. However, wax is a sealer that will need to be reapplied when the finish starts to dull so you also want to take care to clean waxed finishes with a damp microfibre cloth, avoiding any chemical cleaners that could strip the wax off the surface. You also want to be cautious of placing waxed finishes near high heat sources to avoid any issues with wax adhesion.
In the furniture painting community, you will find that decorative waxes are some of the most popular finishes around because of the variety you get. Fusion Mineral Paint specializes in creating the perfect waxes to achieve the exact look you want! All it takes is a little elbow grease and some creative application!
Have you got any Milk Paint projects on the go? Show them off in our Paint It Beautiful Facebook group.