Introducing Montclair, one of the newest Homestead House milk paint colours. A vibrant & bold colour.Sometimes what your tired and dated furniture needs is an eye-catching colour that is the star of the show. Whites and neutrals may be timeless and classic, but for those who want an edgier look, we have just the right colour for you.
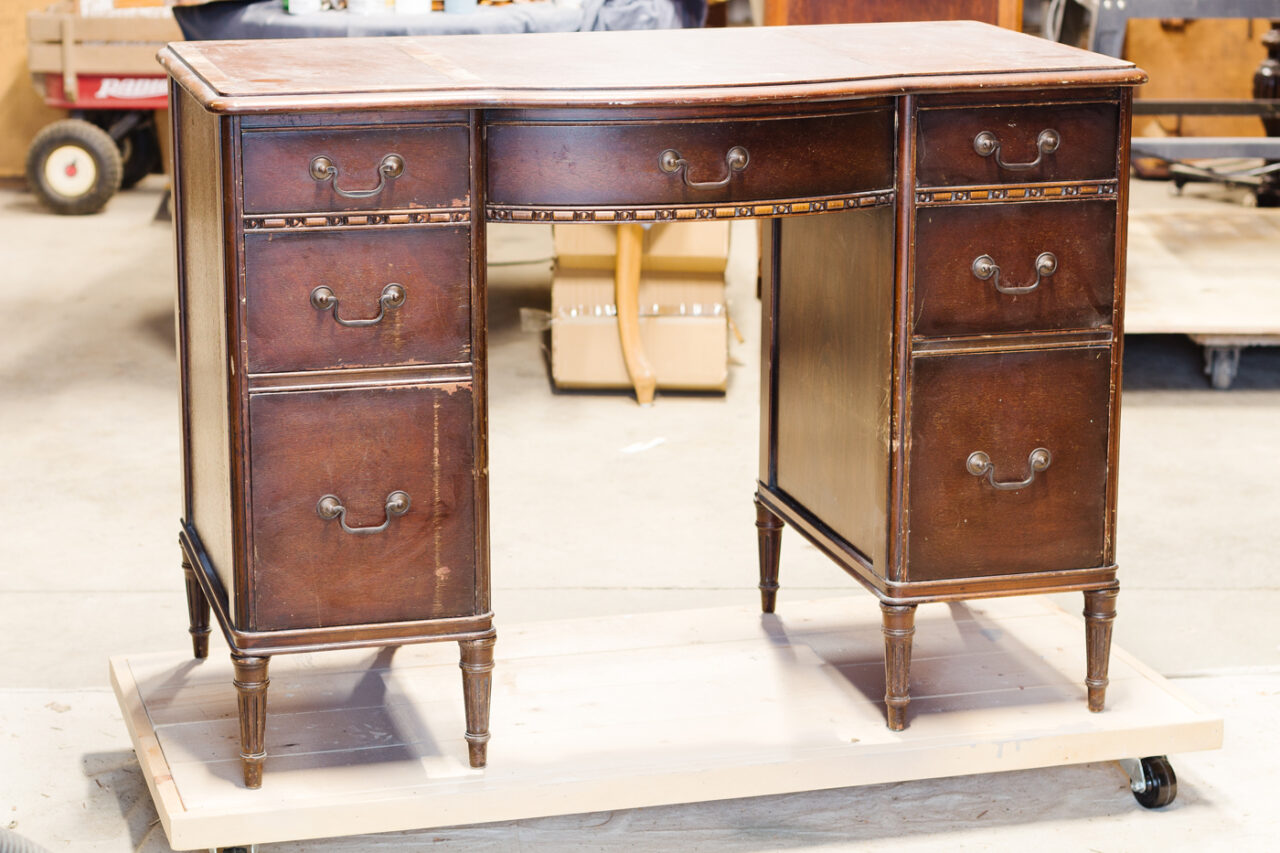
Montclair may have a beautiful classy name, but don’t let it fool you. This colour is all about richness and vibrance. We knew it would look great on this old desk. It certainly would be a statement piece.
Here is a before look at the piece:
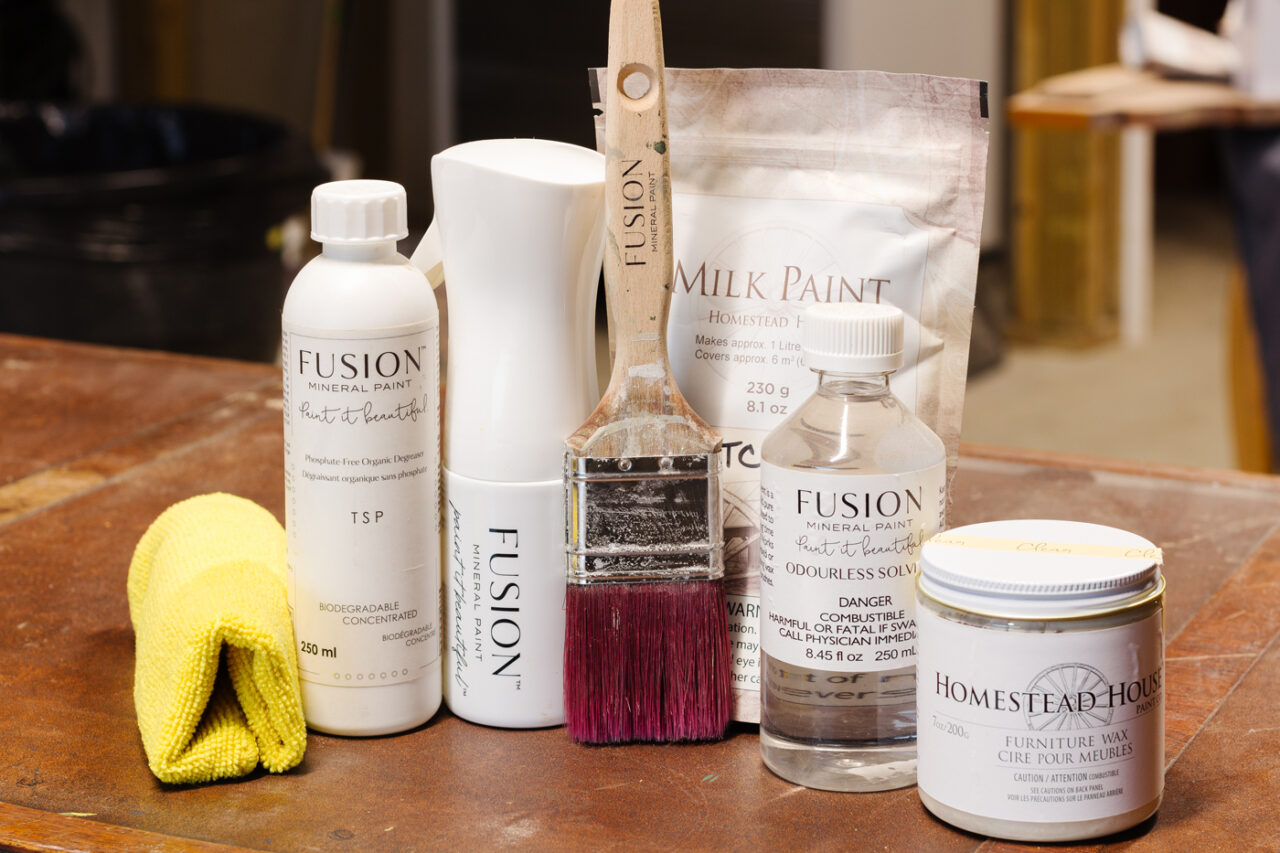
List of supplies
- Fusion TSP Alternative + Wiping Cloths
- Odourless Solvent
- Homestead House Milk Paint Montclair
- Fusion Mineral Paint Metallics Gold
- Homestead House Furniture Wax
- Homestead House Antiquing Wax
- Electric Sander and Sanding Pads/Paper
- Stir stick + Container
- Staalmeester Flat 2-inch Synthetic Brush
- Staalmeester Round Natural Bristle Brush
Prep for Success
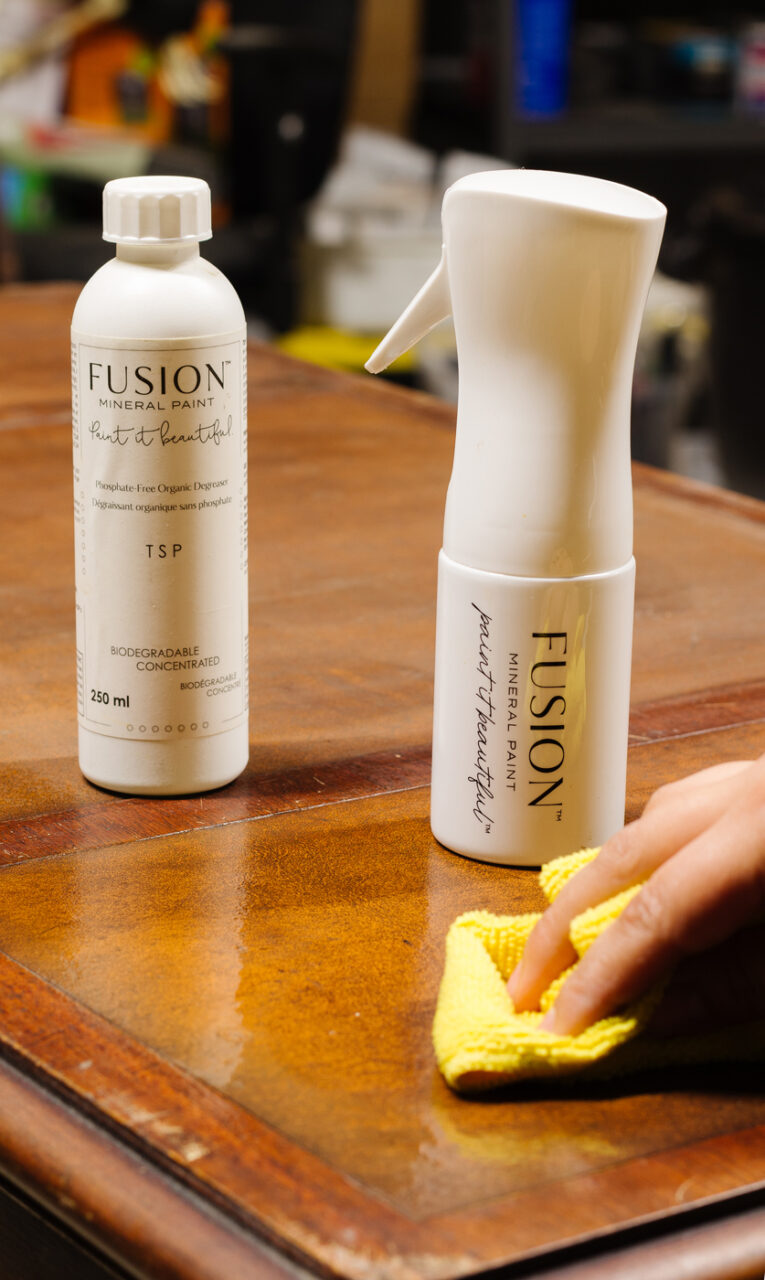
This piece definitely had some age to it. With that comes years of environmental dust and residue collection, so it definitely needed to be prepped properly for our look. We started by cleaning it well with our Fusion TSP Alternative solution mixed with water. We enjoy using the misting bottle as our applicator because it allows us to focus on one area at a time. Simply spray, scrub, wipe and repeat if necessary.
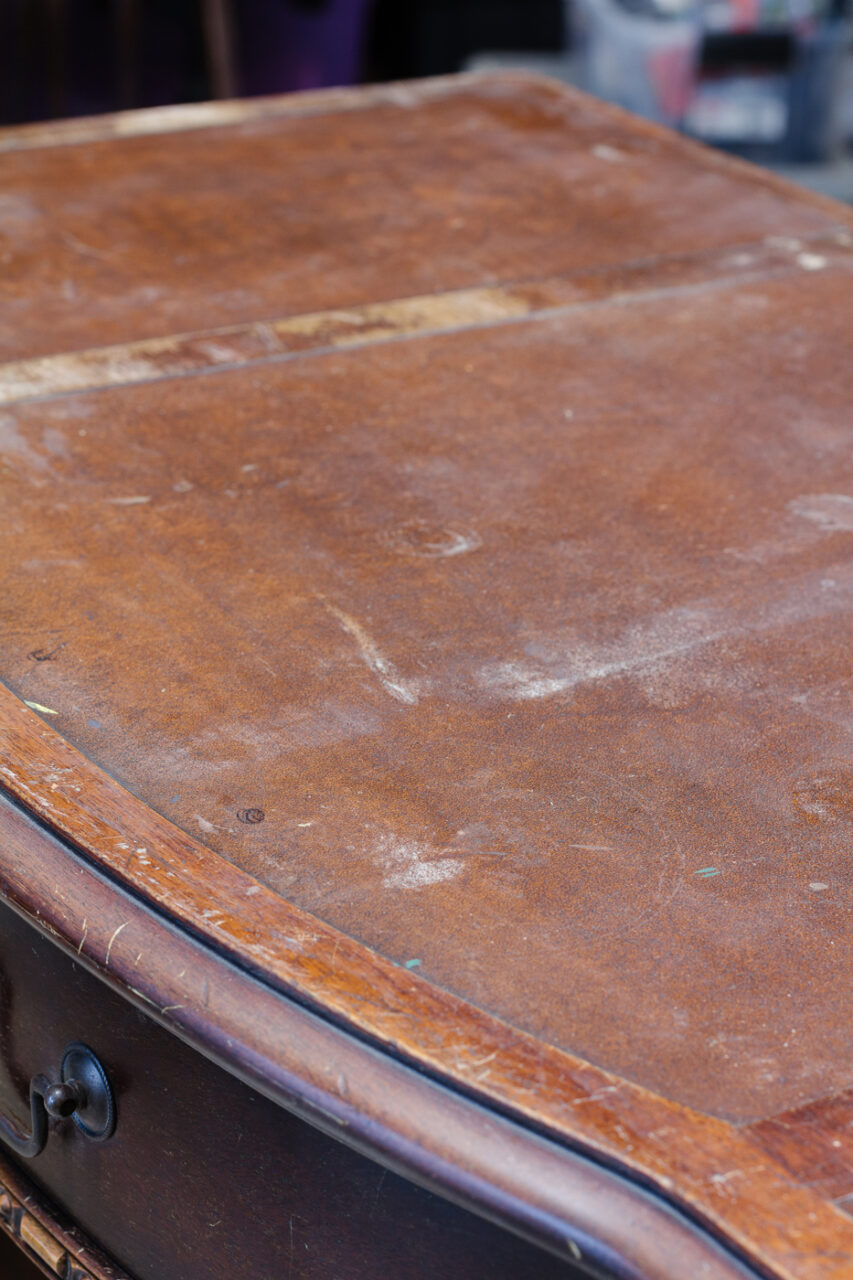
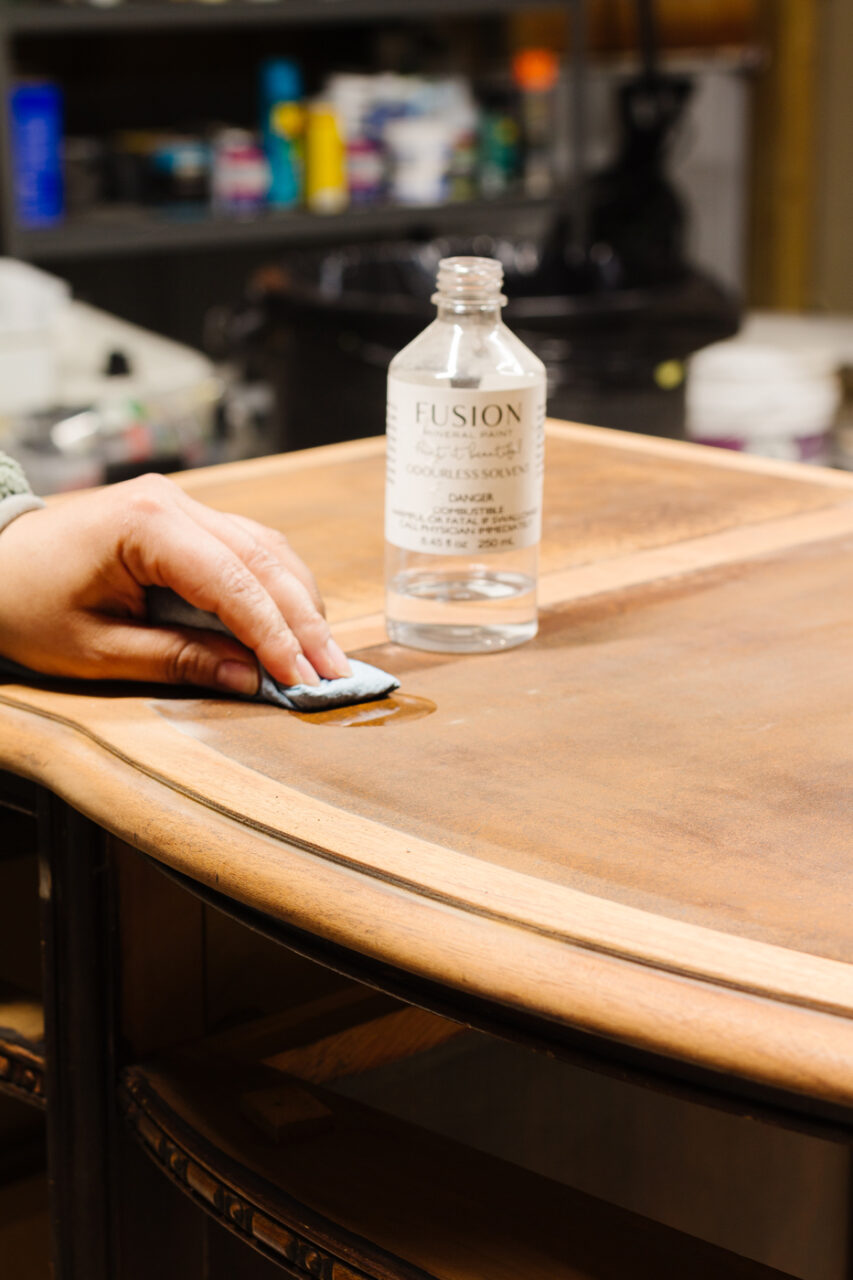
Next, we focused on the top. The top had leather inserts, so those had to be cleaned very carefully. We used Odourless solvent and a wiping cloth to remove the old wax polish on the surface. This may take a few applications as built-up wax residue can be difficult to break down.
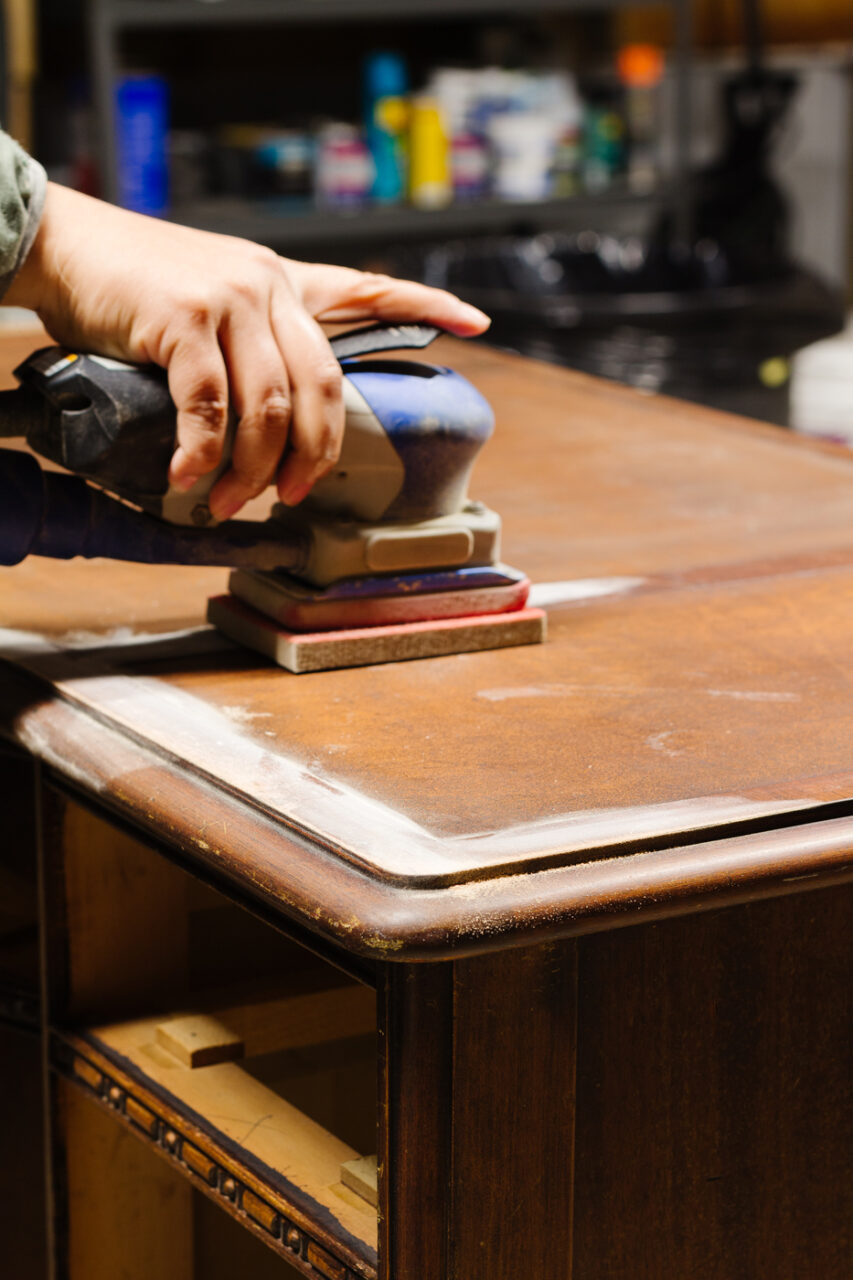
Finally, we used our electric sander and sanding pads to give our piece a quick scuff sanding to remove any flaking finish. We knew we wanted a lot of chippy in our finish so we decided not to sand to bare wood. Rather, we just wanted to give a bit of a rough surface for some adhesion.
Montclair Milk Paint
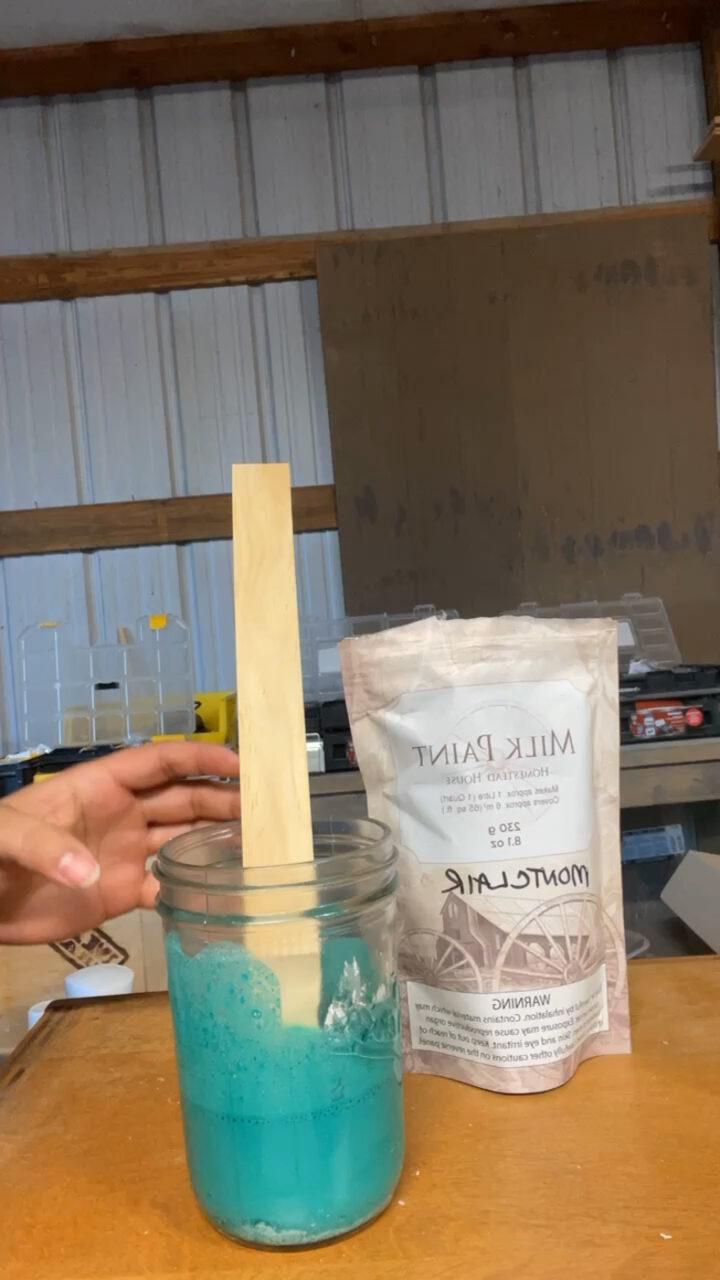
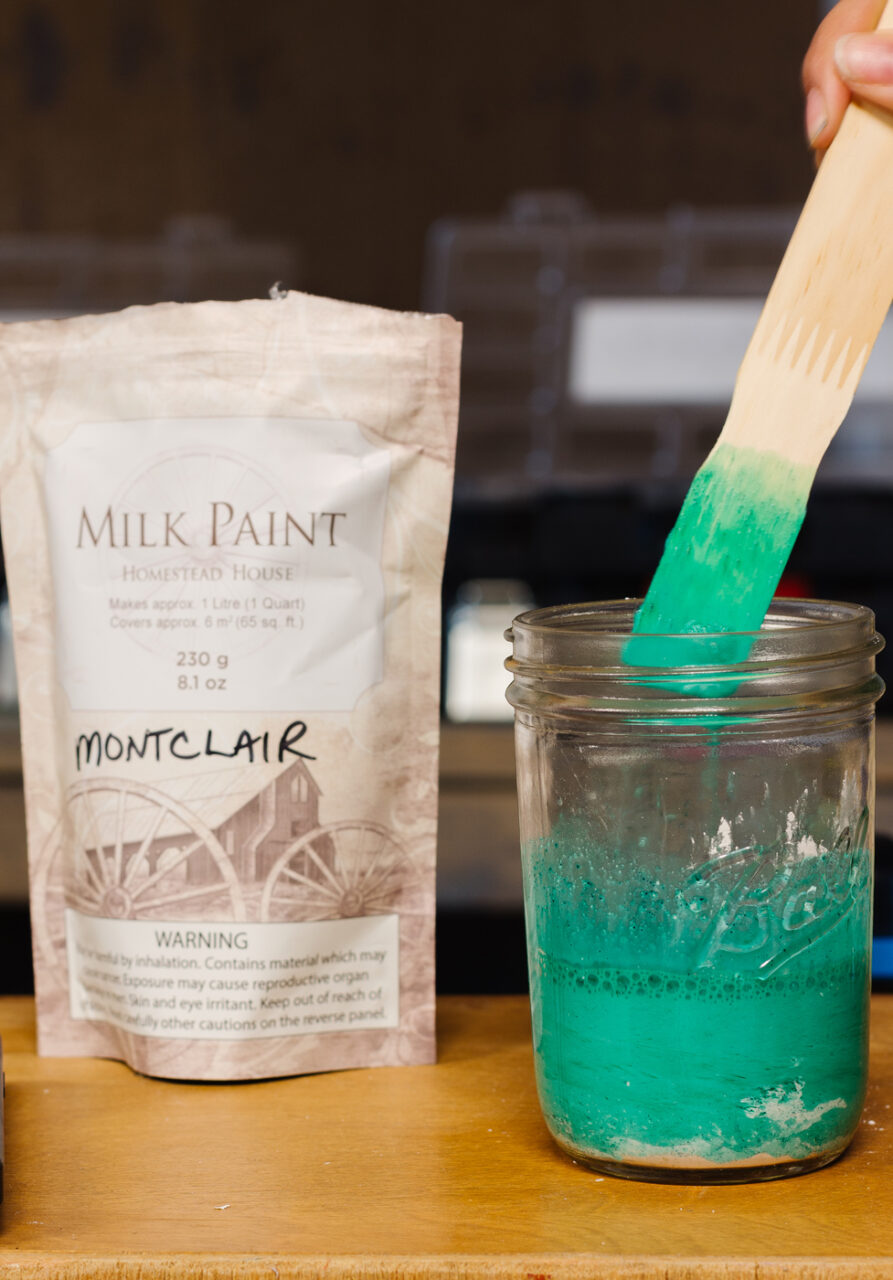
While we finished up the last of our prep, we also took the time to mix up our milk paint. We did a 1:1 ratio of milk paint to room temperature water and mixed it with a stir stick. Ensuring the milk paint is fully incorporated into the water means the pigments break down properly. You can also let your milk paint sit for a few minutes to thicken up, though it’s not necessary.
Next, you’ll want to tape off any edges and apply your first coat. The first coat will definitely be sheer, but the coverage will build as you add more coats.
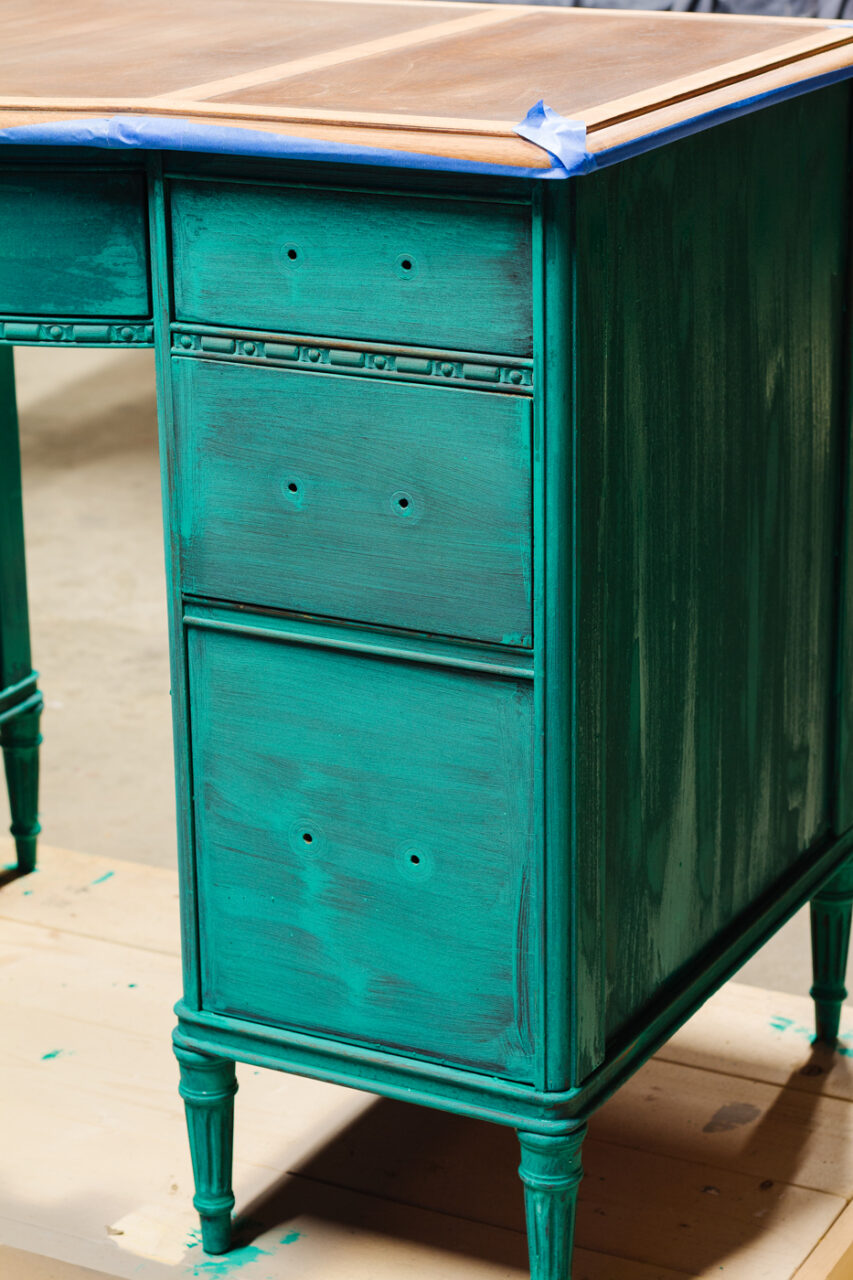
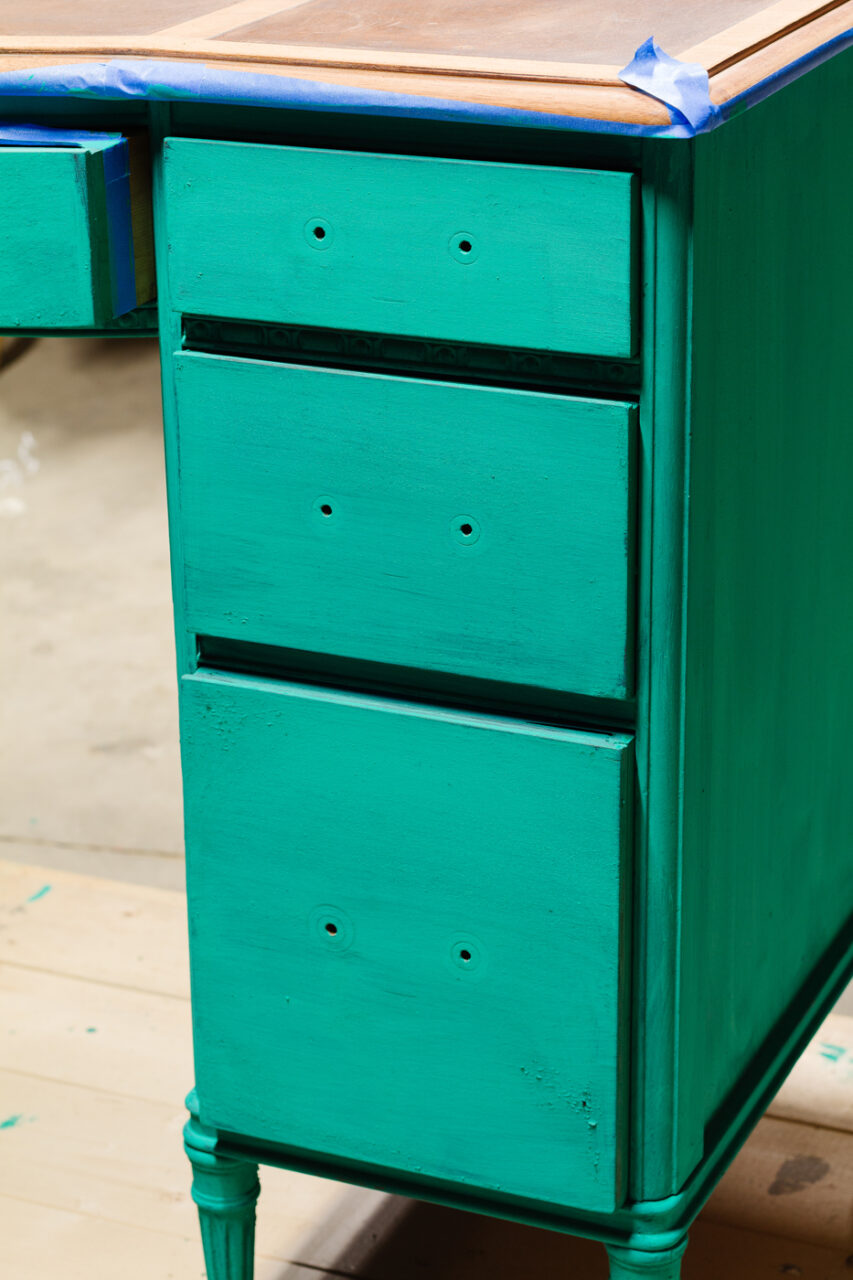
The third and final coat gave us full coverage. And as the paint began to dry we noticed some of the chippy goodness start to appear. The thrill of this unpredictable effect is not for everyone! but for this piece, it was exactly what we wanted.
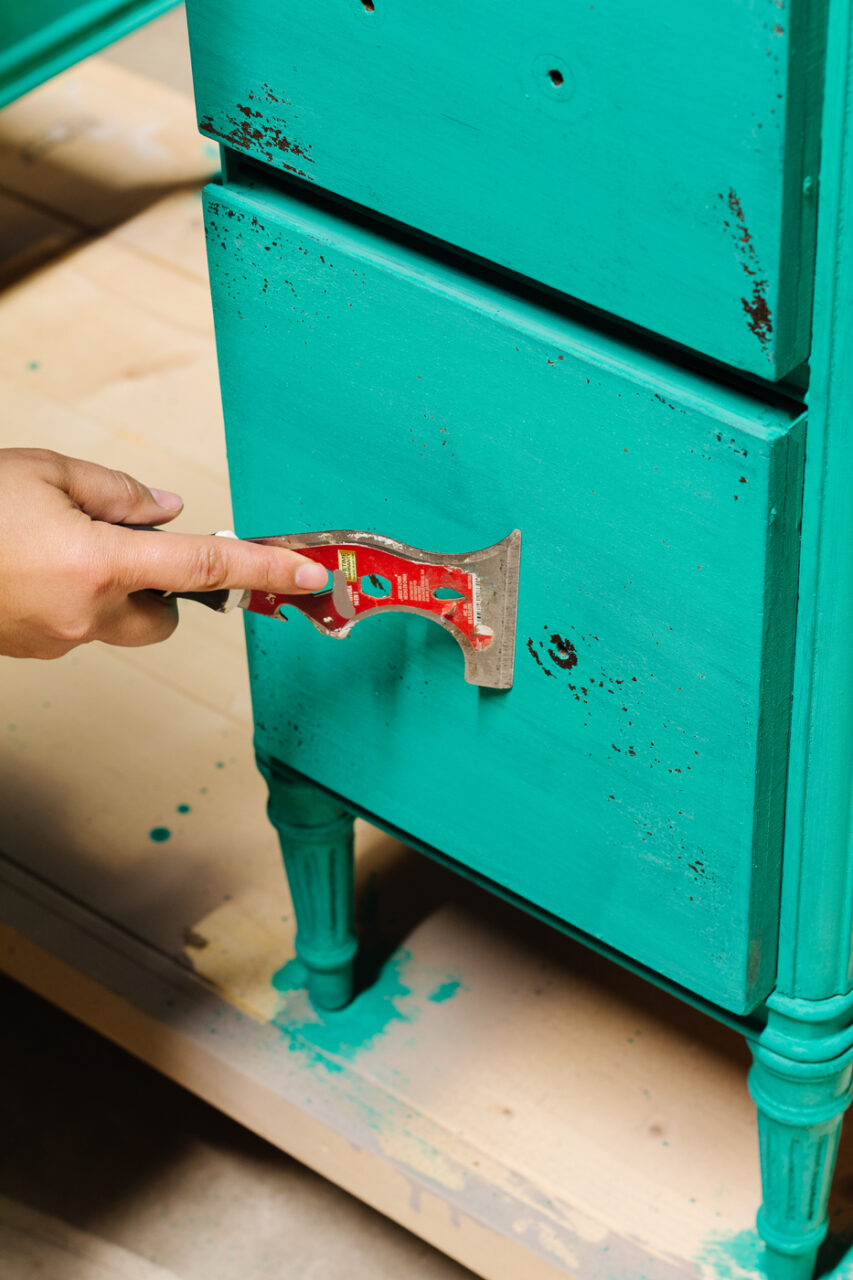
We took a scraper to the surface and lightly removed the flaking paint. This is so satisfying to do, especially if you love the chippy look. Be careful not to scrape too hard as you can damage your furniture.
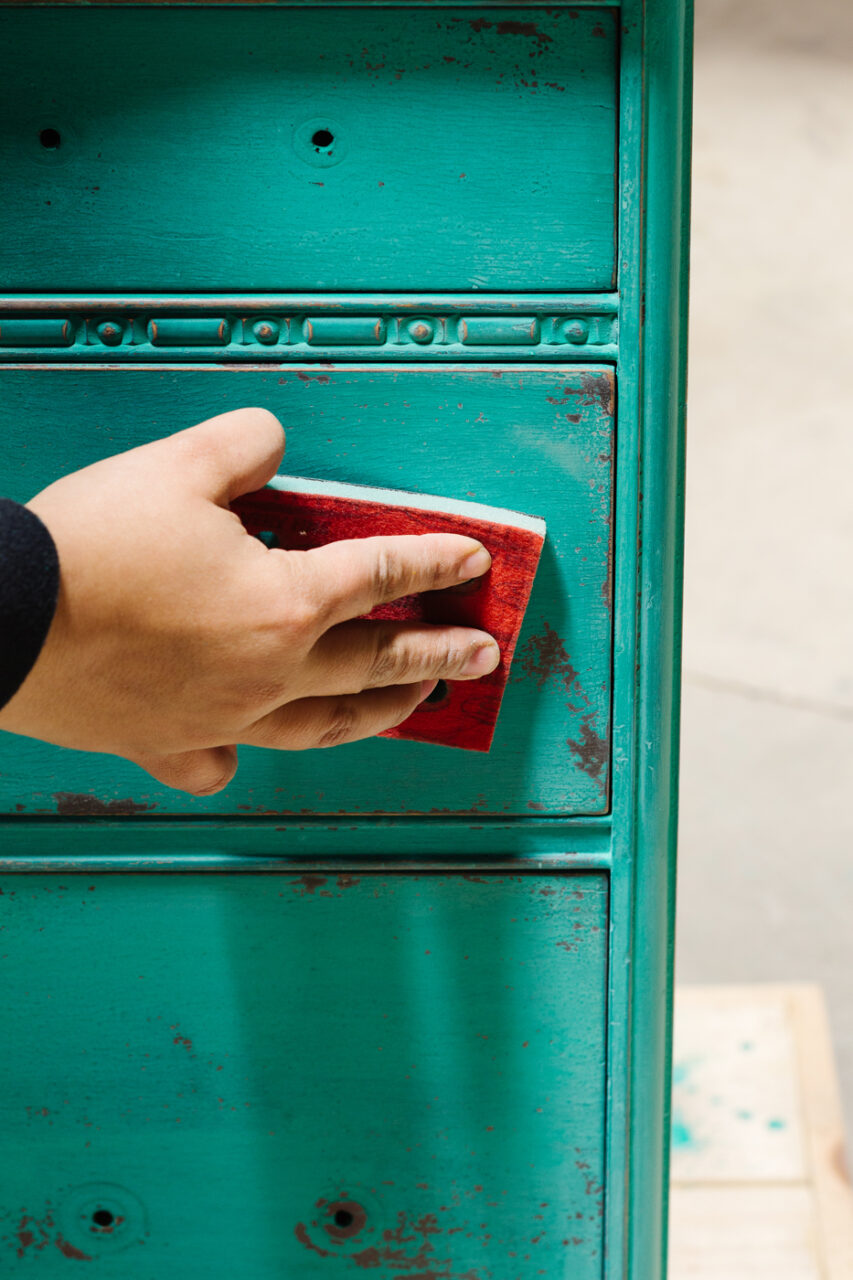
Once all the loose chips have been removed, it’s best to take a sanding sponge to your piece to smooth out the paint. Often times there are some raised fibres or pigments left on the surface while painting and a quick, buffing with a sanding sponge will leave your surface smooth. It also adds some additional distressing which we totally were looking for with our finish.
We wanted to add some gold highlights to the ornate trim and Fusion Metallics in Gold was perfect. It brought out the unique moulding and tied in with the hardware.
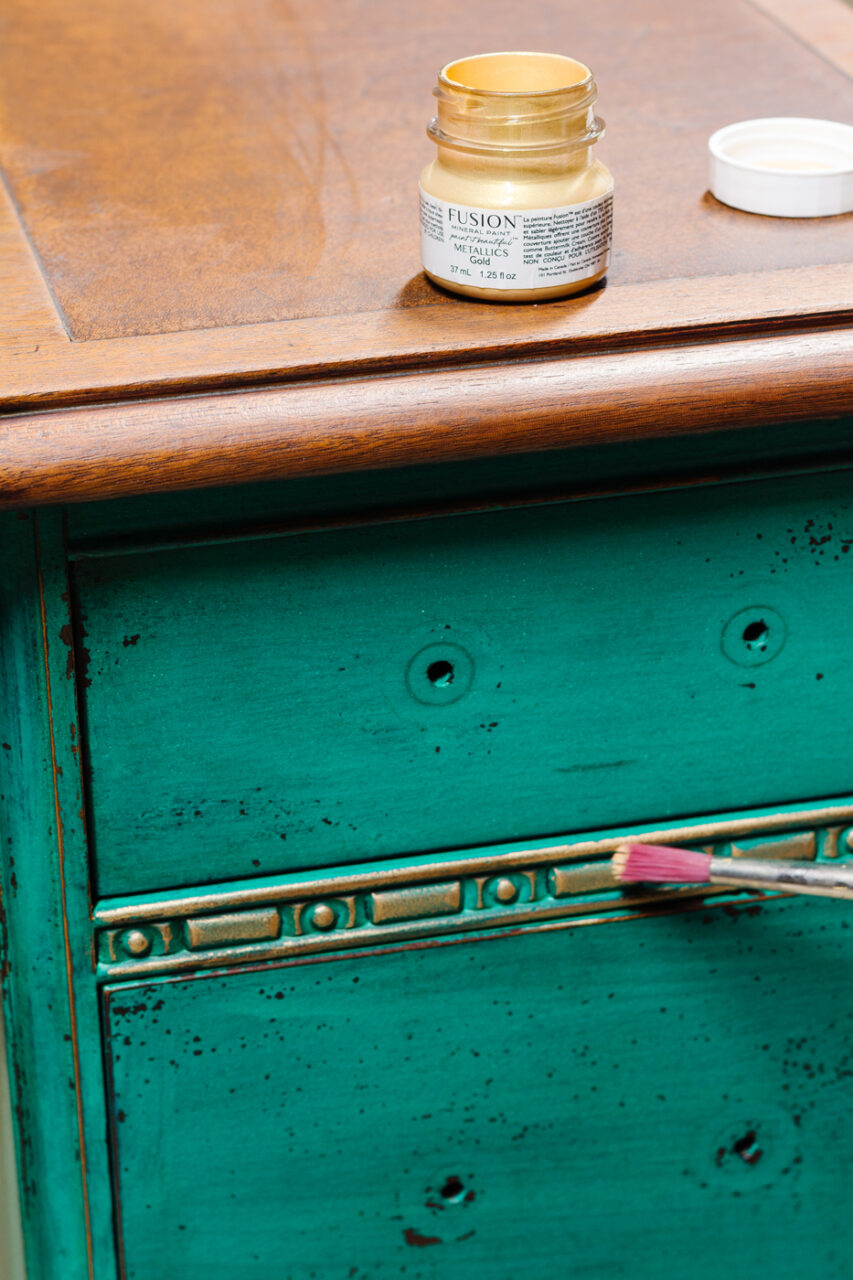
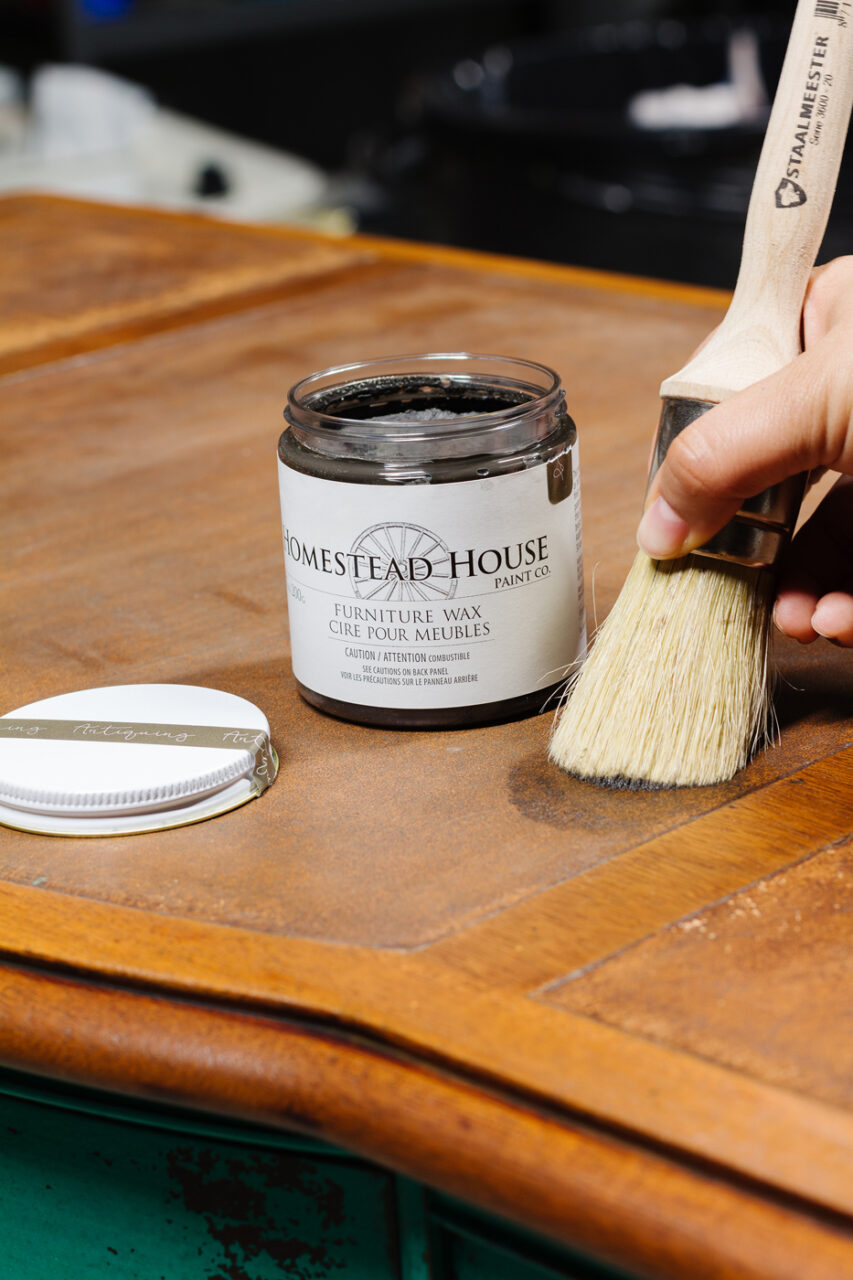
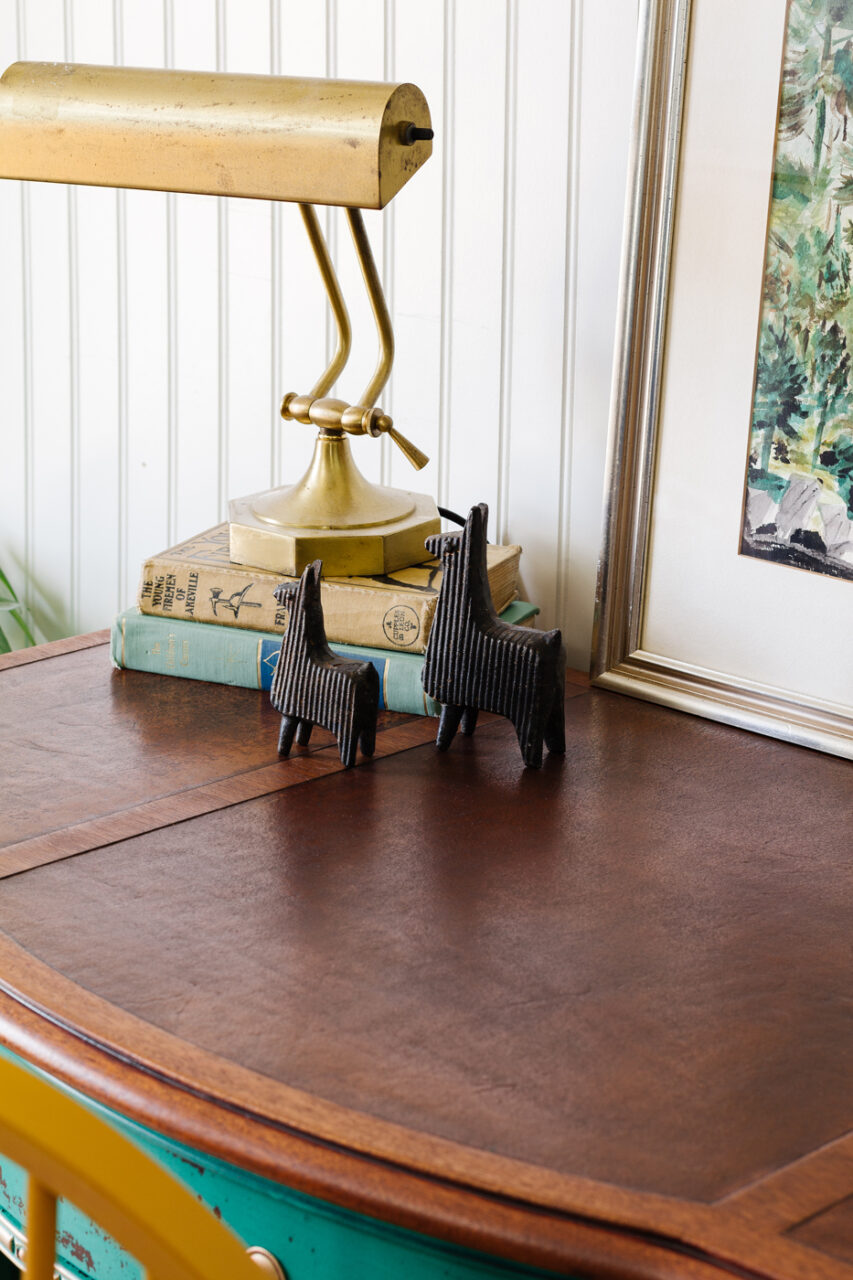
We sealed the milk paint with Homestead House Furniture Wax on the base and Antiquing Wax on the leather top. The darker colour on the leather adds a bit of character and age which also helps to blend out the imperfections in the leather.
Montclair: A Vibrant & Bold Colour
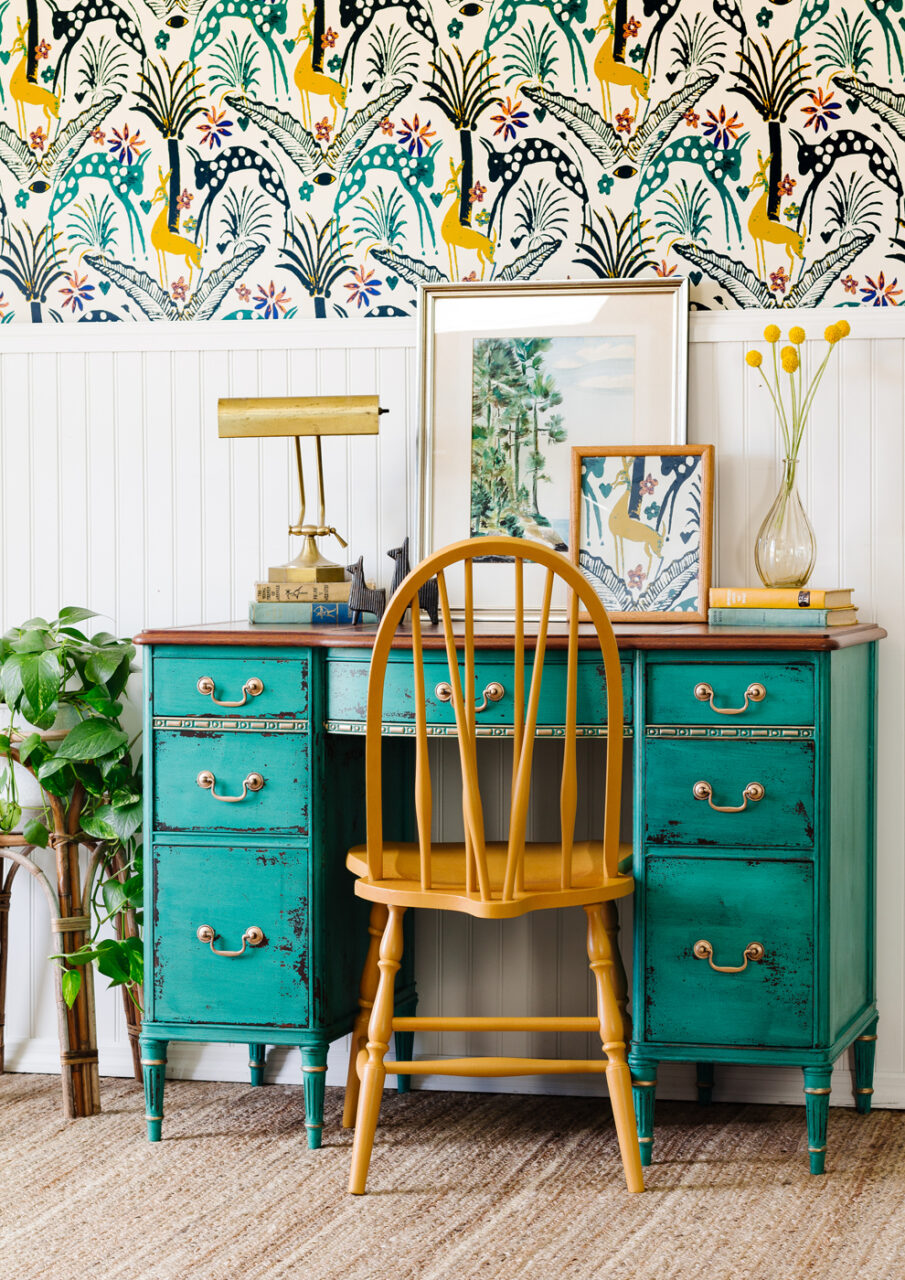
Now when we say this colour is stunning, we really mean it’s STUNNING! This colour is so eye-catching and vibrant and it is nothing short of wow. What once was a drab and old dusty desk is not the centrepiece of your home!
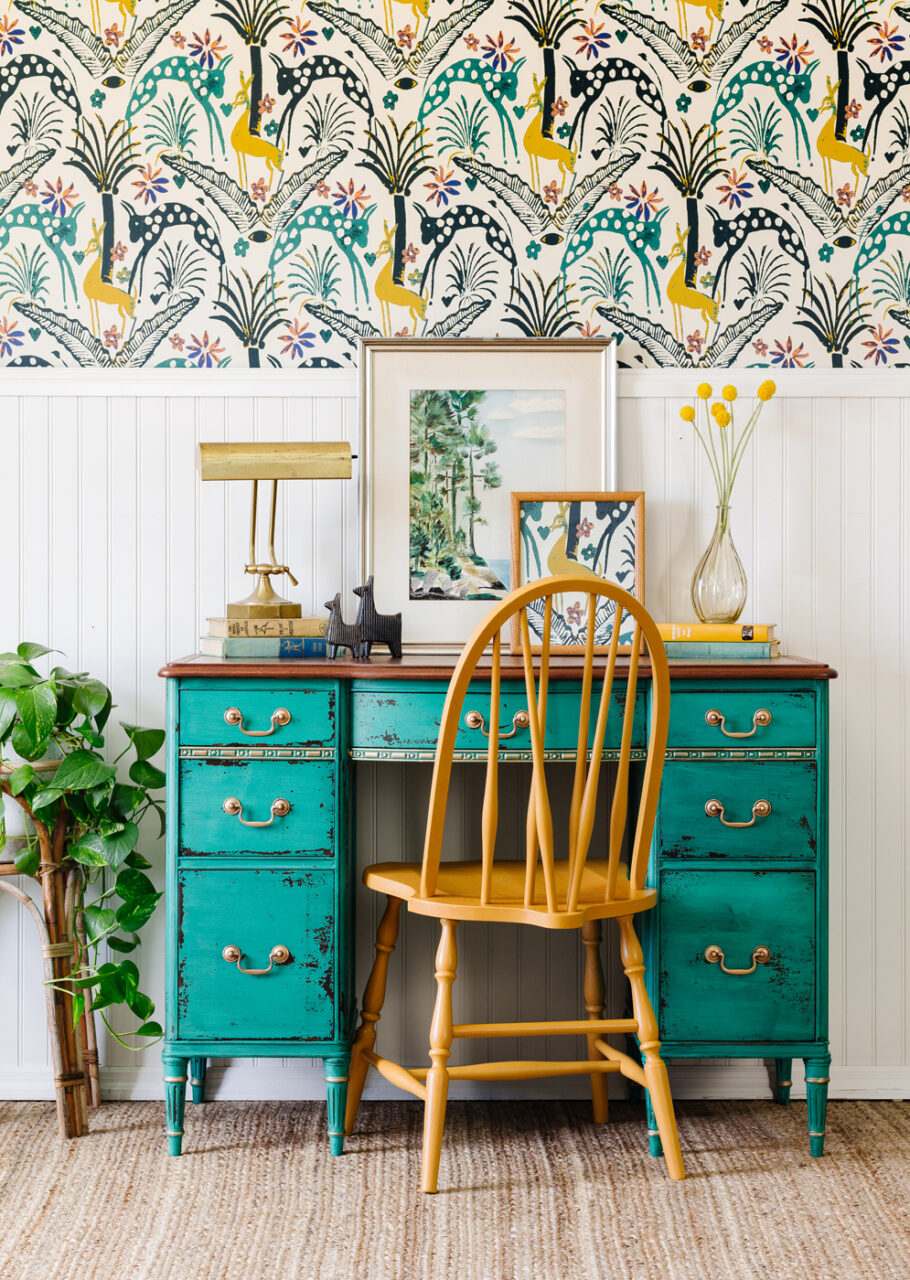
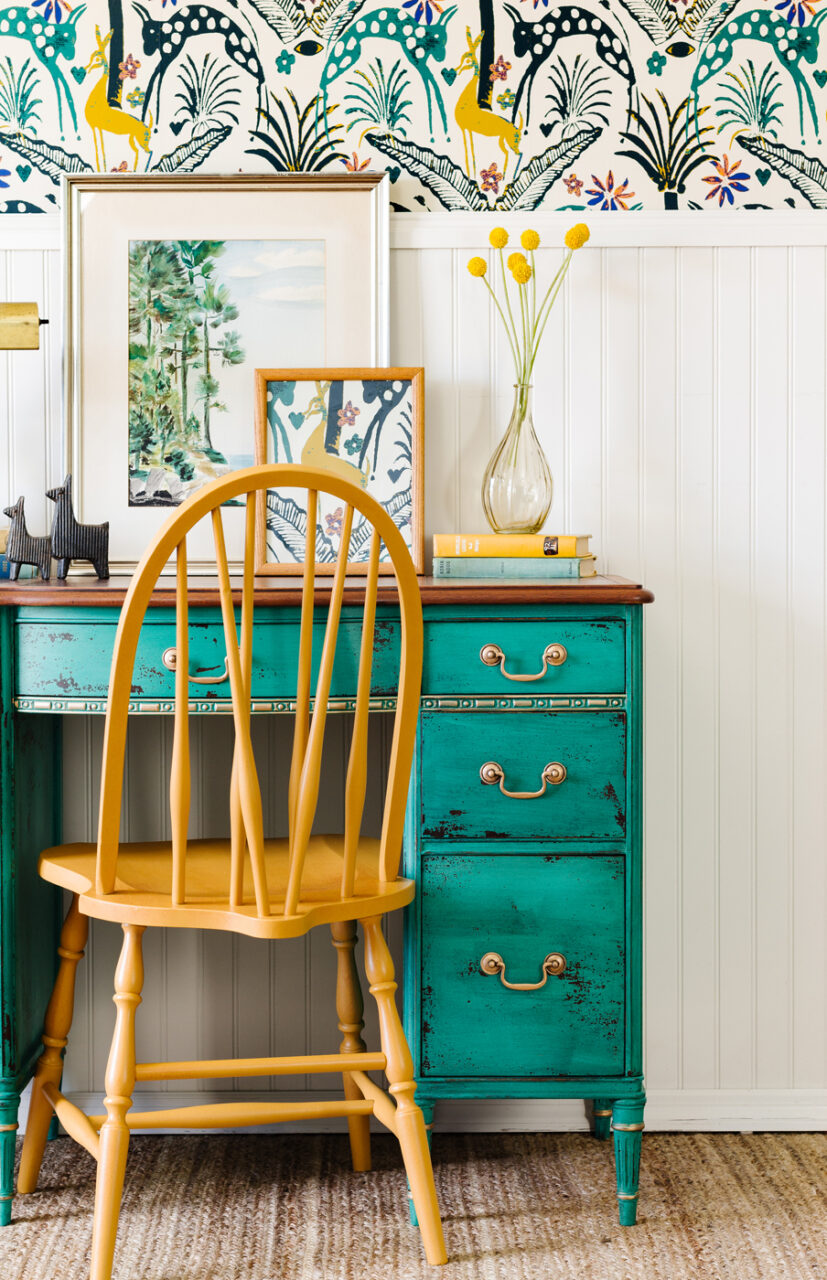
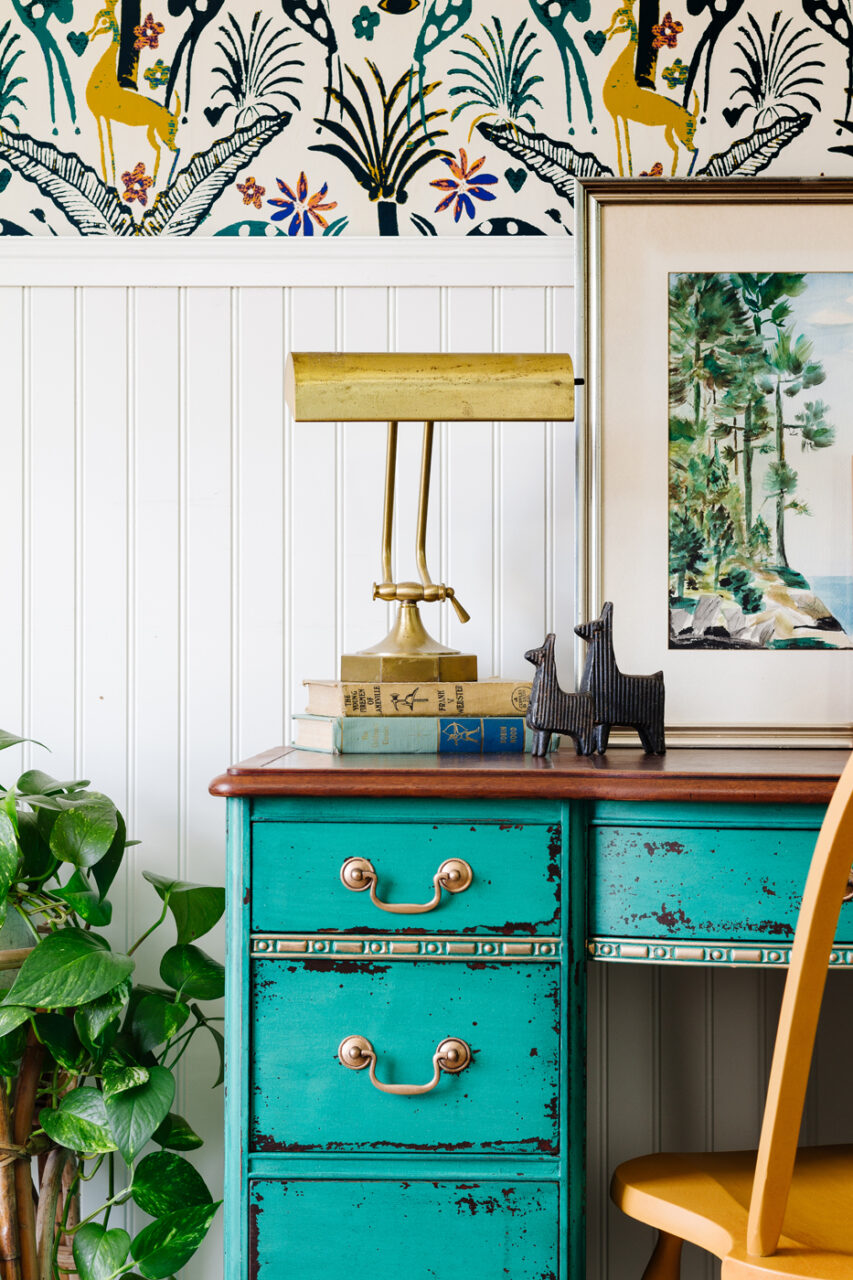
We love all the chippy characters this piece has. Combined with the beautiful colour and the depth of the original finish, this piece looks so vintage and eclectic. The subtle finish of the wax truly brings out the vibrancy in this beautiful green tone.
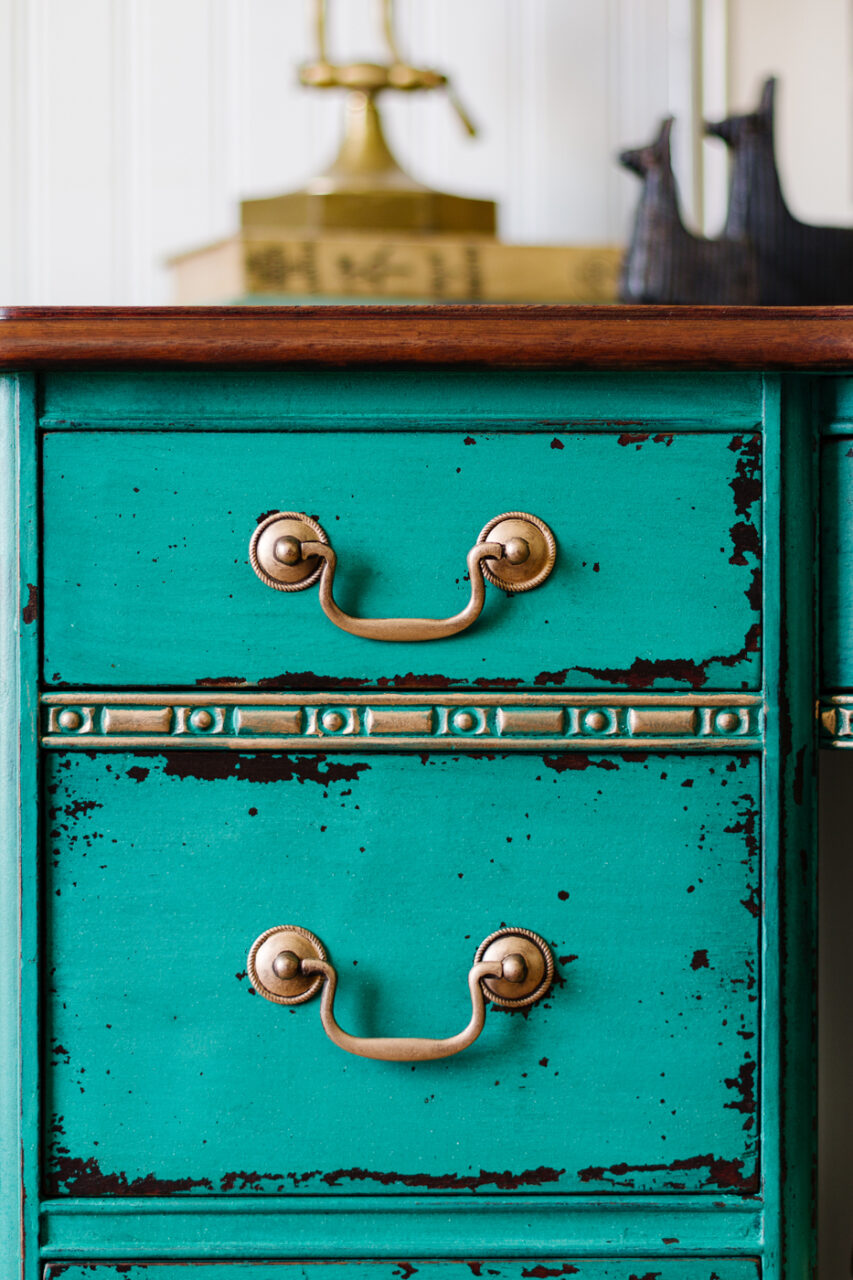
The gold details add a bit of a glam contrast to the piece. The highlighted trim and the original pulls tie in so beautifully with this colour and it also ties into some of the other bold elements we added like the chair painted in “Mustard” and the Indonesian wallpaper.
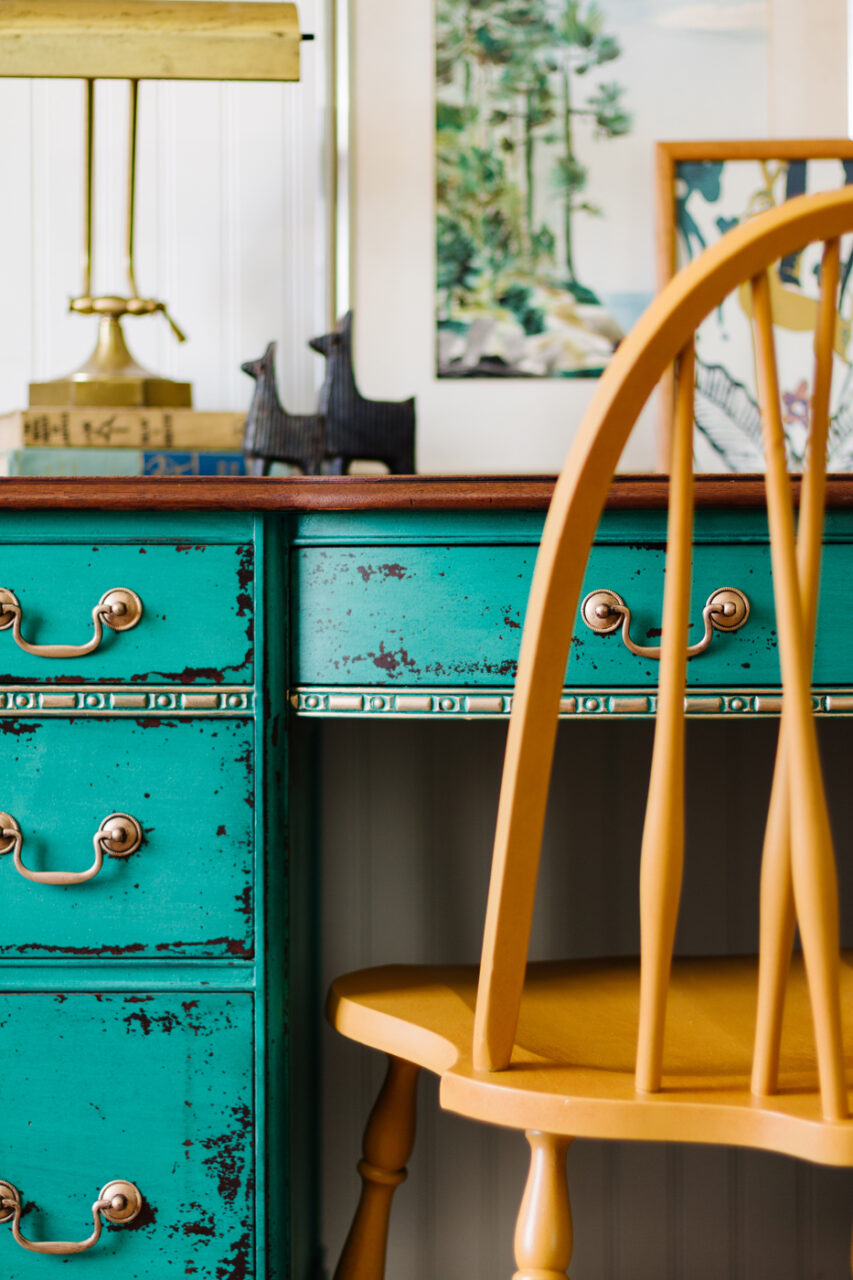
Waxing Leather
Finally, we should talk about how this leather top was brought back to life with antiquing wax. Leather tops are often removed due to how dated they look, but adding a little wax dressing can keep the leather surface in tip-top shape and give it so many more years of life. Since our waxes are made with natural beeswax, it dries and buffs to a subtle lustre and requires very little maintenance.
Can you see this vibrant and bold colour in your home? We hope to see so much more of it everywhere!
See the video makeover here!
