
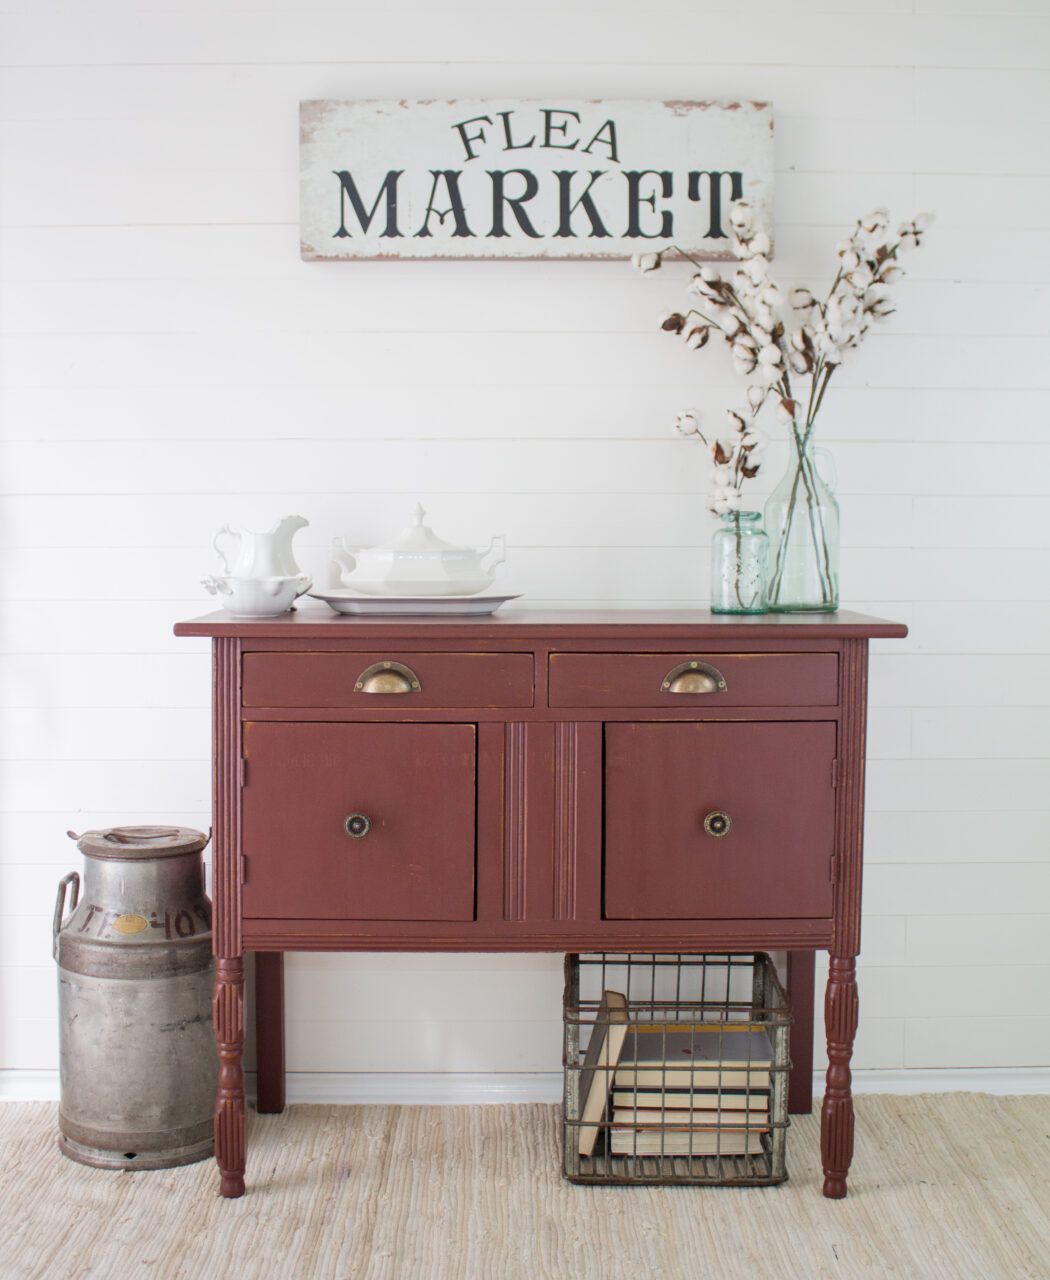
Your entryway is the first impression guests have of your home, and what better way to make a statement than with a beautifully, rustic refinished entryway hutch? In this blog, we'll explore the exciting journey of transforming a tired, old hutch into a homely showstopper using Homestead House Milk Paint in the shade "Trading Post Red." Whether you're a seasoned DIY enthusiast or a novice looking for a fun project, you'll find inspiration and step-by-step instructions to breathe new life into your furniture.
Why Choose Homestead House Milk Paint?
Before we dive into the project, let's talk about why Homestead House Milk Paint is an excellent choice for this refurbishment. Milk paint is known for its vintage charm and ability to create an authentic, time-worn look. Homestead House Milk Paint offers a wide range of colours, and "Trading Post Red" is perfect for adding a bold pop of colour to your entryway.
Materials You'll Need While Transforming a Tired, Old Hutch
Before you begin, gather the following materials:
- Entryway hutch
- Homestead House Milk Paint in "Trading Post Red"
- TSP Alternative
- Sandpaper (various grits)
- Staalmeester Paintbrush
- Painter's tape
- Drop cloths or newspaper
- Screwdriver (if removing hardware)
- Clean cloth
- Furniture wax
- Hardware or knobs (optional, for replacement)
Step 1: Prep Your Hutch
Start by removing any hardware or knobs from the hutch. Lay down drop cloths or newspapers to protect your work area. Clean the hutch thoroughly using TSP Alternative to remove any dust, dirt, or grease. Sand the surface lightly to create a better bond for the paint.
Step 2: Apply the First Coat
Now, it's time to apply the first coat of "Trading Post Red." Use a paintbrush to evenly distribute the paint over the hutch's surface. Milk paint tends to be thinner than traditional latex paint, so don't be alarmed if the first coat looks a bit streaky or translucent. Allow it to dry completely, for approximately 30 minutes.
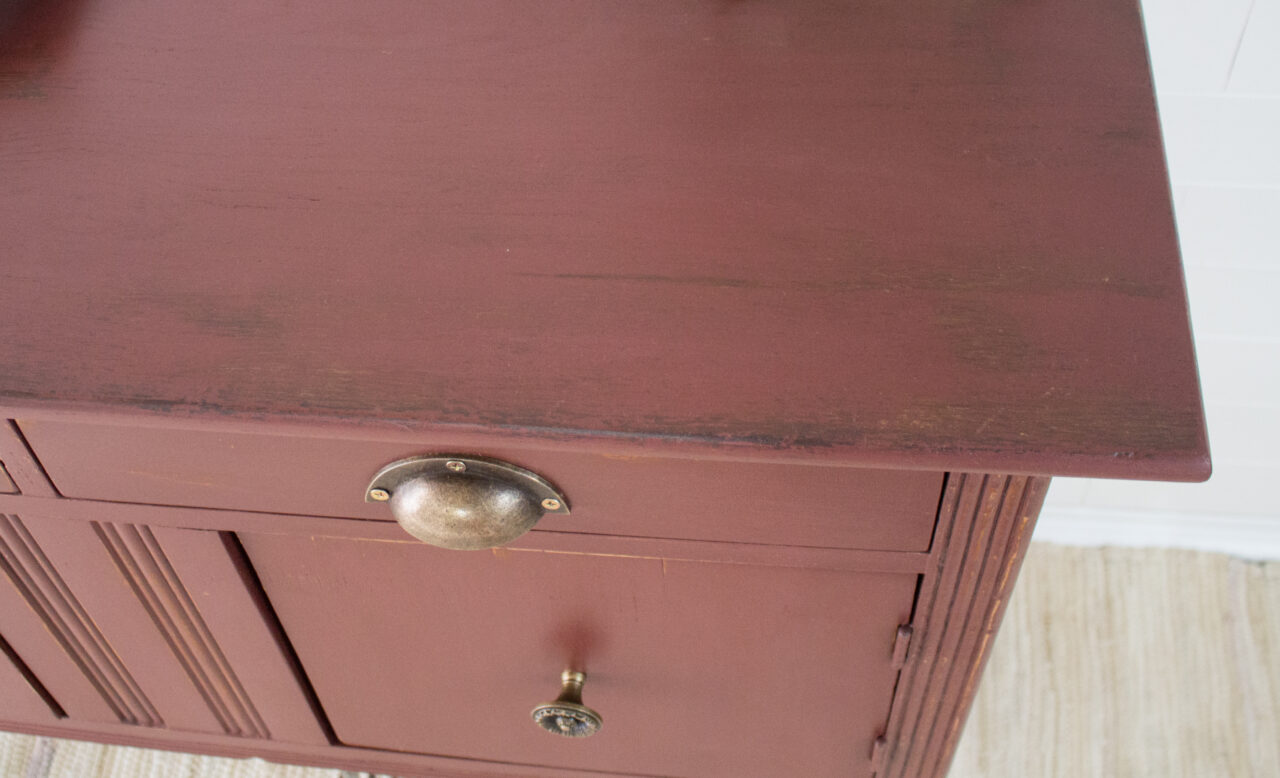
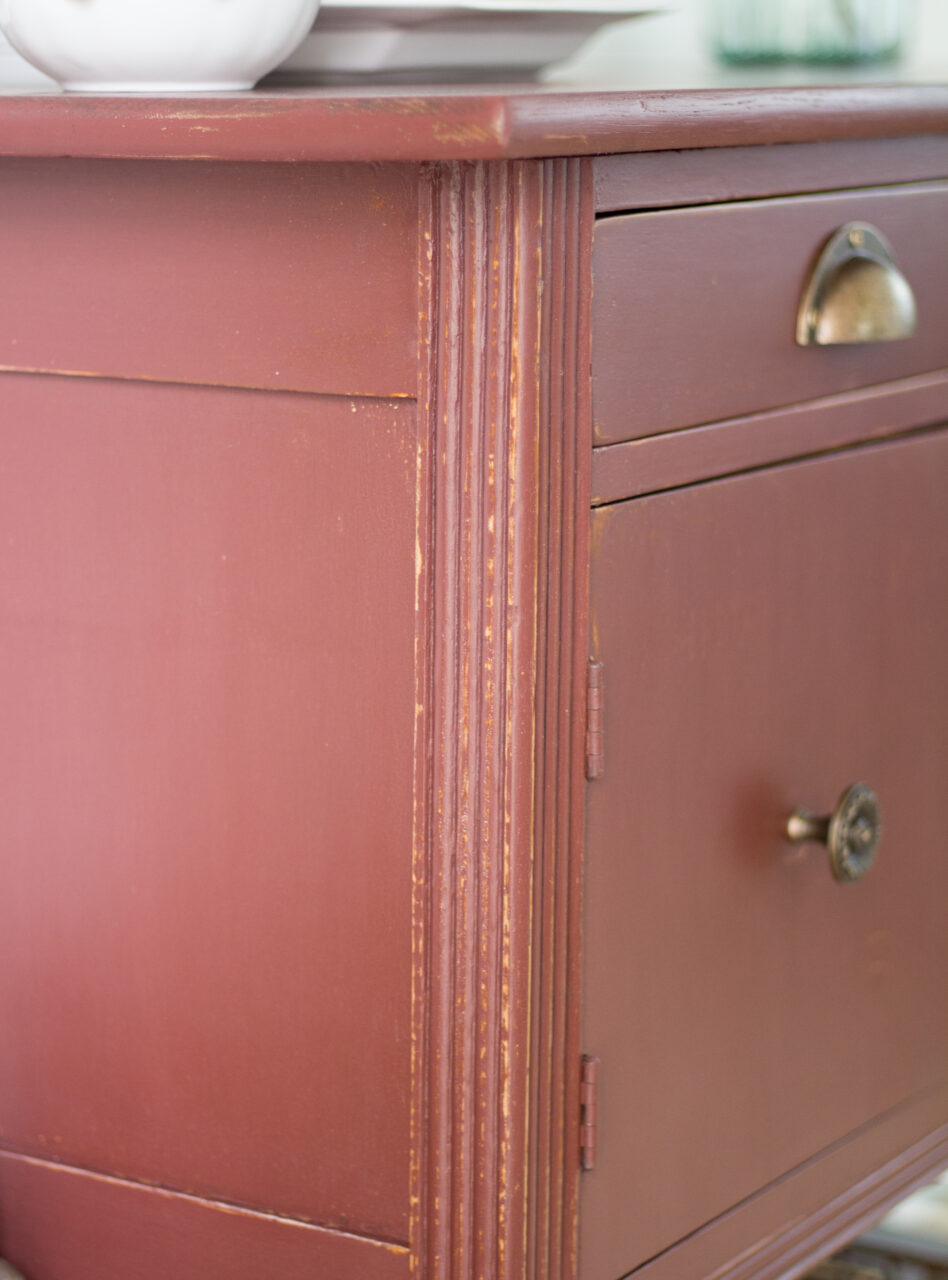
Step 3: Sand and Distress
One of the charming aspects of using milk paint is its ability to create an aged, distressed look. After the first coat is dry, lightly sand the hutch, paying attention to areas that naturally wear over time, like edges, corners, and raised details. This step is where you can get creative and distress to your desired level of antiqueness.
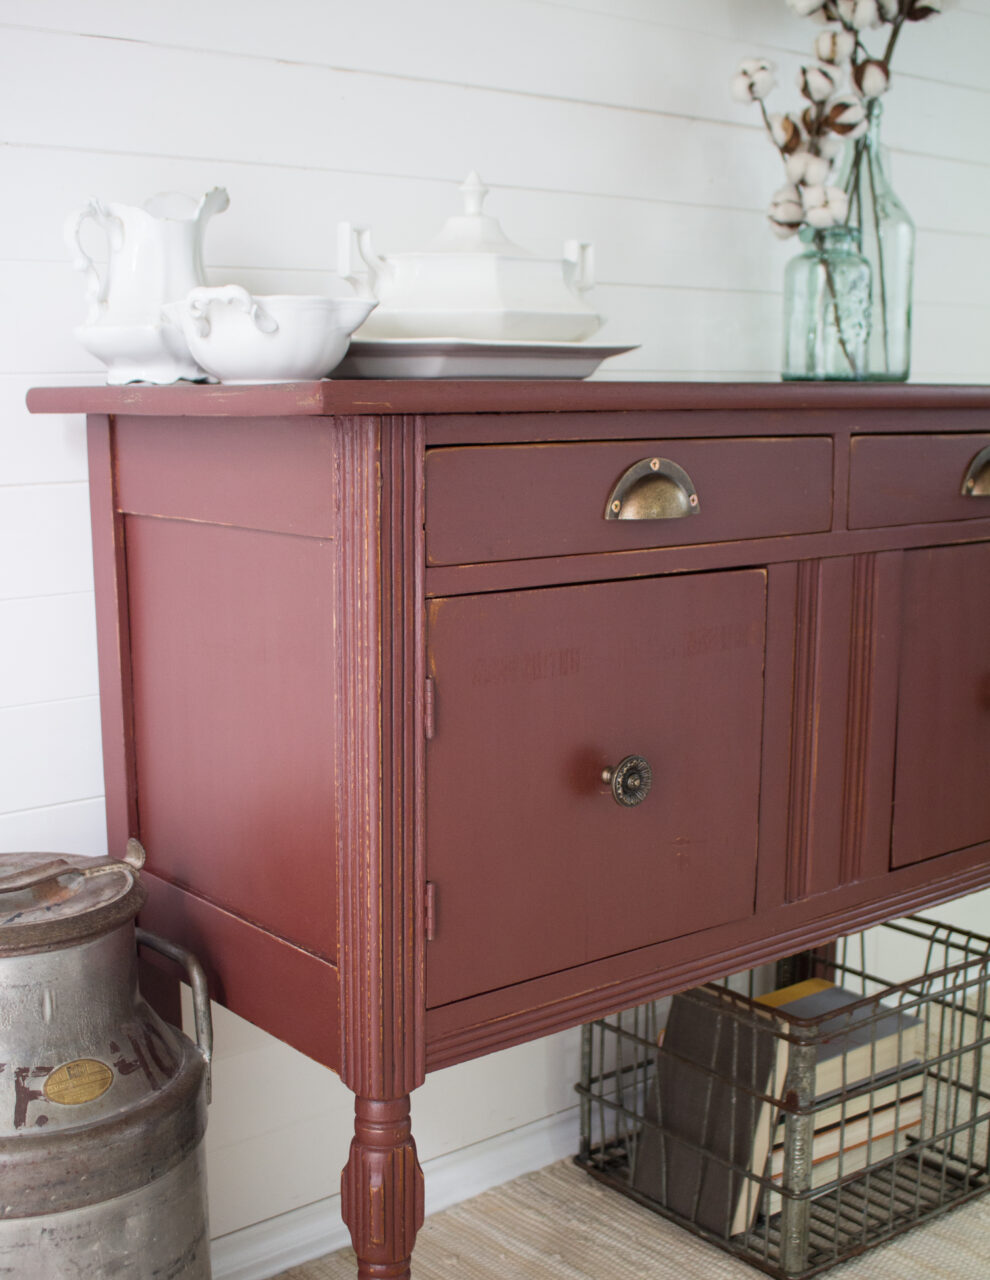
Step 4: Apply the Second Coat
Apply a second coat of "Trading Post Red" evenly. You'll notice that the colour becomes more opaque with each coat, giving you that rich, vibrant red you desire. Allow this coat to dry thoroughly as well and then apply a third coat if needed.
Step 5: Protect and Seal
To protect your newly painted hutch and give it a finished look, apply furniture wax. This step is optional, but it adds extra durability and brings out the true depth of the colour.
Step 6: Reassemble and Decorate
Once everything is dry and cured, reattach the hardware or replace it with new knobs for a fresh look. Your entryway hutch is now ready to make a stunning impression in your home.

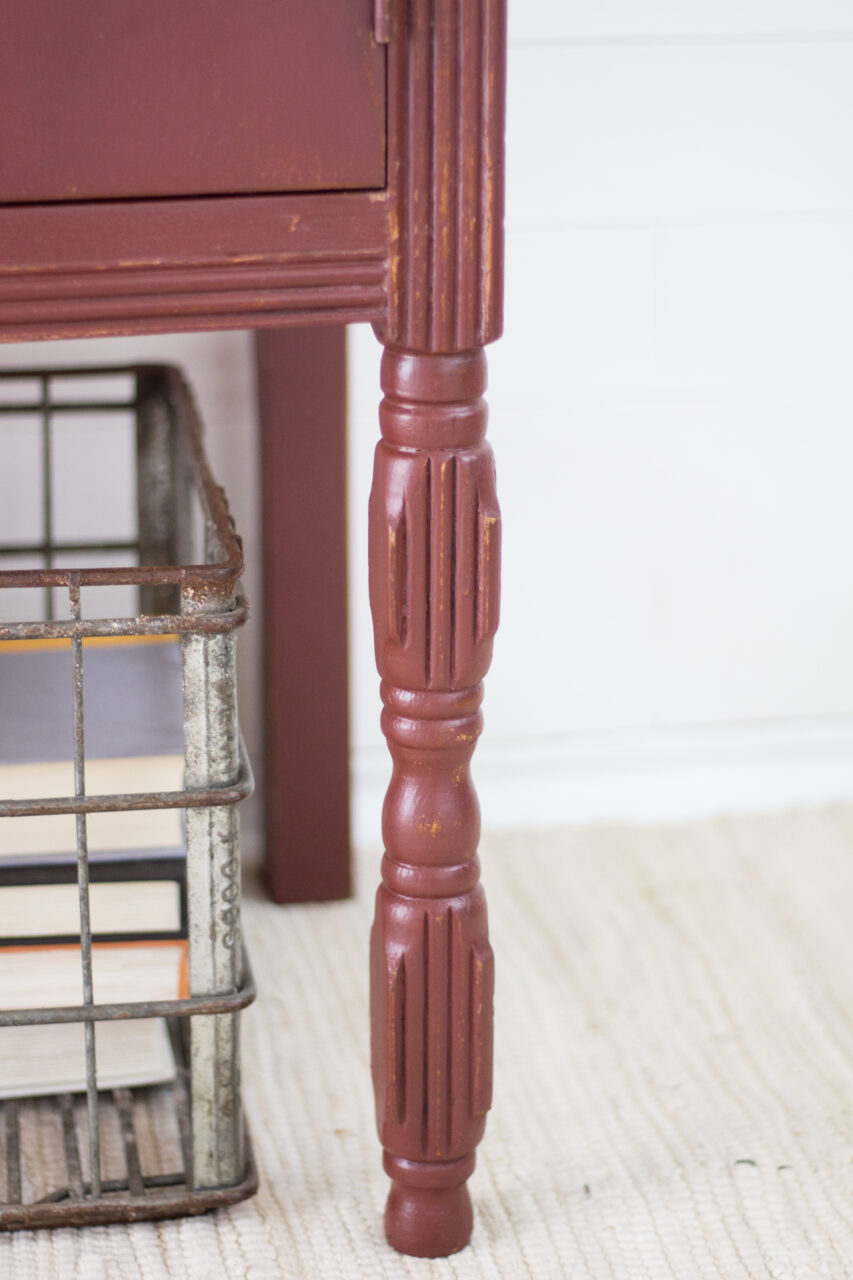
To complete the enchanting transformation of your entryway hutch, consider adding a touch of rustic charm and vintage elegance. Place a wire basket below the hutch, filling it with stacks of books or fresh linens. Above, hang a weathered "Flea Market" sign, adding a whimsical element that evokes the thrill of treasure hunting. On the hutch's top surface, arrange a collection of clear glass vases filled with freshly cut flowers, infusing the space with natural beauty and fragrance. To balance the vivid "Trading Post Red" backdrop, display an assortment of delicate white china, showcasing your favourite pieces or heirloom dishes. Together, these decor elements harmonize with your refurbished hutch, creating an inviting and visually captivating entryway vignette.