
We are excited to introduce our guest blogger, Donna Williams, who is a junker extraordinaire over at Funky Junk Interiors. With a wealth of experience and a passion for all things upcycled, Donna is sure to inspire you to get creative. So without further ado, please welcome Donna to our blog! Love hooks for storage? Here's how to create wooden village wall hooks to add charm to your storage spaces!
I think it's safe to say, there can never be too many hanging hooks for storage in one's home or workshop! I prefer to hang things, whether coats, towels, workshop supplies, keys, clothing, etc. Easy access is where it's at, and hooks allow you to store things even in the smallest of spaces. However, wall hooks sure don't have to be plain and boring.
Desiring a row of handy hooks, I decided to team them up with a charming wooden village that could be easily customized in any colour you wish, using a few Homestead House's Milk Paint tones! Although wooden villages are very popular around Christmas, they are also equally special all year round too!
So grab your scrap wood and paint to make some adorable decorative wall hooks of your own! Here's how:
Wooden Village Wall Hooks
Supplies you'll need:
- Homestead House Milk Paint in colours of choice.
- Shown: Barn Red, Grey Silk, Loyalist, Sherwood Brown, Homestead Grey, Kentucky Green, Pacific Redwood
- Furniture Wax
- Cedar wood planks - these measure 5.5" wide x various lengths
- Stencil brushes
- Wider paint brushes
- Christmas Village stencil
- Miter saw
- Sanding sponge
- Cordless drill and screws
- Measuring tape
Find Homestead House Milk Paint HERE
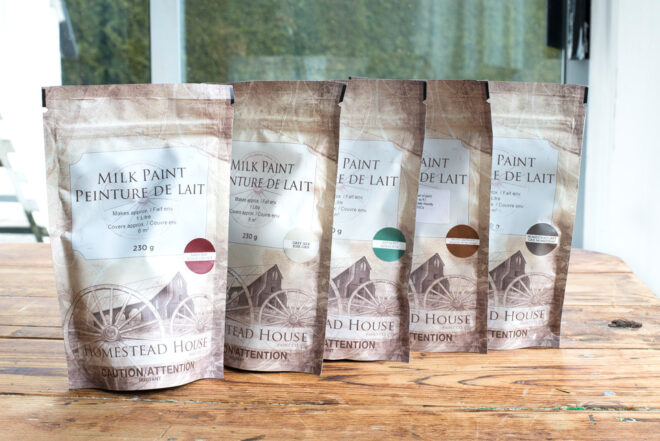
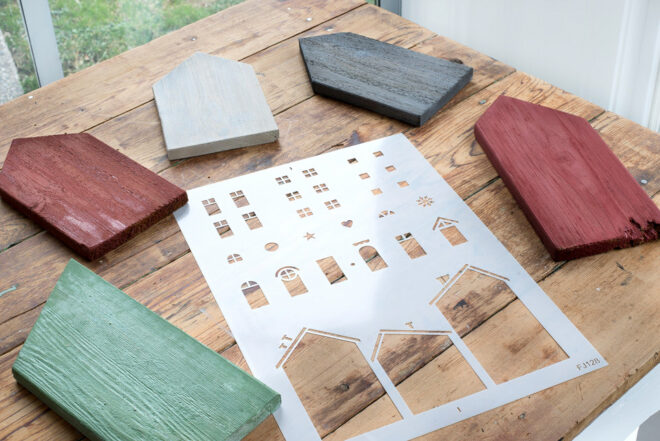
Choose your paint
1. Choose your paint and colour choices for each house.
I chose to use Homestead House's Milk Paint for this project because it's positively made for bare reclaimed wood! I desired a pop of colour, so this little wooden village resembles colourful row houses or charming villages along Lunenburg, Nova Scotia shores! So a few different deep tones were selected to get the look.
While I personally used full-size bags, sample sizes of Homestead House Milk Paint are also available if you desire smaller amounts of several different colours!
Houses: Barn Red, Grey Silk, Loyalist layered with Kentucky Green, Homestead Grey
Hook boards and stencilling: Sherwood Brown and Grey Silk
Why Milk Paint?
Most paint is very reliable with the results you will get. Crack open a jar, paint and you're done! Milk Paint takes the outcome to a different level. You have the ability to achieve many different effects with it, so it's like having several paints in one! Plus, it holds some special properties no other kind of paint offers:
Effects with milk paint:
- Stain wood
- Achieve a chippy effect
- Create an opaque, perfect finish
- Leave it matte finish to resemble older wood
- Add a top coat to give it sheen
Special milk paint perks:
- No brush strokes ever, due to no resin in the paint
- Can be used indoors or out
- Exceptional on raw wood as paint soaks in, vs. sitting on top
- Will never chip or peel
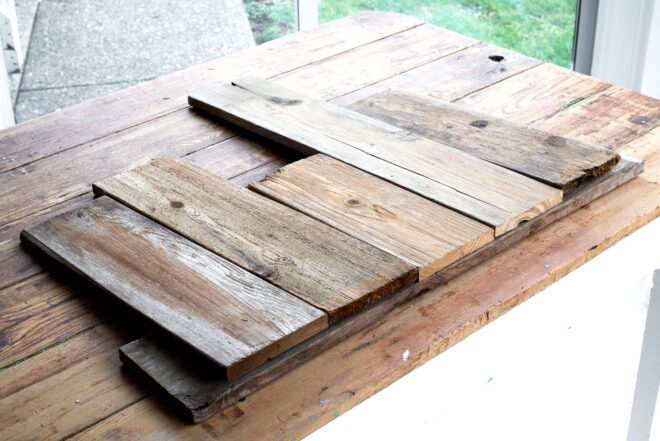
Cutting the wood
2. Gather and line up any boards desired to create the houses to the length of the shelf desired.
I used reclaimed cedar planks measuring 5.5" wide.
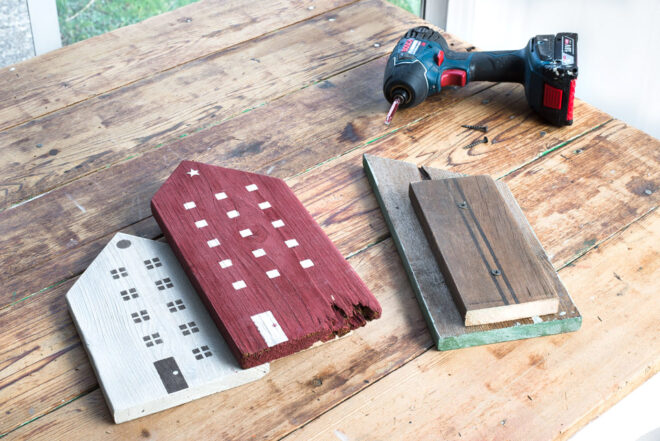
3. Using a miter saw, create different roof shapes along with various house heights to create a random look.
Roof lines can be upside down V's, one angle only, or two angles off-centre.
The heights of the houses ranged from 9" - 11.5" tall.
4. Lightly sand all edges and sides of the boards.
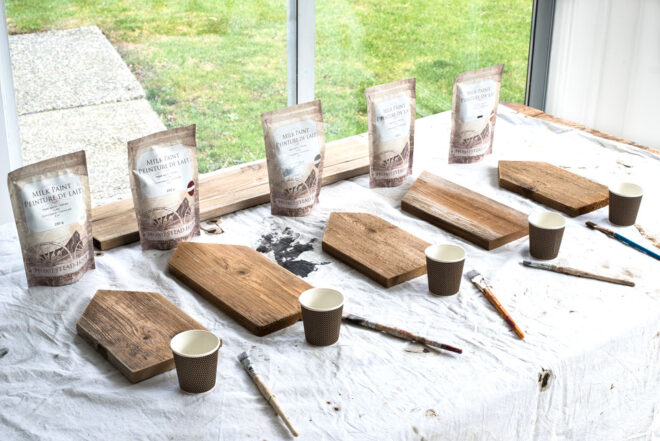
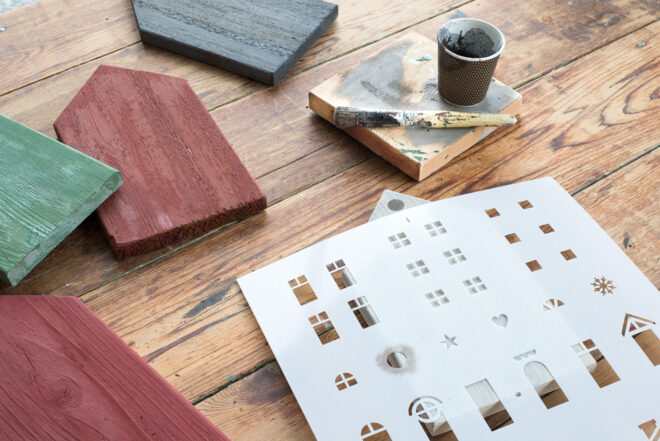
Mixing Milk Paint
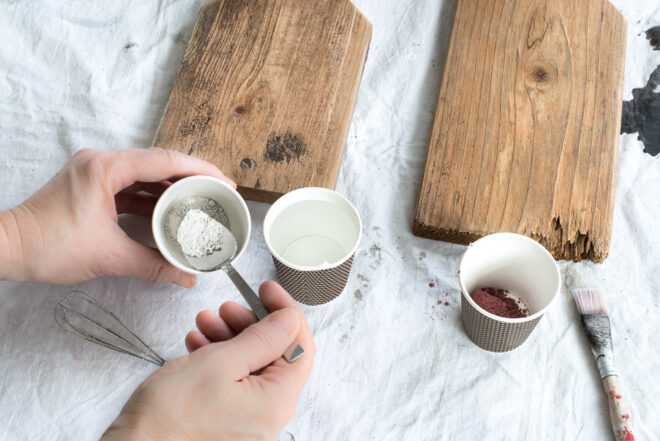
5. Mix up small batches of milk paint.
Since milk paint comes in powder form, you have the ability to mix up just the amount you wish to use.
The powder is very fine, which makes mixing easy and effortless.
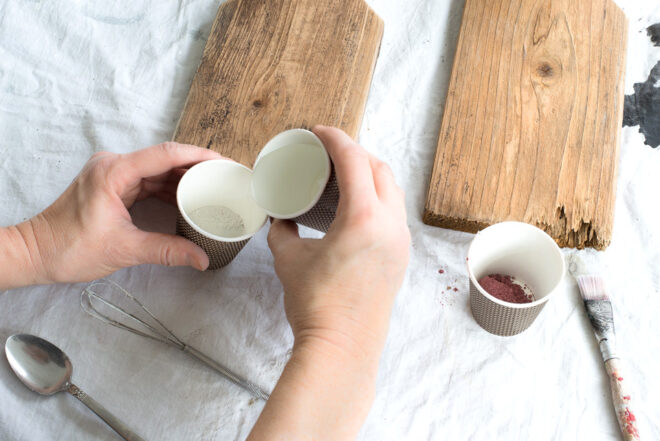
a) Mix equal amounts of milk paint powder and water into a cup.

b) Stir the powder and water until smooth. I like using a small whisk.
c) Allow the paint mixture to sit for a few moments, give it a stir, then paint.
If you find the paint too thin, add more powder. Or if too thick, add more water. It's very easy to adjust milk paint consistency.
6. Decide how you will arrange the houses, then select the colours so they contrast each other well.
So I spaced out the two reds, and rotated neutrals with more vibrant colours.
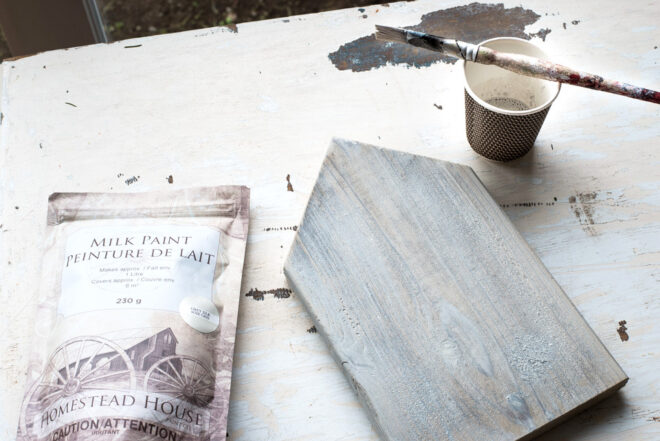
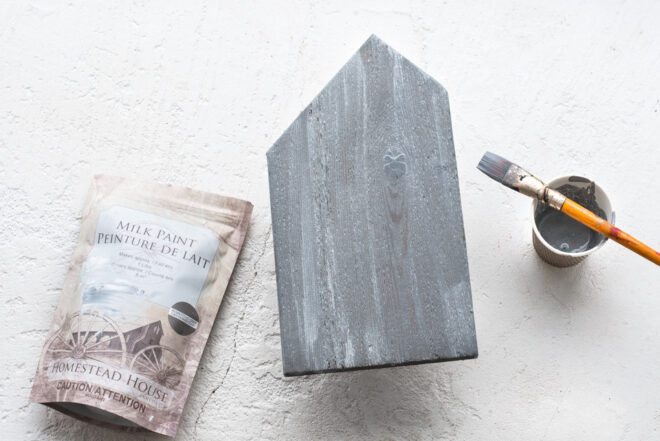
You also can choose how opaque the paint goes on. Grey Silk add more water in it, so it went on more like a stain or wash. I loved how the wood tones popped through for more dimension so I didn't add another coat.
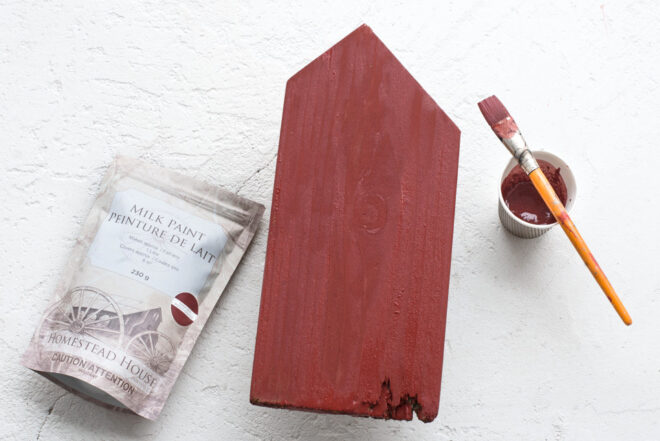
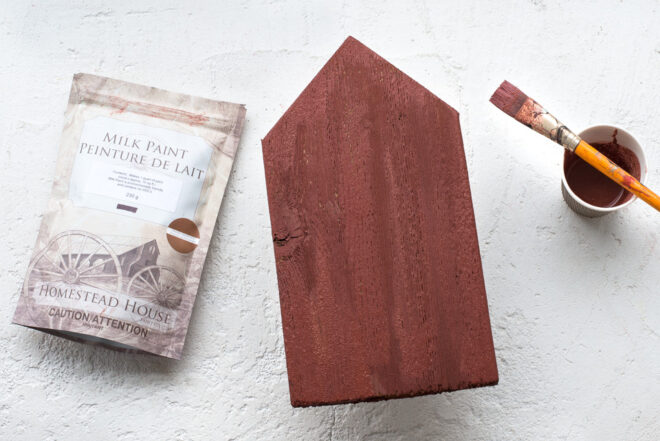
For this house, I used less water so the house received full coverage. Isn't that Barn Red gorgeous?
I was rather delighted to note that some of the more unmixed powder with Homestead Grey brought out some lighter tones as well. How perfect!
And this deeper Pacific Redwood has a super nice warm undertone, like a brownish-red.
Layering colours
For the green house, I decided to layer two tones, something milk paint is famous for, creating a super cool distressed finish that looks totally authentic.
1. Paint a desired undertone. I used Loyalist.
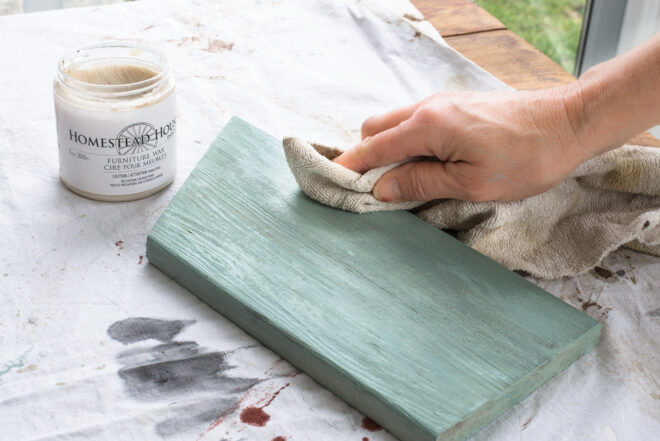
2. Spot-coat the surface with Homestead House's Furniture Wax applied with a rag.
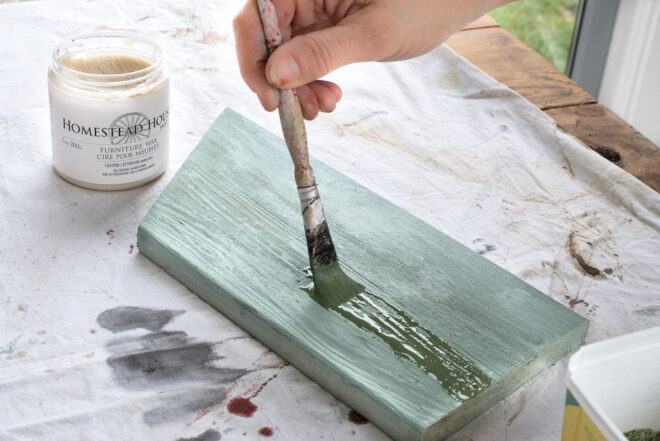
3. Paint a deeper or lighter tone on top. I used Kentucky Green.
4. Allow it to dry.
The 2nd paint layer will either chip or repel, leaving a fabulous 2-tone effect. My effect repelled.
Stencilling house details
So let's add some charming details to these cute and colourful houses, made easy with a Christmas Village stencil!
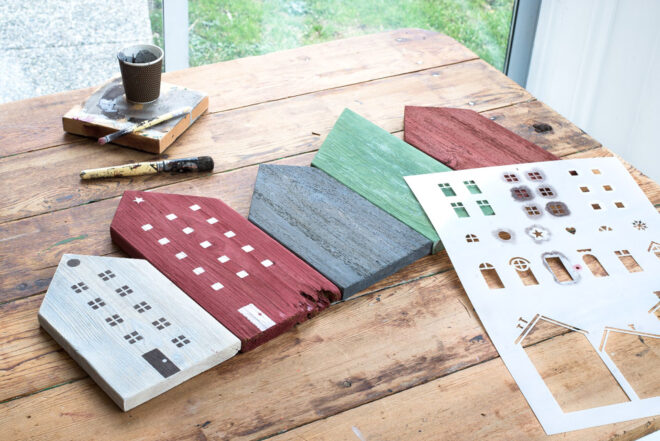
7. Stencil in the house details, using a light tone on dark houses, and a dark tone on lighthouses.
Choose which windows, doors or features you'd like on each house, position the stencil where desired, then stencil.
The lighter house features were stencilled with Sherwood Brown, and the darker houses were stencilled with Grey Silk.
How to stencil for flawless results with no paint bleed:
- Position stencil where desired.
- Load stencil brush with paint.
- Remove most paint onto a rag until the brush feels dry.
- Tap paint through the stencil until desired coverage is achieved.
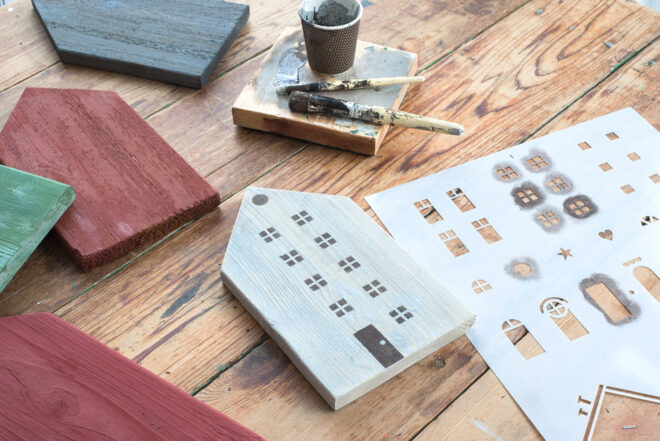
And the results are as cute as can be!
This stencil is scaled to work with almost any wood piece you use. Simply stencil to suit.
Top coat options
A top coat added to milk paint can be added for additional sheen, durability or colour enhancement. However, I left this project with its rustic matte finish this round. It's nice to have the choice!
Before adding a top coat, I'd suggest lightly sanding with a high grit sandpaper, then choose one of these top coats:
Adding 3D dimension
8. Add 3D dimension by attaching boards on the backs of some houses.
The houses looked fabulous side-by-side, however, I decided to do one extra step so the houses had more of a 3D effect.
A small piece of wood was screwed onto the backs of two houses so they would clear the house beside it, offering an overlapping effect. It turned out really cool!
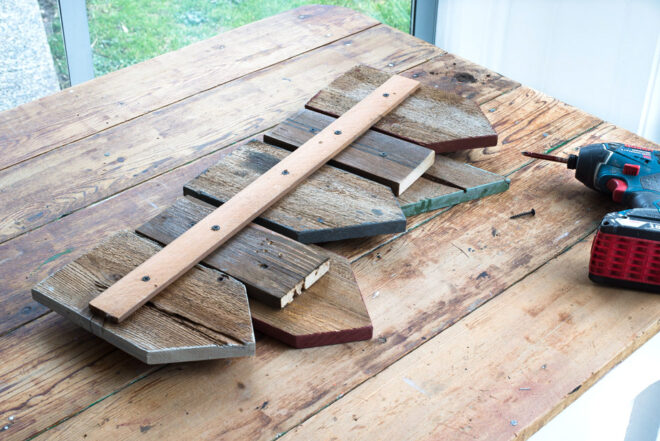
Attaching the houses
9. Attach the houses, or leave them separate if desired.
The houses certainly work sitting loose on a shelf. However, I decided to join mine by bracing them with a cedar strip screwed onto their backs.
Face all the houses good-side-down, space as desired, then screw on the board.
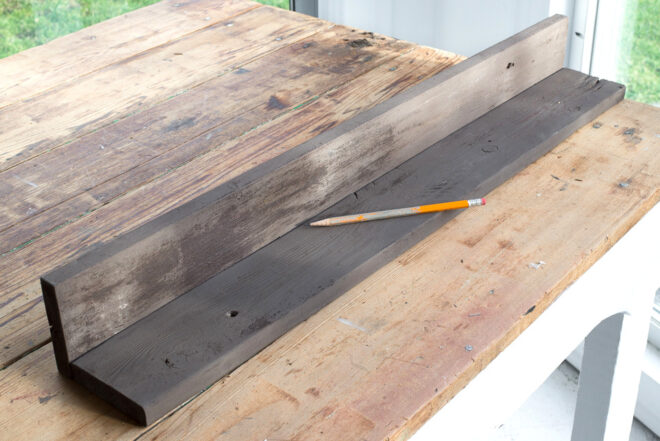
Creating a hook shelf
10. Create a hook shelf by attaching and painting two boards.
Creating a simple shelf is easy! All you need are two boards thick enough to screw together, creating a shallow shelf for the houses, and a platform for the hooks.
- Measure, then cut two boards slightly longer than your row of houses.
- Paint in a colour of choice. I used Sherwood Brown.
- Position the boards in an L shape so they connect.
- Pencil where they join, pre-drill holes behind the pencilled edge, then screw the boards together.
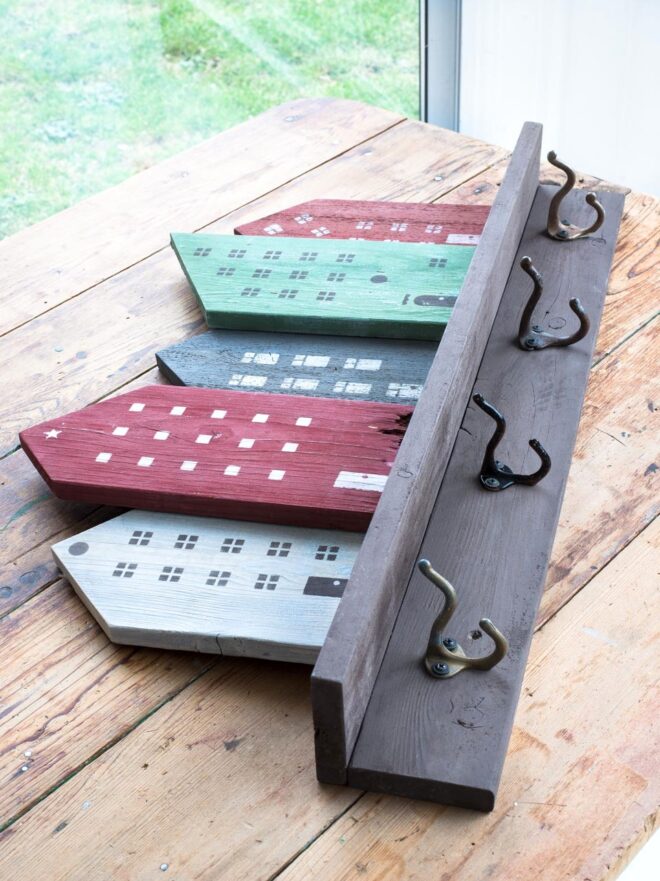
Adding hooks
11. Space out hooks evenly, then screw them into the bottom board.
These shallow double hooks fit this board perfectly and offer 2 options to hang.
The houses will then sit loosely on top of the shelf board while leaning against the wall.

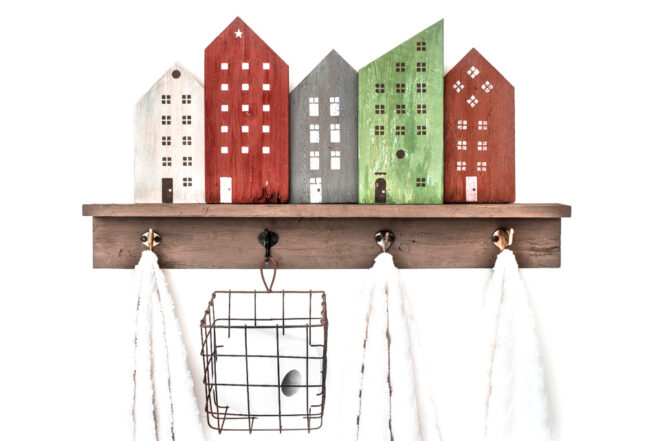
The finished wooden village wall hooks
Leaving you with the cutest wall hooks in the land, ready to look stylish while working hard!
Above, towels and a wire basket to hold essentials certainly work! However, these wall hooks can be used for so many other things!
Wall hook ideas:
- keys
- bathroom towels
- hot tub/pool towels
- clothing
- hang jackets
- coat hooks
- workshop aprons
- paint brushes
- pots and pans
- clipboard wall organizer
- hang backpacks

How would you style your wooden village wall hooks to suit your home?